Spiked Sparking Strawberry Lemonade

Lemonade is a summer staple for good reason - always delicious and oh so refreshing! But this isn't your typical lemonade!! This is our Spiked Sparking Strawberry Lemonade! 🍋🍓

For BBQs we like to do cocktails by the pitcher since it adds to the more casual tone, while allowing us to focus on the food & atmosphere!

Not to mention, you have the option to make a mocktail version for any underaged guests by simply leaving out the alcohol - without losing the delicious flavour!

Ingredients (for 2, multiply by number of servings needed for pitcher):

  • 3 oz. vodka

  • 6 Strawberries, sliced

  • 1 small can club soda

  • 2 oz. honey simple syrup

  • 6 oz. lemonade (store bought or fresh)

  • 1 cup ice

  • 4 mint sprigs

  • 4 Lemon slices, 2 lemon wedge

How to (single serving):

  1. Add ice to desired glass, something tall or wider to accommodate all the yummy ingredients.

  2. Add vodka, simple syrup, and lemonade. Layer your sliced lemons and strawberries in the ice - give. a quick stir.

  3. Top with club soda, and sprinkle mint leaves. Again giving a quick stir, while pushing mint throughout the glass.

  4. Garnish with lemon wedge, sprig of mint, and baby strawberry.

How to (for a pitcher):

  1. Begin by layering ice, lemon slices, and strawberry slices.

  2. Add vodka, simple syrup, and lemonade. Stir until well combined.

  3. Top with club soda, and sprinkle mint leaves. Again giving a quick stir, while pushing mint throughout the pitcher.

And just like that, you're left with a self-serve cocktail station so you can man the grill and enjoy the company! Head to our Reels for a quick tutorial!

Grilled Chili Lime Honey Butter Corn on the Cob

Okay fair warning, once you try our Grilled Chili Lime Honey Butter Corn on the Cob 🌽 you may never eat corn any other way - it's that good!!

Corn has to be one of our favourite vegetables to throw on the grill, it's easy, hard to mess up, and always delicious! Of course, good old fashioned butter and salt will do the trick, but when we're hosting we like to go the extra mile to create memorable flavours.

While this recipe is super easy, it's sure to knock the socks off your friends & family!

Ingredients:

  • 6 ears of corn, shucked

  • ½ cup unsalted butter, melted

  • 3 tablespoons honey

  • Zest of 1 lime

  • Juice 1 lime

  • 2 tablespoons fresh cilantro, minced + extra for garnish

  • 1 teaspoon chili powder

  • 1 teaspoon garlic powder

  • 1/4 teaspoon paprika

  • 1/4 teaspoon cayenne

  • ½ teaspoon ground black pepper

  • ¼ teaspoon coarse salt

  • Lime wedges for serving

How to:

  1. Mix all ingredients (aside from the corn of course) in small-medium bowl.

  2. Preheat grill to high and heat for 10 minutes. (Alternatively, preheat grill pan to high.)

  3. Add corn and cook, turning often. While cooking, slather butter mixture onto corn (careful - flames likely to accur!). Continue until charred all over, about 10-15 minutes.

  4. Remove corn from BBQ, and onto serving plate. Once again, slather with your butter mixture so they are evenly coated. Serve with lime wedges, and fresh cilantro. You can also leave the butter mixture on the side for anyone who wants extra!

Check out our Reels for a quick tutorial! Happy grilling!!

Corn story.png

The Perfect BBQ Tablescape

BBQ season is officially upon us!!

Table2.png

We are dedicating this month to the age old Canadian tradition of cooking & eating outside as much as possible during our (never long enough) summer season!

Whether you're just hosting your quarantine crew or if it's a socially distant party with friends (hopefully in the near future), we'll teach you how to be the hostess with the mostess all summer long.

We're talking everything from grillable bites to refreshing cocktails, and easy DIYs to fun filled backyard games the whole family will enjoy.

First things first, the overall aesthetic.

While we totally agree with a backyard BBQ being a casual al fresco occasion, we also are of the opinion that even casual can look put together!

Table3.png

Here's one of our go-to looks for one such occasion - a black & white gingham tablecloth, paired with bright accents in the florals and napkins, with a final touch of natural wood from the flower box.

Just like that you've created an elegant rustic tablescape with only a few elements. The perfect example of simple - yet effective!

We have so much more to share with you this month, so stay tuned - and start dusting off those grills if you haven't already!!

Classic Lemon Meringue Pie

Lemon Meringue Pie has to be one of our all time favourite desserts - and we think the fresh zingy flavour profile is a PERFECT fit for the Spring season 🍋

Pie1.png

This dessert, while not complicated to make, has a few more elements involved than our typical recipe shares. There’s the flaky butter pie crust, the tart lemon curd, and of course - the pillowy meringue topping!

So let’s get into it!

Pie4.png

Ingredients

Pie Crust:

Use your favourite butter pie crust recipe - ours is by Epicurious! This you will need to prepare ahead of time - or ‘blind bake’ as some like to call it. It needs to be pre cooked + cooled before we get to filling it.

Lemon Curd Filling:
1 1/2 cups water
1 1/2 cups granulated sugar
5 tblsp cornstarch
1 cup fresh lemon juice
1 1/2 tblsp lemon zest
1 tsp salt
4 large eggs yolks
3 tblsp unsalted butter

Meringue:
4 large egg whites
6 tblsp white granulated sugar
1 tsp vanilla extract
1/2 tsp cream of tartar

How-To

  1. Blind bake your pie crust well in advance giving enough time for it to cool fulling by the time you’re ready to add filling.

  2. The lemon curd: Whisk the egg yolks together in a medium bowl or liquid measuring cup. Set aside. Whisk the water, granulated sugar, cornstarch, salt, lemon juice, and lemon zest together in a medium saucepan over medium heat. Once thickened (5-6 mins), give it a whisk and reduce heat to low.

  3. Still working on the lemon curd, very slowly scoop a few large spoonfuls of warm lemon mixture into the beaten egg yolks (set aside in step 2). Then, very slowly, whisk the egg yolk mixture into the saucepan. Turn heat back up to medium. Cook until the mixture is thick and big bubbles begin bursting at the surface. Remove the pan from heat and whisk in the butter. Spread filling into the warm partially baked crust. Set aside as you prepare the meringue. *Pro Tip: Don’t let the filling cool down too much as you want a warm filling when you top with the meringue . The heat from the filling helps bond the two layers together.

  4. The meringue: using a stand or hand mixer, add egg whites and vanilla to mixing bowl. Whisk on med-high until egg whites become foamy, gradually begin added sugar and cream of tartar while still whisking. Continue whisking until meringue is light, fluffy, and easily holds stiff peaks.

  5. Spread meringue on top of filling (now in pie crust), Making sure to cover entire filling.

  6. Bake at 375 F just until the tops of the meringue are light golden brown — don’t overbake! If you have a kitchen blow torch, you can add a bit more drama to the toasted affect (the fun part!).

And voila! One of the most beautiful desserts ever invented - not as hard as it looks huh! :)

Pie3.png

Spring Green Pasta with Lemon & Pesto

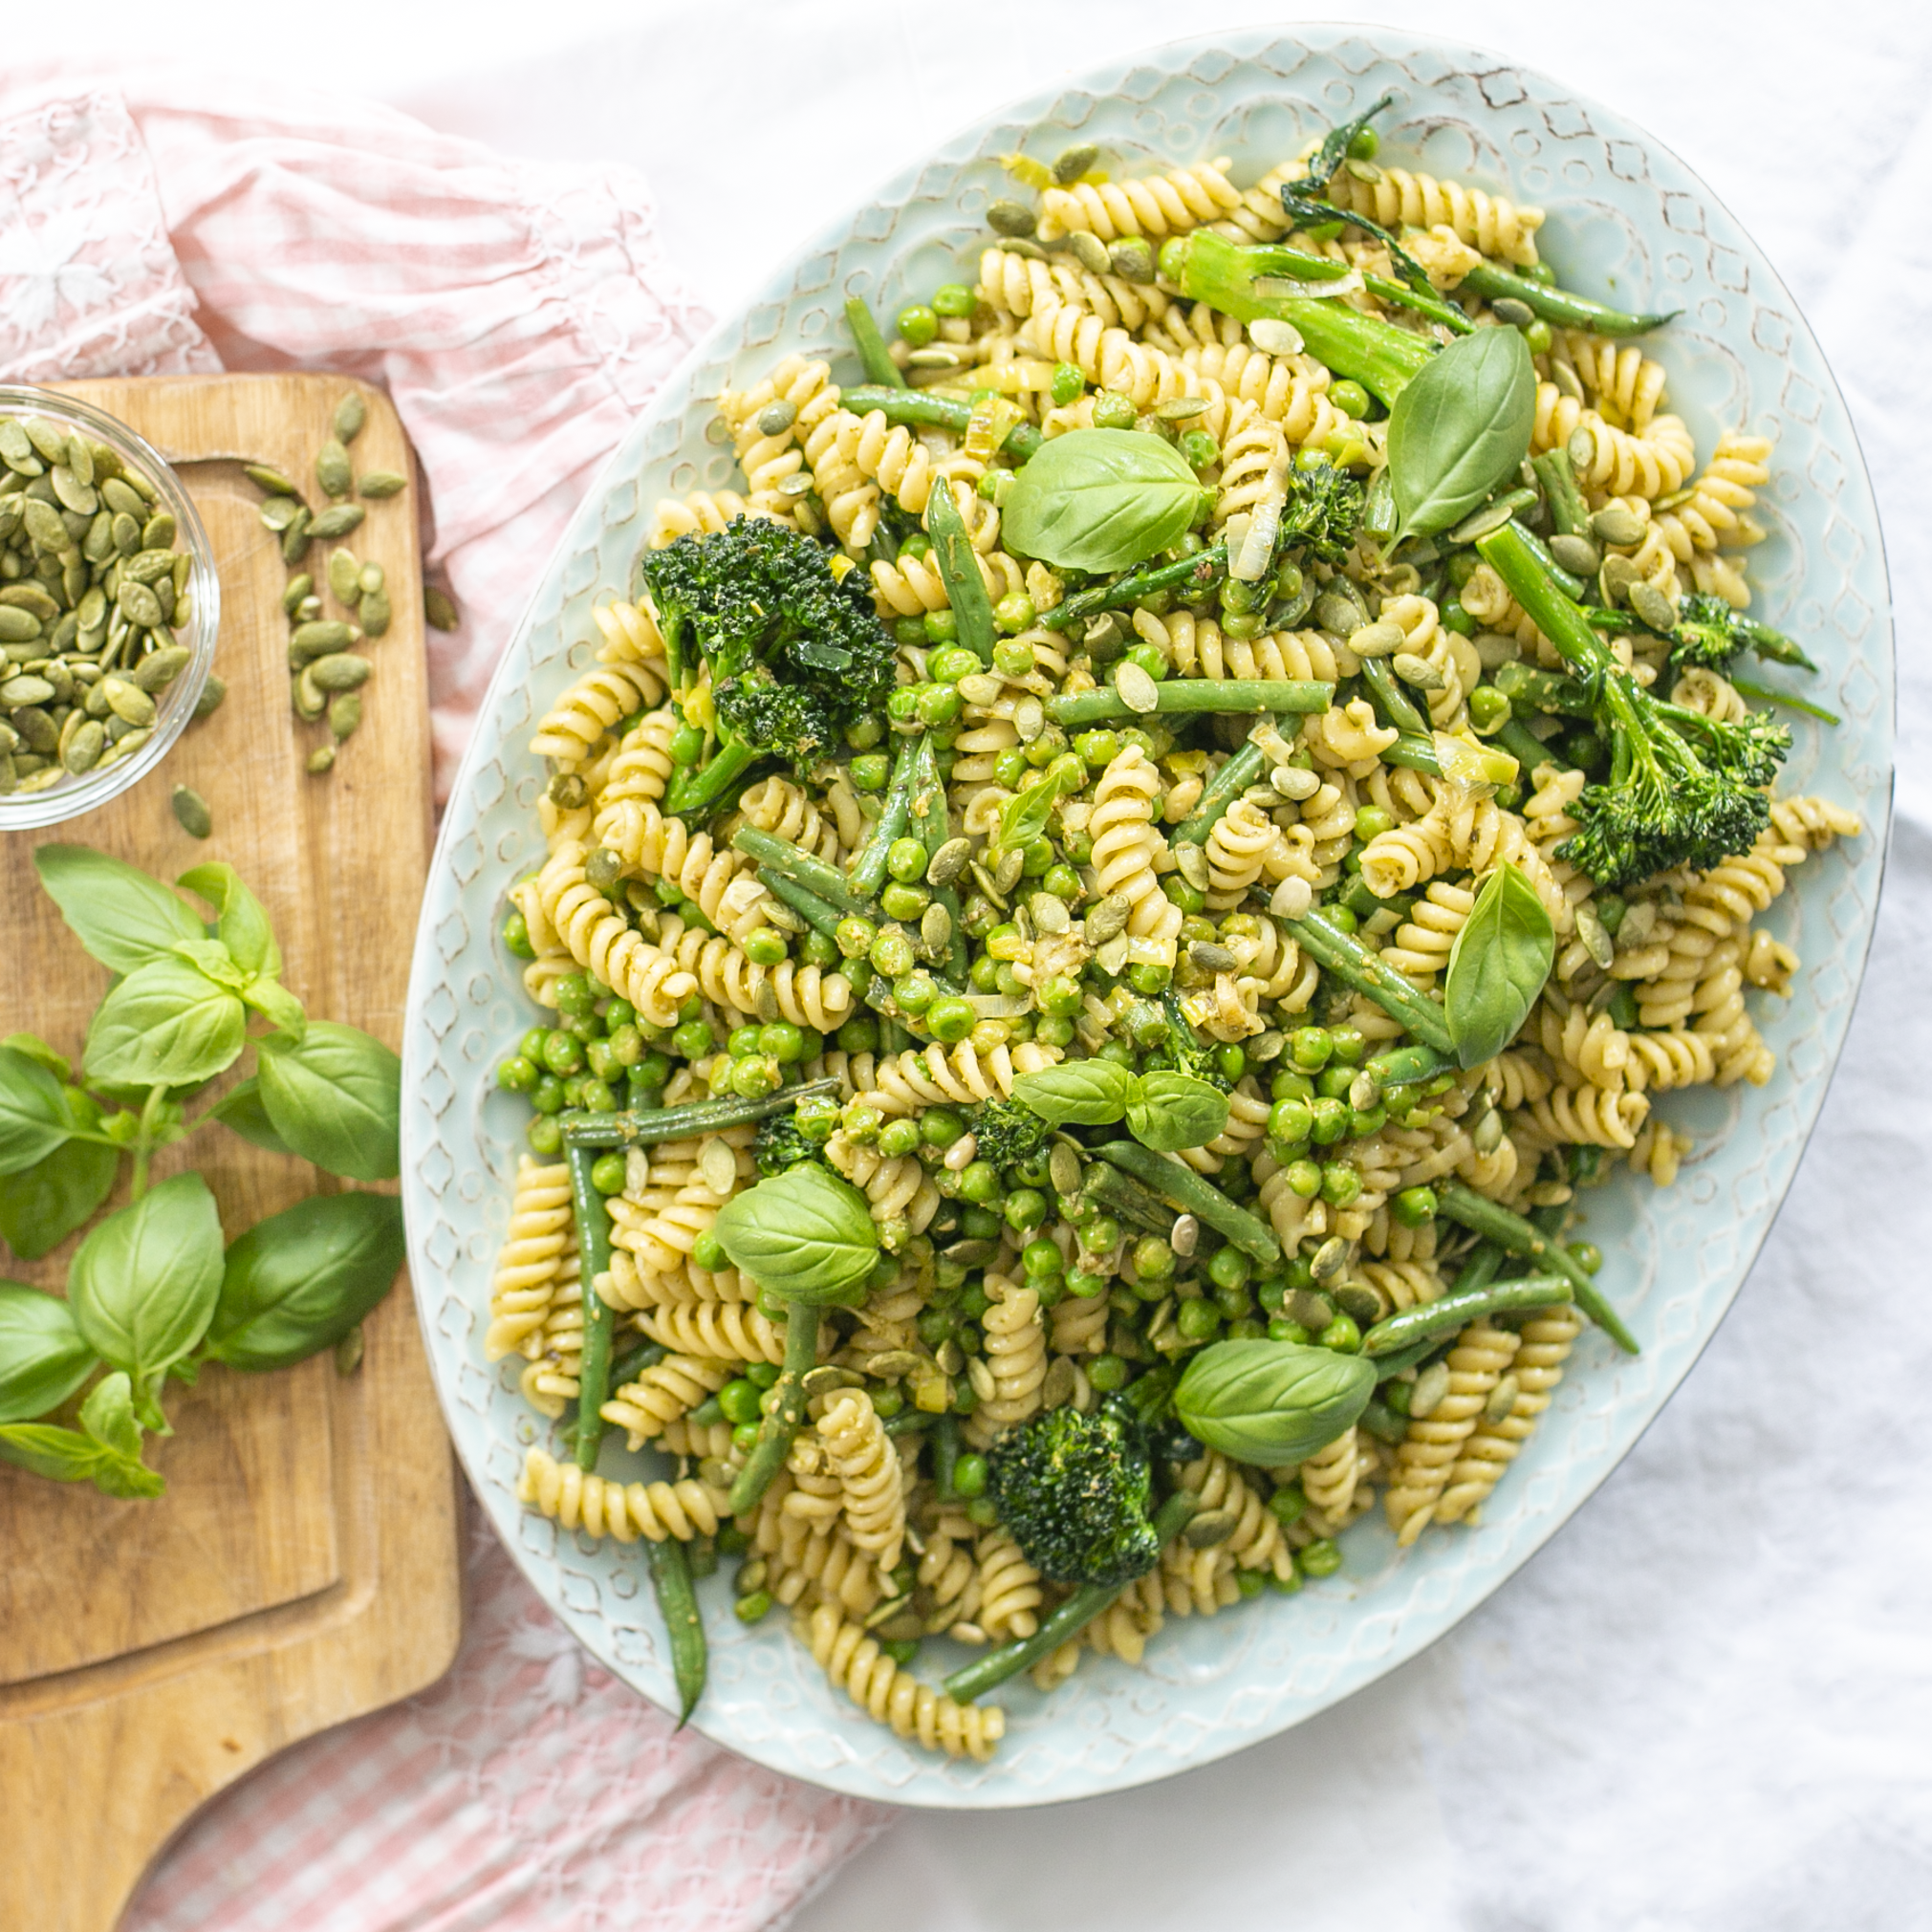
Consider your pasta craving satisfied with this Spring Green Pasta with Lemon & Pesto! 🥦 🥬 🥒

Pasta1.png

This incredibly quick and easy recipe is fresh, packed with healthy greens, and perfect for spring of course!

Normally, at this time of year, we're no longer craving those heavier dishes that keep us warm in the winter - but that doesn't mean we have to take pasta off the menu.

This recipe is the perfect solution, as It’s fresh and light - while still filling!!

Pasta2.png

✨Recipe✨

  • Ingredients:

  • 1 bag/box of your favourite pasta

  • 1 Leek 1 Bunch of broccolini

  • 1/2 bag of frozen peas

  • 1/2 bag of fresh French green beans

  • 1 large lemon

  • 1 Small jar pesto

  • 1/4 cup pumpkin seeds

  • 1/2 cup fresh basil

  • 2-3 tablespoons olive oil

  • Slat & Pepper to taste

Flatlay.png

How-To:

  1. Bring water to a boil in large pot. Once boiling salt, and add pasta. Cook pasta according to packaging instructions, although we always remove from heat 2-3 mins earlier than recommended for that al dente finish.

  2. While pasta is cooking, prep your veggies. We like to make sure everything is cut into bite sized pieces to make for easy serving & enjoying!

  3. Strain your pasta when done, and put it back in the pot - set aside.

  4. Heat the olive oil in a large pan over medium heat. Add the leek and beans and broccolini, stirring occasionally, until vegetables have softened but are still al dente, about 3 to 5 minutes. Add the peas and sea salt and continue cooking for approx 1 minute.

  5. Add the pesto and the zest & juice of 1 lemon to your post of pasta. Mix until pasta is evenly coated. Add your veggies and mix again.

  6. Transfer everything to your desired serving dish, and garnish with pumpkin seeds & fresh basil! Enjoy fresh & hot - or let cool for an equally delicious pasta salad!

Check out our Reels for a quick video tutorial!

PastStory.png

Lavender & Elderflower Gin & Tonic

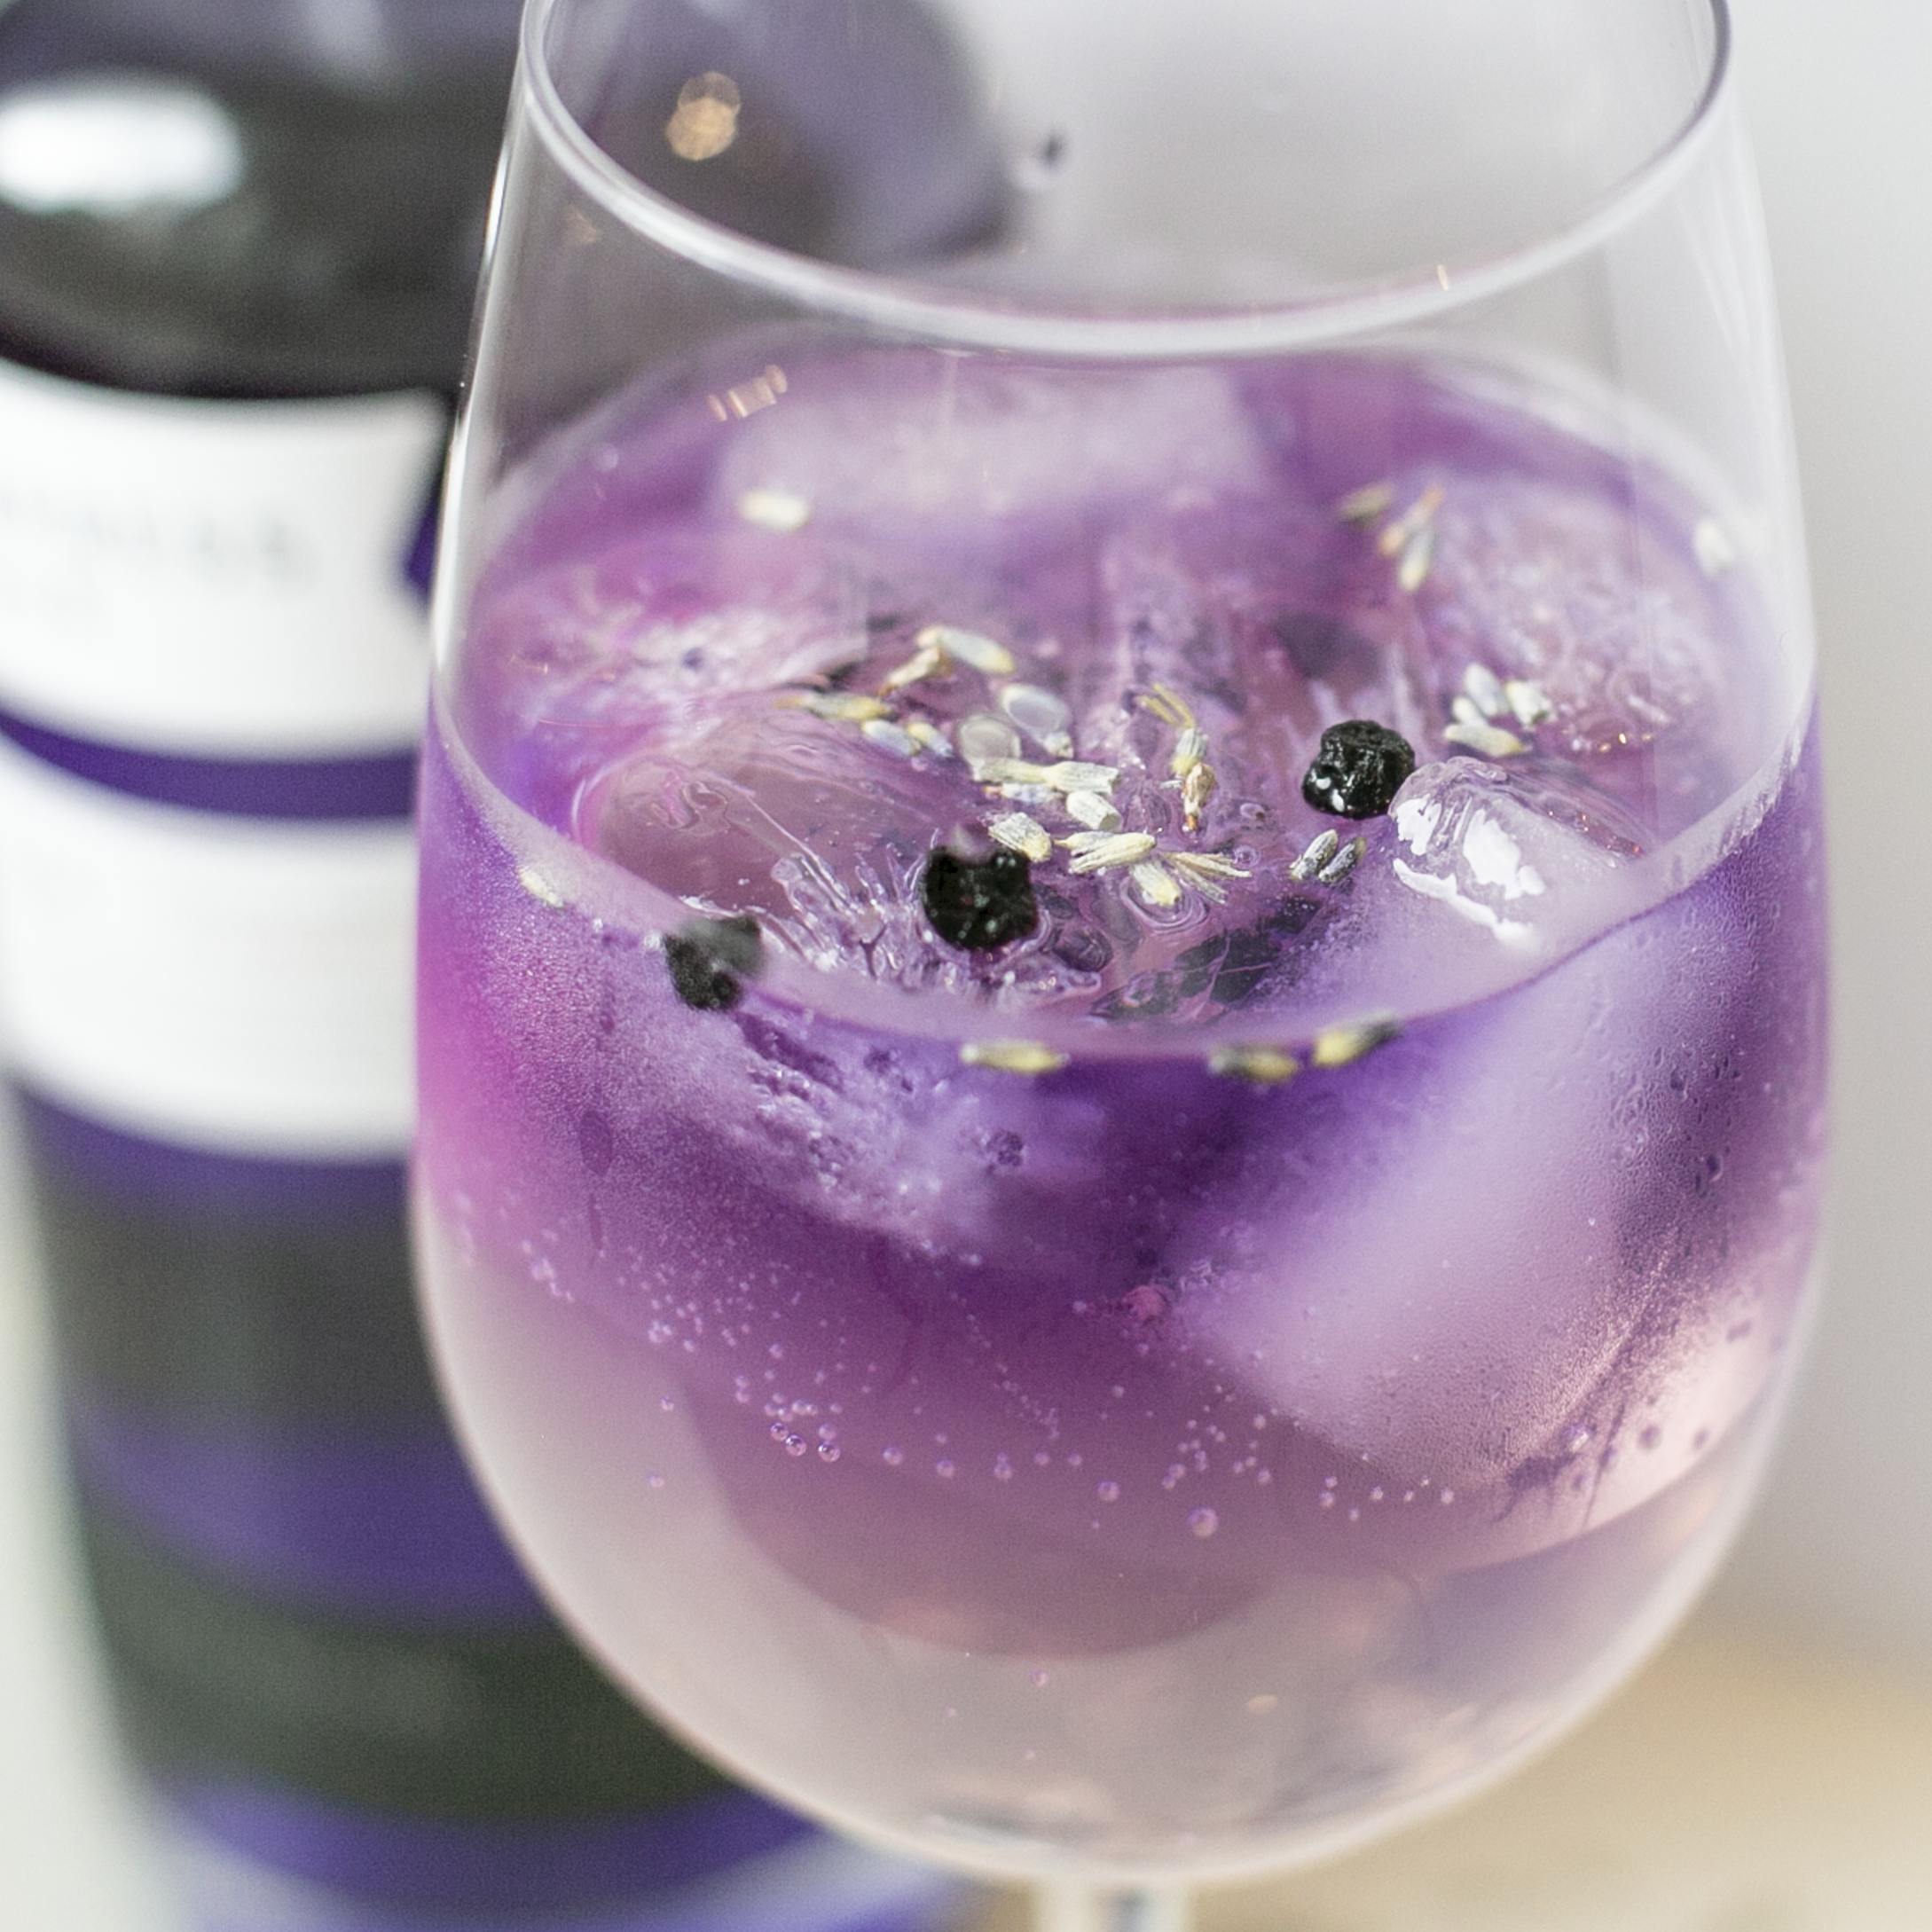
Is there really a more Spring cocktail than one infused with delicious floral flavours!?

This Lavender & Elderflower Gin & Tonic is sure to have your taste buds singing with seasonal joy!!

Cocktail1.png

Ingredients (for 1)

  • 2 oz Empress 1908 gin

  • 4-5oz Fevertree tonic water (or your favourite tonic)

  • Splash of St Germain elderflower liqueur

  • Garnish wth dried blueberries and dried lavender (a sprig of lavender would look gorgeous as well)

How-To:

In your glass of choice, add ice, tonic, and elderflower. If you want to get the gradient effect as pictured above, add the gin carefully allowing it to settle at the top. Sprinkle blueberries and lavender. Give it a quick stir before drinking.

You can also check out our Reels for a quick tutorial! Happy Sunday Funday everyone!!

cocktail2.png

Spring Tulip Wreath

Who said wreaths were only for the holidays!? 💐

1.png

Using just a few crafting supplies, turn bunches of faux tulips into a gorgeous statement piece!

This DIY is so easy to make, and it can be reused year after year! ♻️

What you'll need:

  • 18-inch wire wreath form

  • 24 feet 1.5- 2 inch ribbon

  • Scissors

  • Hot-glue gun + hot glue

  • 14-20 bunches of mini tulips (colour is up to you!)

  • Wire clippers

How-To:

SS APRIL copy 2.png
  1. Secure the ribbon to the wreath frame by wrapping around once and gluing down. Continue wrapping ribbon and securing with glue every other round or so until you have wrapped approximately 6 inches of the frame.

  2. Lay the first bunch down on top of the area you've already wrapped with ribbon. Then, take the remaining ribbon and wrap it around the stems of the bunch and secure it with hot glue.

  3. Lay the second bunch of tulips over the first bunch covering the exposed ribbon. Wrap the stems with ribbon and secure with glue. Continue to layer, wrap, and glue the flowers all the way around until the wreath is complete.

  4. You should have ended with a portion of the of the frame still exposed. This will be where you can easily hang the wreath onto a hook, or attach some wire/twine to hand as desired.

Display your finished DIY tulip wreath all spring and summer long!! If you give this one a try, be sure to tag us in your creations!!

2.png

Cheesy Prosciutto & Asparagus Puff Pastries

Warning - today's recipe may cause drooling! 🤤

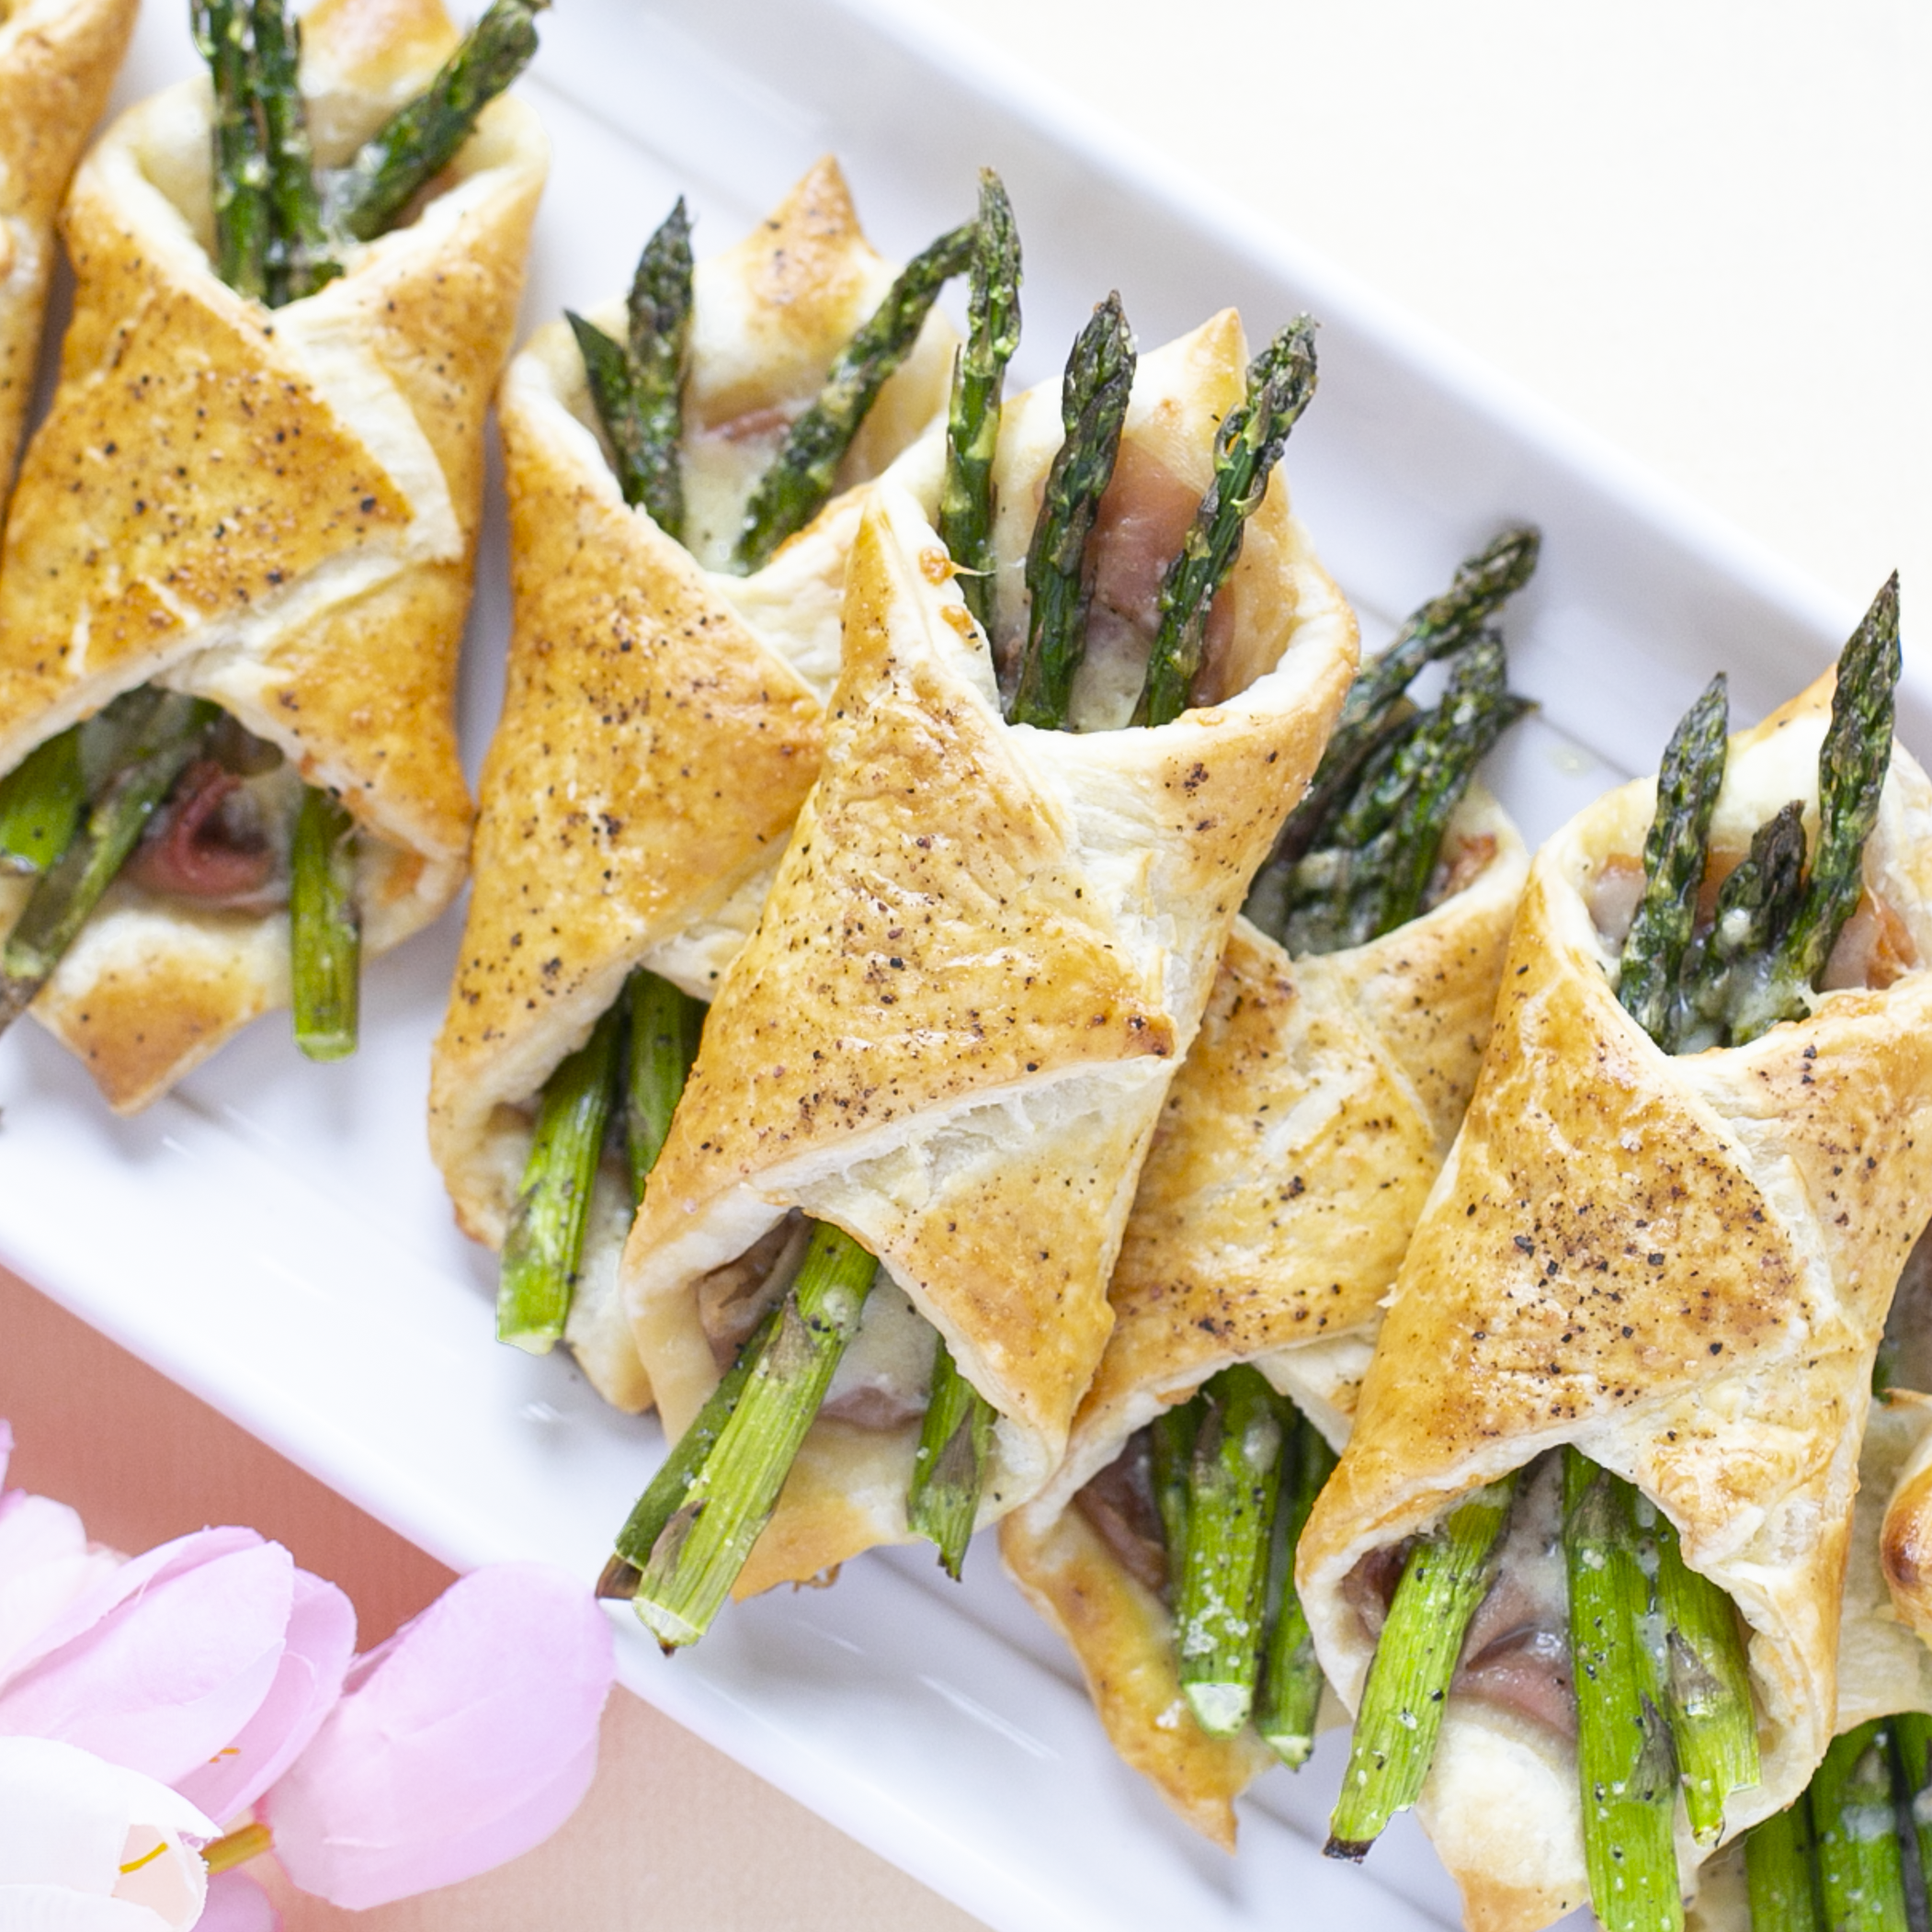
These beautiful and delicious appetizers are perfect for any spring brunch! 💐

pastry1.png

✨ Recipe✨

  • 1 bunch asparagus (about 24) - ends trimmed

  • 1 tablespoon extra virgin olive oil

  • salt pepper

  • 2 sheets frozen puff pastry - thawed

  • 1 1/2 cups Gruyere cheese shredded (or favourite sharp cheese of choice!)

  • 8-12 slices prosciutto

  • 1 egg beaten

How-To

  1. Preheat oven to 425°F. Line a sheet pan with parchment paper.

  2. Trim ends off asparagus, toss in olive oil and season with salt and pepper.

  3. Shred cheese, set aside.

  4. Roll out or unfold your thawed out puff pastry. Cut each in half lengthwise then widthwise to create 4 equal parts - 8 in total.

  5. Lay down a slice of prosciutto, followed by 3-4 asparagus spears, then your shredded cheese. Repeat on all eight pastry squares.

  6. Lift two opposite corners of the puff pastry squares and wrap them around the asparagus and press to seal. Brush puff pastry with egg wash. Sprinkle with more salt and pepper.

  7. Bake in oven for about 20 minutes or until puff pastry has puffed & turned a beautiful golden colour.

These are best enjoyed straight out of the oven , so serve immediately!

For mini video tutorial - check out our Reels 🎥

pastry2.png

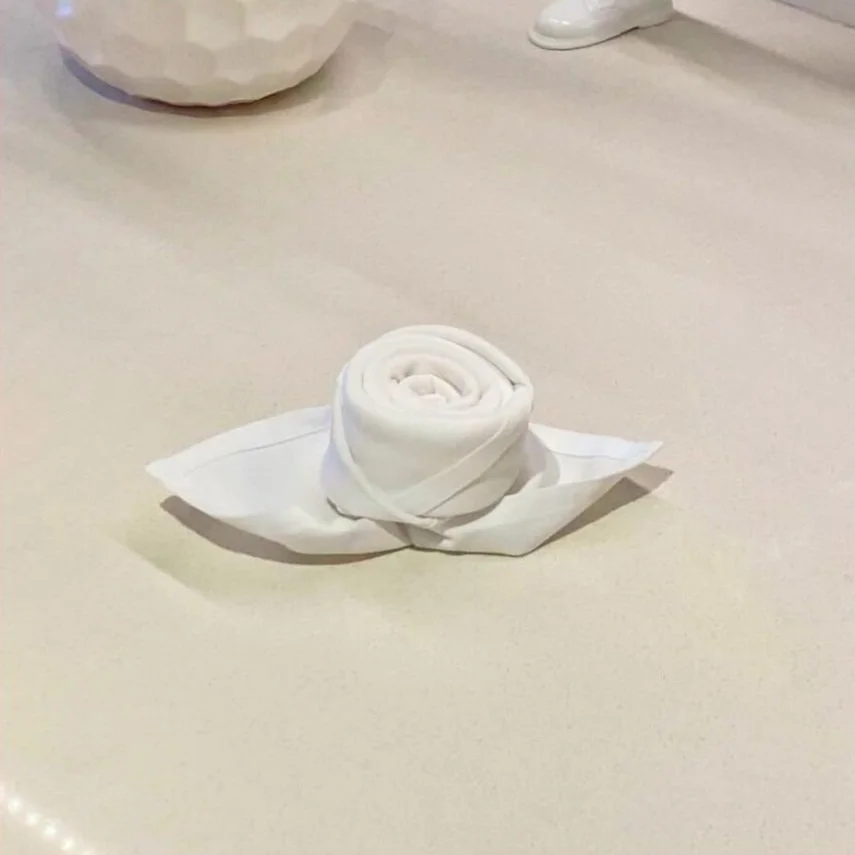
Bunny Napkin Fold

Since spring has officially sprung, we're dedicating this month to the change of seasons!

Everything from fresh recipes & cocktails, to seasonal DIY's & tablescapes- we're covering all the bases of this blooming season! To start, since we're heading into the Easter long weekend, let's get festive!

final.png

These bunny shaped napkins are the perfect DIY to easily add some fun to your tablesetting.

Head over to our Reels for the how-to tutorial video!

No Bake White Chocolate Passion Fruit Cheesecake

This White Chocolate Passion Fruit Cheesecake is just as indulgent as it is easy to make!! You won't even have to turn your oven on!!

Cheescake3.png

Ingredients

Crust

  • 1 1/4 cup graham cracker crumbs

  • 3 tablespoons unsalted butter melted (or enough to coat crumbs well)

Filling

  • 800 grams full fat cream cheese at room temperature (approx 28 ounces)

  • 400 grams white chocolate melted and cooled to just above room temperature (approx 15 ounces)

  • 1 1/2 cups whipped cream at room temperature (*not whipping cream, actual fluffy whipped cream)

  • 2 tsp vanilla paste or extract

  • 2 teaspoons lemon juice

How-To:

  1. Mix graham cracker crumbs and melted butter together in medium bowl. Pour into a 9-inch or 10-inch springform pan and pack in very tightly. The tighter it’s packed, the less likely it will fall apart when cutting the cheesecake. Something like the bottom of a measuring cup or easy clean hands will do the trick. Place in freezer for 10-20 minutes as you prepare the filling.

  2. Melt the white chocolate in the microwave (break it into small pieces first) on 50% power for 30-second increments until the chocolate is just melted. Let stand until it is once again room temperature.

  3. Using a hand mixer or a stand mixer fitted with a paddle attachment, beat the cream cheese until perfectly smooth and creamy. Add melted white chocolate, lemon juice, and vanilla extract. Beat for 2-3 minutes on medium-high speed until smooth and combined.

  4. Fold the whipped cream into the cheesecake filling until combined. This takes several turns of your rubber spatula. Combine slowly as you want to preserve the air in the whipped cream.

  5. Remove crust from the freezer and spread filling into crust.Cover tightly with plastic wrap or aluminum foil and refrigerate for at least 6-8 hours and up to 2 days. For best results, 12 hours is best. We chill ours overnight.

  6. When it comes time to serve, use a knife to loosen the chilled cheesecake from the rim of the springform pan, then remove the rim.

  7. Top with either fresh passion fruit or passion fruit purée!

What our Reel here!

Cheescake1.jpg

BBQ Hawaiian Meatballs

Whether you’re making them for an easy canapé or serving them as a main dish over rice with your favourite side of veggies, Hawaiian Meatballs are sure to be hit!

All you need is pineapple, BBQ sauce, and of course - meatballs!

meatball2.png

We like to do these in a slow cooker (just tends to amp up the flavours), but if you're crunched on time they can easily be done stove top.

Ingredients

  • 1 can of sliced pineapples

  • 2 cups of your favourite BBQ sauce (homemade even better!)

  • 50-60 Serloin meatballs, or any type of meatball really!

How-to Slow Cooker

  1. Spray the bottom of your slow cooker lightly with cooking spray.

  2. Add frozen meatballs to the bottom of pot.

  3. In a large bowl stir together homemade bbq sauce and crushed pineapple. Pour over meatballs.

  4. Cook on low for 4-6 hours or high for 2-3 hours. Serve as desired!

How-to Stove Top

  1. Add homemade bbq sauce and crushed pineapple to a medium pot.

  2. Add meatballs and stir to coat. Bring to a boil, then reduce heat to simmer.

  3. Cook for 10-12 minutes for thawed meatballs, or 16-20 minutes for frozen meatballs. Or until sauce has reduced to desired consistency (longer = thicker).

  4. Serve as desired!

Let us know in the comments below if you give this one a try!

meatball3.png

3 Ways to Incorporate Greenery Into Your Tablesetting

Since there are so many ways to incorporate lush greens into your tablescape, we thought we'd share our top 3 ways!

March+19.jpg

1. Using smaller leaves as namecards. This is probably the easiest way, since all you need are the leaves & a gel marker!. This tiny addition instantly adds that tropical warmth to your table setting.

option1 copy.png

2. Giant monstera as a charger. If your florist carries monstera leaves, this is a must! It ads so much colour to the table, and can easily act an alternative namecard!

option3.png

3. For a more crisp or subtle way to incorporate the green, use a small banana leaf as your napkin rings! All you need is a bit of tape on the bottom side to keep it together, and voila! This is the most modern or chic method in our books!

Let us know in the comments below which option is your favourite!

Spicy Watermelon & Blackberry Margarita

Nothing brings the vacation vibes quite like a delicious fruity cocktail 🍹

SS cocktail.jpg

One of favourites is the classic margarita - but today we're giving you one with a twist.

The Spicy Blackberry Watermelon Margarita is sure to transport you to your favourite beach destination with just one sip!

Here is the recipe for 2:

  • 1 1/2 cups cubed watermelon

  • 1 Jalapeño

  • 1 small pint of blackberries

  • 1/2 tbsp agave

  • 1/4 cup lime juice

  • 2 oz tequila

  • 1 oz triple sec

  • Small pinch of pink salt Ice

IMG_2922.jpg

How-to

  1. Place tequila and about 2-3 slices of jalapeño in a glass measuring cup and place in the refrigerator for 1 to 3 hours (depending on how spicy you want the tequila to be). Do a taste test after 1 hour and decide whether it is spicy enough. If so, remove jalapeños and keep in the fridge until ready to enjoy.

  2. In a blender, add cubes of watermelon, blackberries, lime juice, salt, and agave - blend until liquified/smooth.

  3. Remove tequila from the fridge, and add triple sec. Pour evenly into two glasses. Fill the rest of your glass with your blended mixture and give it a quick stir.

  4. Garnish with jalapeño and lime! It’s a fun cocktail to enjoy on its own, but if you really want to take this watermelon margarita to the stay-cation of your dreams, serve it with tortilla chips, guac, and your favourite salsa!

Watch our how-to video here!

Tropical BBQ Shrimp Kebabs

Let's get grilling with some Tropical BBQ Shrimp Kebabs!

We don't know about you guys, but we think it's about that time to start dusting off the barbecues (if you haven't already)!!

Today's recipe is really all about the marinade - after that it's as simple as throwing it on the grill! So save this one down, because whether you try it out this weekend or in the heat of summer, it's soon to be a family grill favourite!

kebab1.png

✨Recipe✨

Ingredients

Marinade

  • ¼ cup extra-virgin olive oil

  • ¼ cup fresh lemon juice

  • ½ cup pineapple juice

  • 4 garlic cloves minced

  • 1 tbsp fresh grated ginger

  • 3 tablespoons honey

  • 1 teaspoon kosher salt

  • ½ teaspoon cayenne pepper

  • 1 teaspoon paprika

Kebab

  • 1 pound shrimp (26-30 medium sized) peeled and deveined

  • 1/2 pineapple cubed

  • 2 medium zucchinis sliced thick

  • 1 red onion cube/wedged

  • 2 medium red peppers cubed/sliced thick

  • Lemon wedges & chili flakes for serving

How-To:

  1. If your shrimp are frozen, be sure to give time for defrosting. Peel and devein shrimp. Set aside.

  2. Ready your other kebab elements (cube pineapple, slice zucchini, etc.). Set aside.

  3. In a large bowl, combine all wet ingredients of marinade. Whisk until well combined. In a separate small bowl, combine all dry ingredients. Whisk until well combined.

  4. Add dry ingredients to large bowl containing wet ingredients. Whisk until well combined.

  5. Add shrimp and veggies/pineapple to bowl with marinade, tossing until everything is evenly coated.

  6. Let marinade for minimum of 30 minutes. If time permits, cover and place in fridge for 1-2 hours.

  7. Thread the shrimp, veggies, and pineapple onto the skewers alternating as you go. Reserve the rest of the sauce to brush over the skewers while cooking!

  8. Preheat a grill over medium heat until you reach a steady temperature between 350º-400ºF. Place the skewers on the grill, and grill for 5-6 minutes per side, or until the shrimp is pink and cooked through. Brush with extra marinade as you grill. Serve immediately.

Let us know in the comments below if you give this one a try!

DIY Pineapple Vase

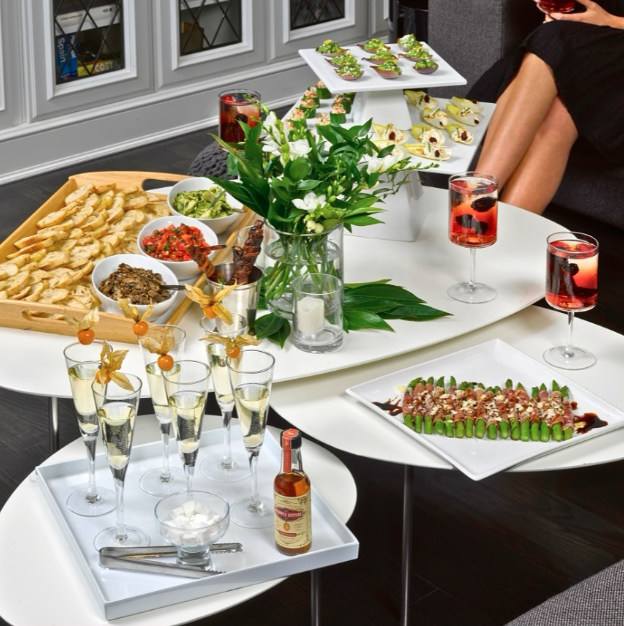
As we continue to evoke those summer and palm-lined beach vibes through food, we of course have to infuse our table decor with that same energy!

squared.png

Today's DIY has to be the most perfect way to bring the tropics to your tablescape - lush tropical flowers in a pineapple vase!

This one is so so simple, all you need is:

  • Your choice of lush florals from your local florist (we recommend getting at least a couple of bright bold oranges & pinks!)

  • 1 medium to large pineapple

  • 1 slim cup

How-To:

  1. Cut the top of the pineapple off. Try to cut as straight across as you can.

  2. Using a large serrated knife, hollow out the inside as best you can - or until you've created enough space to fit your cup. Make sure to save all that yummy pineapple for snacking later!

  3. Place your cup inside and add some water.

  4. Arrange florals as desired. We like to cut and arrange at different heights and angles to create a more asymmetrical finished look!

And there you have it, a centrepiece that promises to brighten the greyest of days!

Be sure to check out our Reels for a mini tutorial! HERE
102A5415.jpg

Ahi Tuna Steak with Chili Ponzu Sauce

Today’s post is all about creating a date night completely customized to your partner!

This could be queueing up their favourite movie on Netflix, doing one of their favourite outdoor activities, or if you're like us - make their favourite dish!

Seb absolutely loves my killer Tuna Steak recipe, so I'll make it whenever I want to spoil him a little!

tuna1.jpg

✨Recipe✨

Ingredients

2 4-6 oz. ahi tuna steaks (If you can, make sure you're getting quality sushi-grade Ahi Tuna—it tastes MUCH better raw than your average grocery store cut of tuna)

Coarse salt

Freshly ground black pepper

2 tbsp. black sesame seeds

2 tbsp. white sesame seeds

1 tbsp. olive oil

Spicy Sauce

1 heaping spoon of chilli paste

1 tbsp soy sauce

3/4 tbsp ponzu sauce

1/2 tsp sesame oil

Garnish Options

Green onion

Sliced jalapeño

Chopped cilantro

Garlic chips (fresh garlic sliced thinly and fried in olive oil until golden then removed and placed on paper towel until dried)

Lime wedge

How-To

Drizzle tuna steaks with olive oil, and spread evenly with a spoon or brush.

Coat in salt, pepper, and sesame seeds (make sure to get both sides)

Sear on high heat each side for approx. 1-2 minutes, interior should still be bright pink.

Remove immediately, let sit for a few minutes, slice super thin against the grain.

While Tuna sits, combine/whisk sauce ingredients together in separate bowl.

Plate as desired. We usually use a bed of greens as the base, add the sliced tuna, and finish with sauces & garnishes!

This one is near and dear to our hearts so we hope you enjoy!!

tuna2.jpg

Flower Ice Cubes

Today's DIY: Edible Flower Ice Cubes!!

These fresh frozen blossoms are the perfect way to dress up a cocktail, ice bucket, or even just water. Up your beverage with the prettiest ice cubes ever!!

Post.jpg

How-To:

  1. Get your florals. If you'll be using them for drinks, make sure to purchase the edible variety - otherwise for ice buckets you can pick any ice cube tray sized arrangement from your local florist.

  2. Fill your ice cube tray half way and arrange florals as desired. We only fill halfway up first because we don't want the flowers floating up at the top of the tray. Place in freezer until frozen.

  3. Fill your ice cube tray up to the top, fully submerging the florals. Place back in freezer until frozen through.

  4. Remove from freezer at moment of use - and enjoy!

Check out our Reels for a mini tutorial video!

post3.jpg

Love Potion #9 Cocktail

We think you know what time of month it is - cocktail time!!

We're calling this one Love Potion #9 - for obvious reasons 😍

lovepotion.jpg

✨Recipe✨

For 2:

  • 4 oz of pink gin

  • 2 oz honey simple syrup

  • 2 oz lemon juice

  • 2 oz of pomegranate juice

  • One egg white

  • Pinch of disco dust (edible glitter - this is the secret to that sparkling finish!)

How-to

  1. Add ice to your cocktail shaker followed by the gin, lemon juice, honey simple syrup, and egg white.

  2. Shake well, and pour into glass coupe (you can use another style of glass of course, but we really think the coupe is perfect for this one!)

  3. Garnish with disco dust and a couple rose petals, and voila!

This may look too good to drink, but you won't be able to help yourself after the first sip!!

Cheers everyone!

lovepotion2.jpg