Spooky Pumpkin Focaccia Recipe

🎃 Sink your fangs into our Spooky Pumpkin Focaccia!⁣

Today we're carving out the perfect Halloween treat with this spin on classic Focaccia ⁣

Ingredients:⁣

1 1/2 cups pumpkin chunks (roasted)⁣

2 1/4 tsp active dry yeast⁣

1/2 cup warm water⁣

2 1/2 cups all-purpose flour⁣

2 tbsp olive oil⁣

1 tsp salt⁣

1/2 tsp sugar⁣

Extra toppings (pepitas, thyme, olives, etc.)⁣

Instructions:⁣

- Roast pumpkin chunks until tender and lightly caramelized. Set aside.⁣

- In a bowl, mix warm water, sugar, and yeast. Allow it to sit for 5 minutes until foamy.⁣

- Add the roasted pumpkin, flour, salt, and olive oil to the yeast mixture. Knead into a smooth dough. Cover and let it rise for at least 1 hour.⁣

- Preheat your cauldron... uh, oven to 400°F⁣

- Place dough into your pan of choice, rub your hands lightly in olive oil to coat, then, using all of your fingers, press straight down to create deep dimples. Decorate with your spooktacular toppings.⁣

- Bake for 20-25 minutes, or until it's hauntingly golden brown.⁣

Now slice and enjoy! 🎃⁣

Halloween Party Essentials

Get Ready for Spooky Season with these Amazon Finds! 🎃👻

We curated an idea list to find more kitchen must-haves and elevate your entertaining game this season!

Don't miss out! Visit our Amazon.ca storefront and grab your copy of 'Eatertainment' as well as shop these spooky season essentials 📖 🛒 LINK!

Welcome to Spooky Season

Are you ready to summon the spirit of Spooky Season? 👻

Welcome to our bewitching October, where we're about to take you on an eerie and enchanting journey into all things Halloween entertaining! 🌙✨

Get ready to embrace the supernatural as we share some of our favourite spine-tingling recipes. From poison apple potions to haunting treats, we have been cooking up a storm!

We'll also be your go-to source for devilishly creative DIYs that will turn your home into a haunted mansion. And if you're in need of some mystical guidance for hosting the spookiest soirées, fear not! We'll be sharing tips and tricks to ensure your Halloween gatherings are legendary.

Stay tuned as we conjure up the most spellbinding ideas to make your October unforgettable. Follow us closely, and together, we'll celebrate the magic and mystery of Spooky Season!

Roast Chicken with Sheila's Patates and Brown Butter Carrots Recipe

Today, we are getting into the main course! 🍗

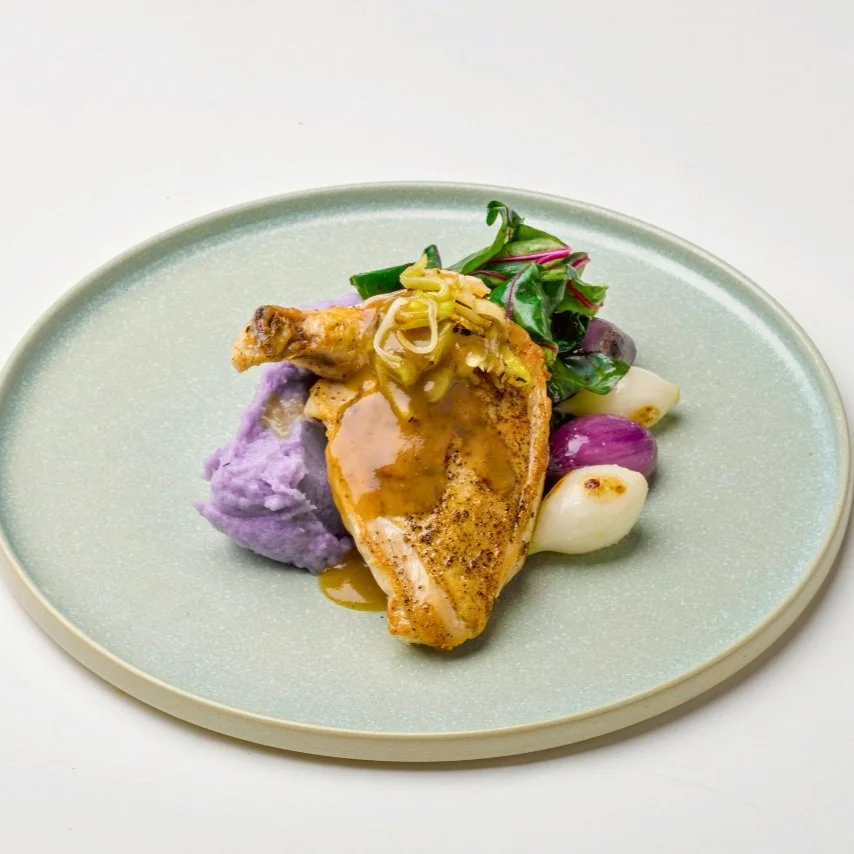
For the main dish, we will be serving Roast Chicken with Brown Butter Carrots and Sheila's Patates.

We suggest that instead of individually plating each portion of roast chicken along with the side dishes, we recommend serving everything family-style. It's less demanding on the hosts and allows guests to choose the quantity of each dish themselves. It also makes helping yourself to seconds less awkward!

With a family-style meal, it's important to think about positioning when you bring your main course and sides to the table. Some simple planning before your guests arrive can help you allocate enough space to each dish without the table feeling overcrowded.

ROAST CHICKEN yield: serves 6–8; prep time: 30 minutes + 15 minutes to rest; cook time: 1 hour

Ingredients

CHICKEN

2 (each 3 lb) chickens

4 Tbsp salted butter, divided

6 thyme sprigs, divided

4 rosemary sprigs, divided

4 Tbsp olive oil, divided

Kosher salt and black pepper

3 stalks of celery, chopped in

1-inch pieces

2 carrots, peeled and chopped into 1-inch pieces

4 garlic cloves

2 bay leaves

4 cups chicken stock, plus more for jus

JUS

1 Tbsp cornstarch

4 cups roasting pan juices

Kosher salt and black pepper

Method

FOR THE CHICKEN

  • Preheat the oven to 375°F. Remove the chicken giblets, any excess fat, and leftover pin feathers and pat them dry.

  • Place each chicken breast side up with its legs facing you. Gently slide your fingers under the skin to loosen it, careful not to tear the skin. Rub the butter under the skin.

  • Place one sprig each of thyme and rosemary in the cavity of each chicken.

  • Place each chicken in a medium bowl. Rub with the oil and season with salt

  • With each chicken still breast-side up and legs facing you, truss it with kitchen twine to secure the legs together and the wings to the bird's body. (There are some great YouTube videos available online to show you how to do this.)

  • Mix the celery, carrots, garlic, bay leaves, and stock in a roasting pan large enough to hold both chickens snugly without crowding. Add the remaining rosemary and thyme.

  • Place the chickens on top of the vegetables. Roast, uncovered, for 30 minutes, then baste each chicken with the roasting pan juices every 15 minutes until the internal temperature reaches 165°F in the center of the breast. This should take about an hour, but check the temperature with a meat thermometer to be sure.

  • Remove the chicken from the baking dish and transfer it to a platter to rest for 15 minutes before serving.

  • Strain the roasting pan juices, reserving the liquid to make the jus.

FOR THE JUS

  • Whisk the cornstarch in 3 Tbsp of cold water until completely combined to make a slurry. Set aside.

  • Place the roasting pan juices in a medium saucepan and bring to a boil over medium-high heat. You may want to add some stock to increase the yield.

  • Reduce the heat to medium, add the cornstarch slurry, and cook, stirring frequently, until the jus is thickened enough to coat the back of a spoon.

  • Season to taste with salt and pepper. Serve warm alongside the chicken.

SHEILA'S PATATES yield: 6–8; prep time: 15 minutes; cook time: 30 minutes

Ingredients

½ cup canola oil

1 cup butter

3 lb baby new potatoes, washed and quartered

Kosher salt and black pepper

Method

  • Warm a large nonstick skillet over medium-high heat, then add the oil and butter. Once the butter has melted, add the potatoes and stir to coat.

  • Reduce the heat to medium and cook, stirring occasionally, until the potatoes are golden and cooked through, about 30 minutes. Season to taste with salt and pepper, and serve warm.

Seb says: Why do we use the French name for potatoes? Well, the recipe comes from my French mother, and my brother and I grew up calling these by their French name. Even today, our entire family still calls them palates.

BROWN BUTTER CARROTS yield: serves 6–8; prep time: 20 minutes; cook time: 25 minutes

Ingredients

2 bunches of field carrots

(12-16 carrots)

2 Tbsp olive oil

½ cup butter

Kosher salt and black pepper

Method

  • Preheat the oven to 375°F. Line a baking sheet with parchment paper.

  • Trim the carrot greens down to 2 inches and scrub the carrots to remove any dirt. Pat dry with a paper towel and place on the prepared baking sheet.

  • Drizzle the carrots with the oil and dot with pats of the butter. Season to taste with salt and pepper.

  • Bake, turning after 10 minutes to coat evenly with butter, until slightly caramelized and easily pierced with a fork, 25 minutes.

Be sure to check us out on Instagram @sebandsheila!⁣

Fall Entertaining Amazon Essentials

Entertaining this fall season just got easier. 🍂

This month, we've been talking about hosting a roast chicken dinner. We curated this idea list to help elevate your dinner with a little chic and sophistication.

From simple items to timeless flatware, we've got you covered. Tap the LINK to start shopping. 🛒✨

Vichyssoise Shooters Recipe

Since roast chicken can make for a heavy meal, we like to start with a small appetizer. Vichyssoise Shooters, a chilled potato, leek, and onion soup from Vichy, France, served in a non-traditional way, is a delicious alternative to more traditional appetizers and bridges the gap between the cocktail hour snacks and the main course.

We like to serve it in tall shot glasses for easy consumption and cleanup (they take up less space in the dishwasher!), and to save even more time, it can be made a few days in advance and garnished just before serving.

Quick tip: The soup can be stored in an airtight container in the fridge for up to 3 days.😉

yield: serves 6-8 in bowls, or 16-18 in shot glasses • prep time: 20 minutes • cook time: 30 minutes

Ingredients

1 Tbsp salted butter

1 Tbsp olive oil

1 large leek, white part only, chopped into 1-inch pieces

½ large yellow onion, chopped into 1-inch pieces

2 Yukon gold potatoes, peeled and chopped in

2-inch pieces

1 Tbsp oregano leaves

1 tsp thyme leaves

1 bay leaf

3 cups chicken stock

¼ cup whipping (36%) cream, plus more for garnish (optional)

Sea salt and black pepper

1 Tbsp chopped chives

Method

- Melt the butter and the oil in a small stockpot over medium heat. Reduce the heat to medium-low, and add the leeks and the onions.

- Cook until the leeks are soft and the onions are translucent about 8 minutes. Add the potatoes, oregano, thyme, bay leaf, and stock and bring to a boil. Reduce the heat to medium and simmer, uncovered, until the potatoes are tender about 20 minutes.

- Remove from the heat and add the cream. Stir to incorporate then let cool. Once cooled, remove the bay leaf and purée the soup in a blender on high speed until completely smooth. You may need to do this in batches. Once smooth, transfer to a large bowl.

- Season the soup to taste with salt and pepper and serve cold or at room temperature in bowls or shot glasses. Garnish each serving with ¼ tsp cream, if desired, then sprinkle with a few chopped chives.

This is definitely an easy one to try at your next dinner!

Bourbon Grapefruit Cocktail with Thyme Simple Syrup

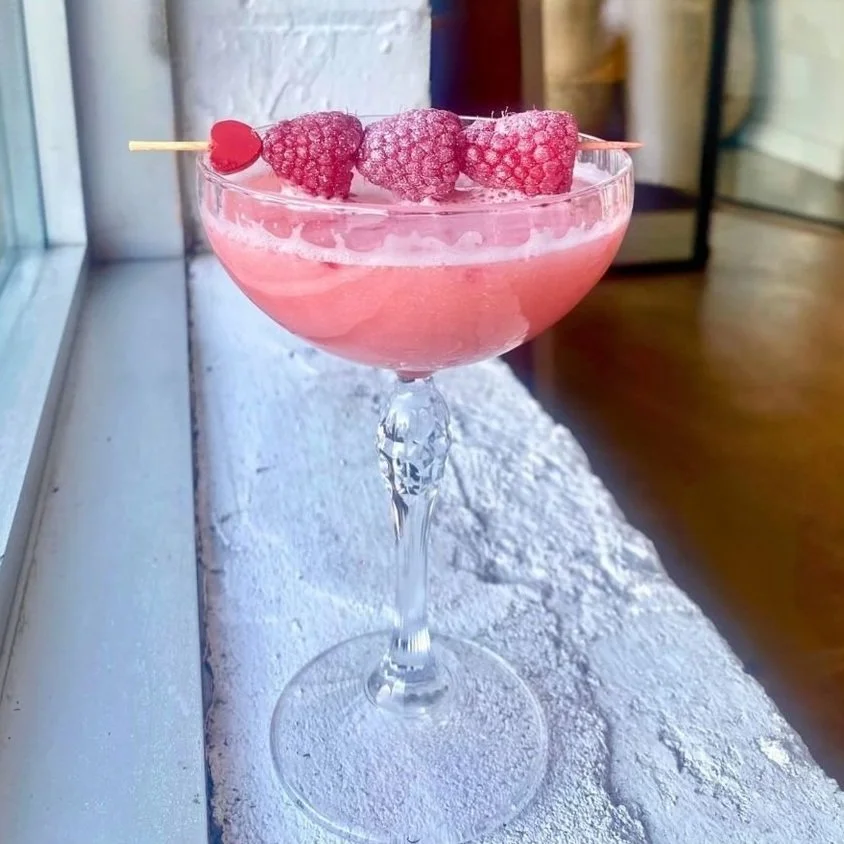
For this meal, we like to start the party by serving a welcome Bourbon Grapefruit Cocktail with Thyme Simple Syrup. This cocktail is extremely easy to make and pairs beautifully with the small appetizers your guests will nibble on before dinner.

And here's a pro tip from @sheilacentner: If you're entertaining a large group and don't feel like pouring cocktails all night, set up a cocktail station with a charming recipe card for easy self-service. This allows your guests to be their own mixologists, creating their perfect drink and adding an interactive element to your event.

-

yield: makes 1 cocktail + 3½ cups syrup prep time: 5 minutes + 1 hour to cool • cook time: 12 minutes

Ingredients

THYME SIMPLE SYRUP

2 cups granulated sugar

6 thyme sprigs

BOURBON GRAPEFRUIT COCKTAIL

2 oz bourbon

6 Tbsp pink grapefruit juice

1 Tbsp thyme simple syrup

1 pink grapefruit slice, for garnish

1 thyme sprig, for garnish

Method

FOR THE SIMPLE SYRUP

Combine the sugar, thyme, and 2 cups of water in a small saucepan and bring to a boil, without stirring, over medium heat. Reduce the heat to low and simmer, uncovered and without stirring, for 10 minutes.

Remove from the heat and let cool for 1 hour. Strain the syrup and refrigerate in an airtight container for up to 3 weeks.

FOR THE COCKTAIL

Fill a cocktail shaker with ice, then add the bourbon, grapefruit juice, and simple syrup. Shake vigorously for 10 seconds. Strain into a rock glass filled with fresh ice. Garnish with the grapefruit and thyme.

So raise your glass and cheers to unforgettable moments! 🥂

How to Host a Roast Chicken Dinner

Any time of the year offers the perfect opportunity to savour the comforting delights of home-cooked meals. For many, the aroma of freshly roasted chicken conjures images of serene evenings and cherished family gatherings. While some may associate roast chicken with holidays or special occasions, there's no reason why this simple yet delectable dish can't become a regular feature on your family's dinner table!

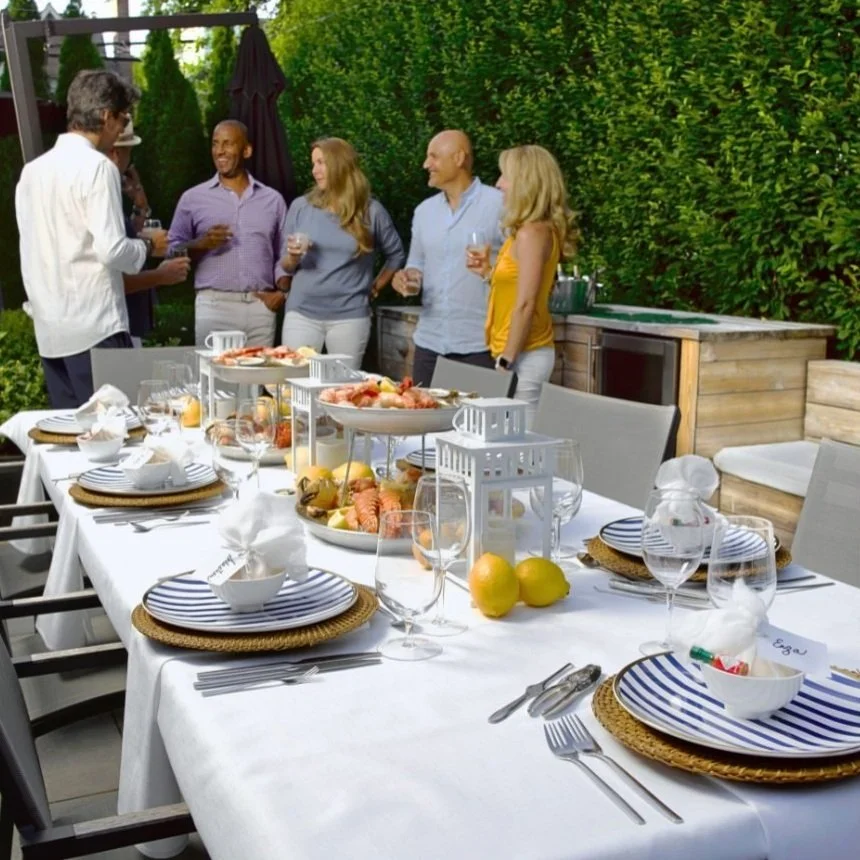
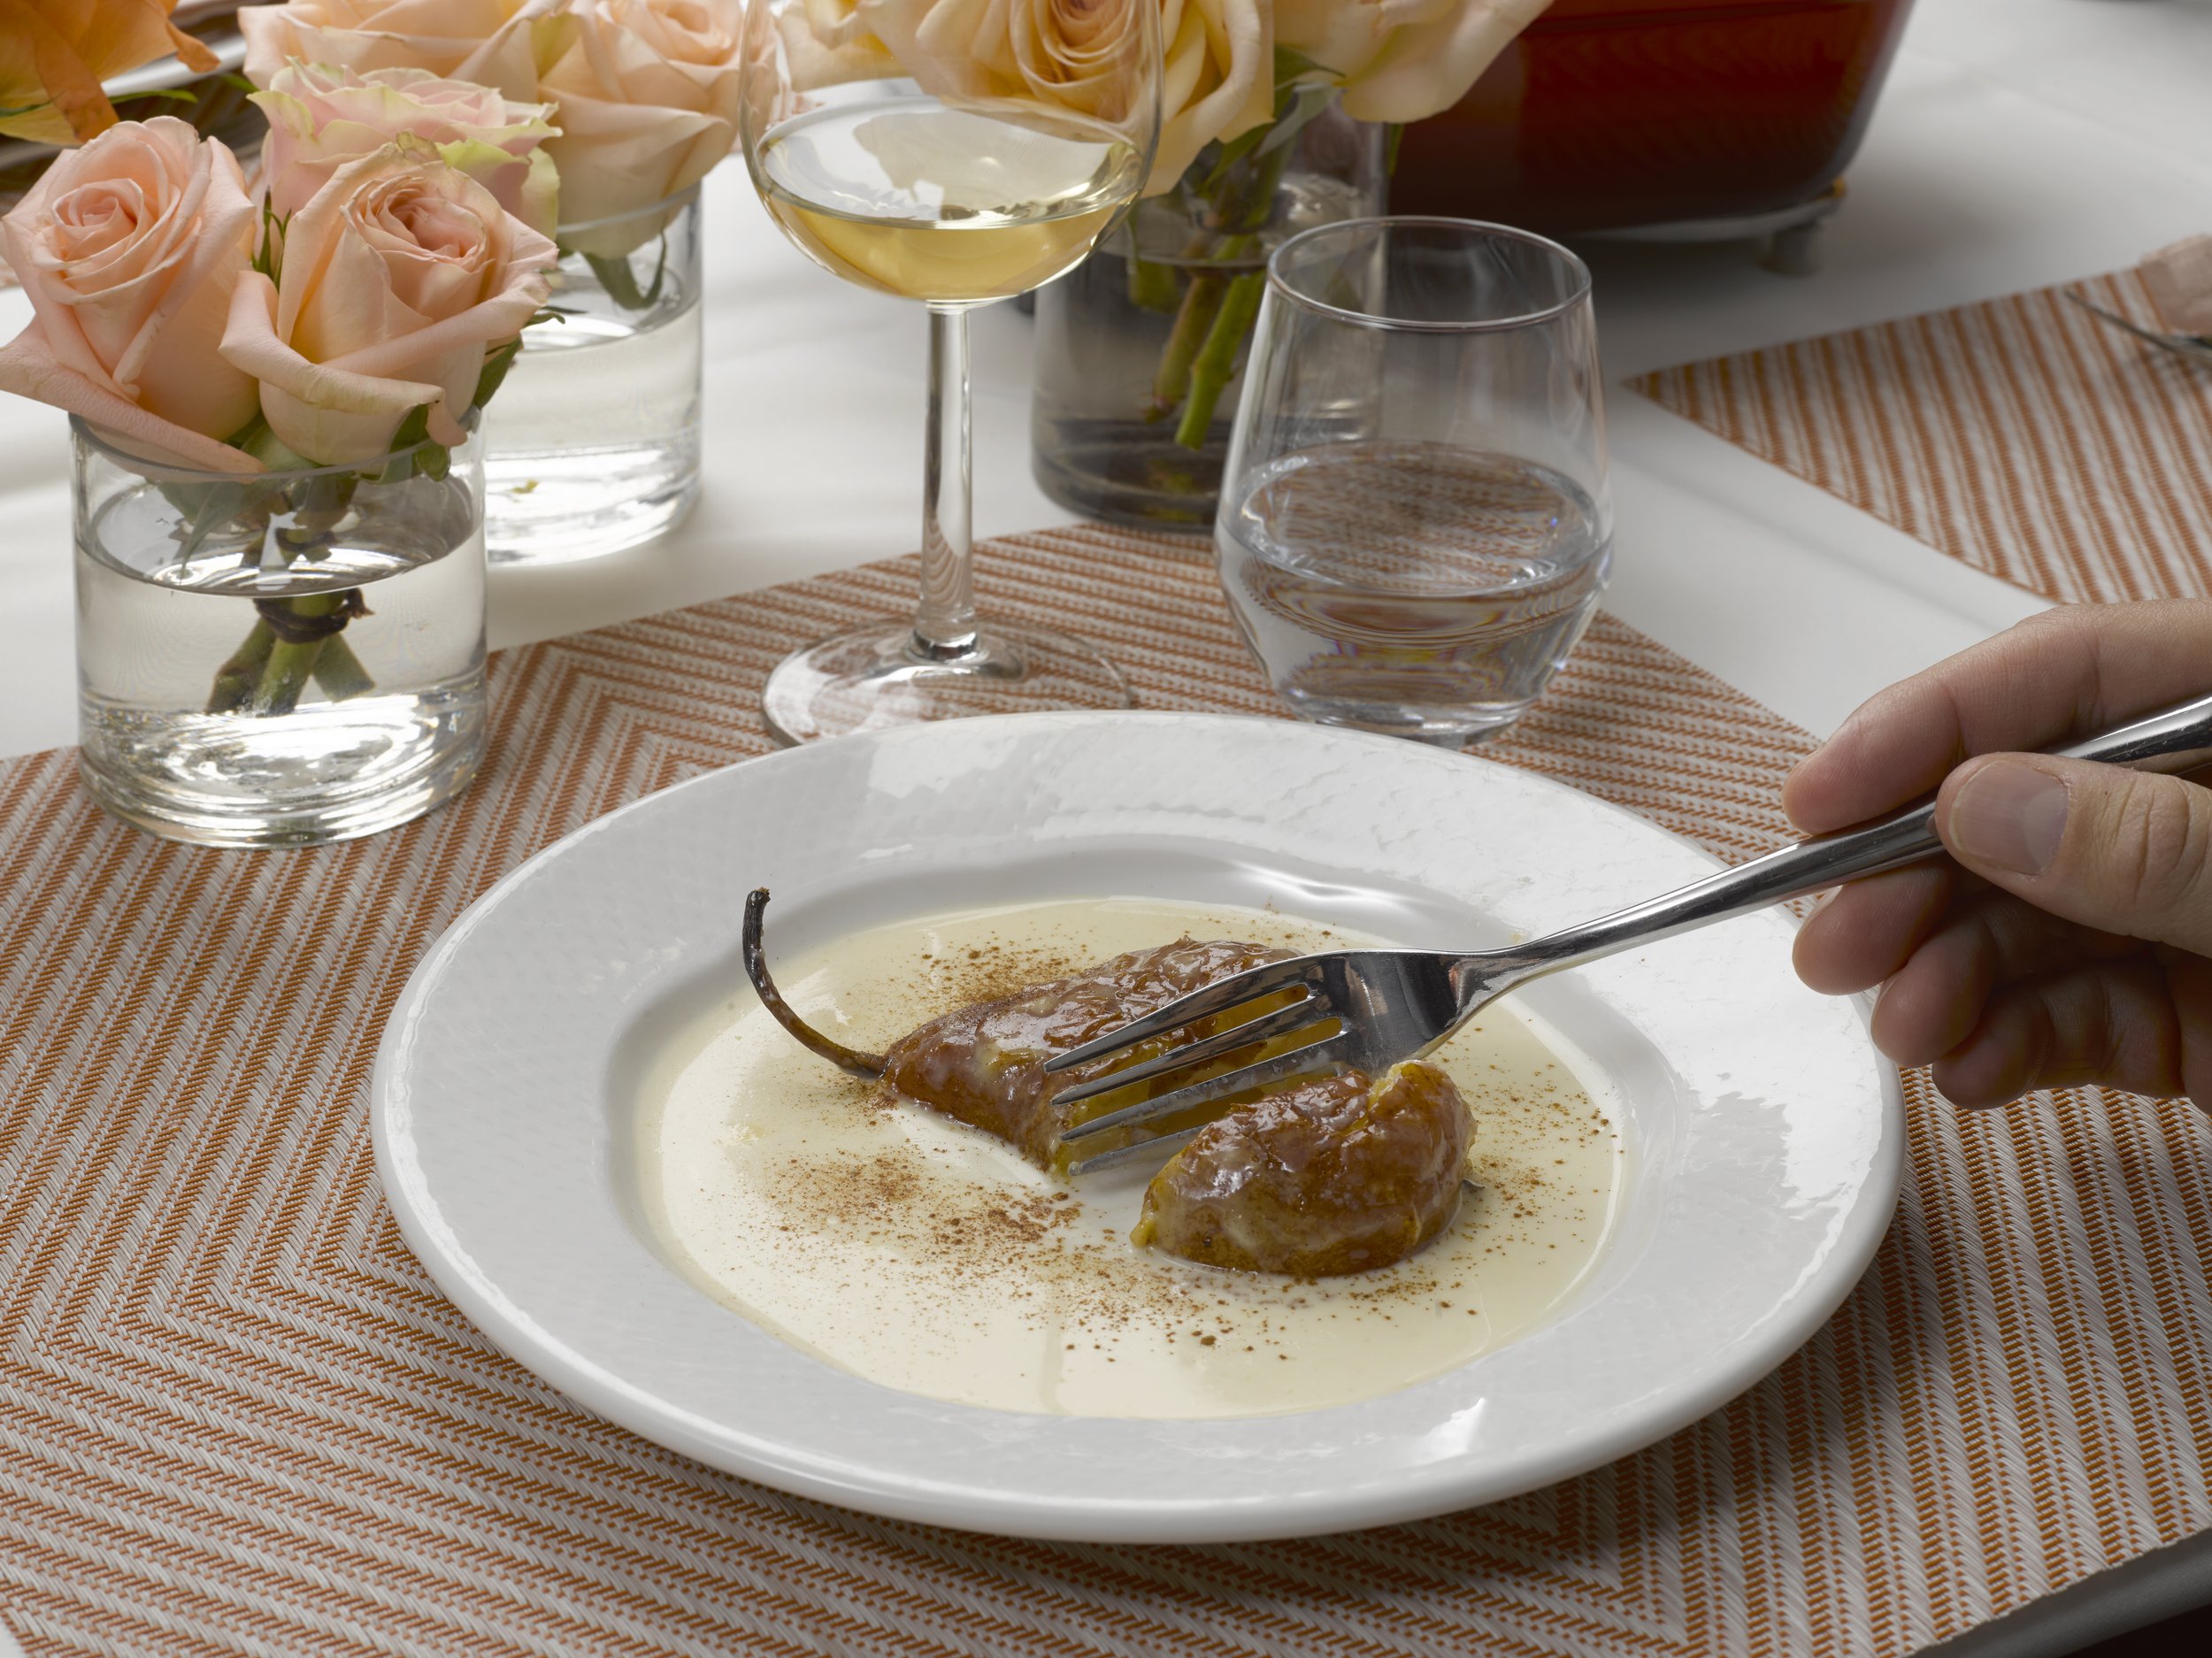
When it comes to setting the table for a cozy meal, striking the balance between too casual and overly formal can be a challenge. Our approach is to embrace simplicity while introducing subtle accents to elevate the table's ambiance.

Begin with a clean, crisp white tablecloth as your foundation, and infuse it with delicate touches of beige and pink. Beige placemats, complemented by unadorned flatware and plain white plates, create a harmonious and balanced table setting.

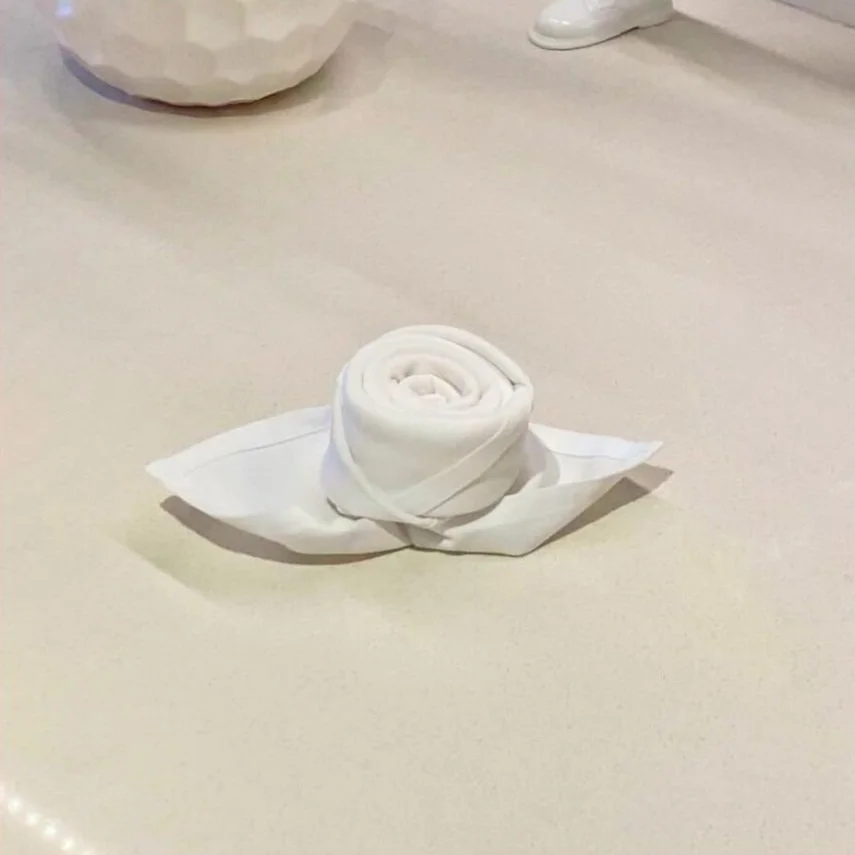
For those seeking a chic upgrade, adding place cards is an excellent way to elevate the table setting. We recommend using charming napkins tied with string or ribbon, featuring a hand-painted egg and a personalized name card. While this step can be skipped for more casual gatherings or to save time, place cards are a cost-effective and effortless means to introduce a touch of elegance when hosting guests.

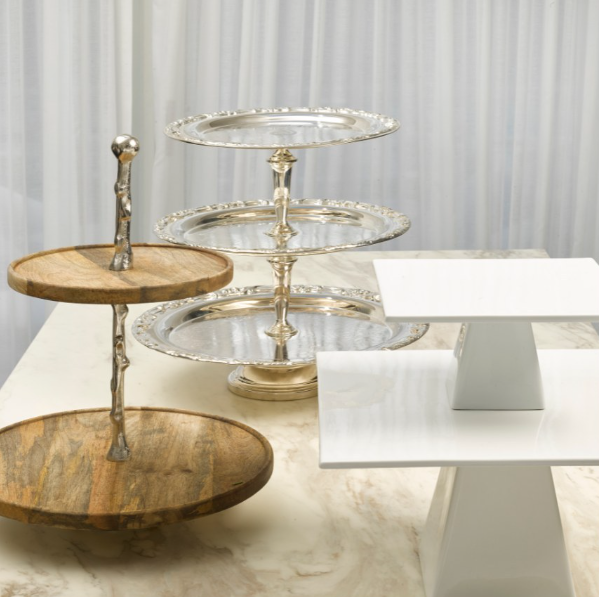
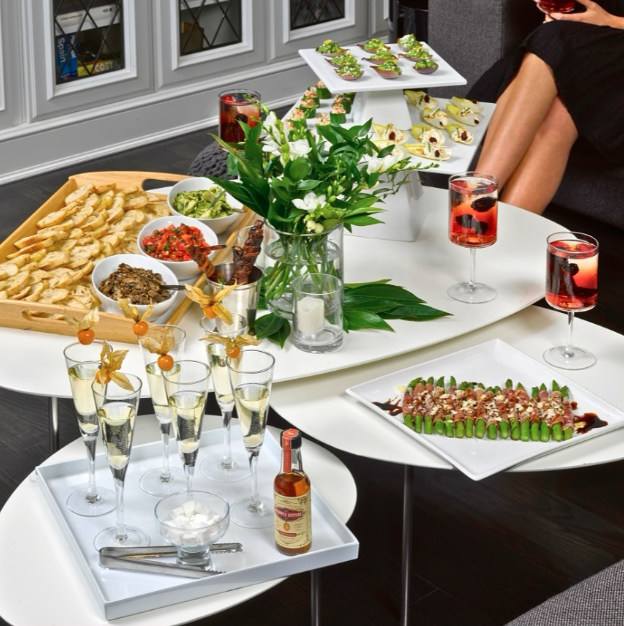
Don't forget to ensure you have a serving tray handy for displaying and conveniently serving appetizers before the main course. While any tray will suffice, clear trays are our preference due to their versatility and ability to harmonize with various themes.

Hot Tip:

When hosting a family-style meal with platters and shared dishes, consider using an assortment of smaller vases for your floral arrangements. These smaller vases can be easily adjusted to make room for platters on the table.

@SheilaCentner 's Advice:

I recommend shopping for florals the day before your dinner party; you may find already-opened roses on sale, which can be a budget-friendly choice while maintaining the desired elegance.

Be sure to check us out on Instagram @sebandsheila!⁣

Frozen Yogurt Sundae Bar

A Frozen Yogurt Sundae Bar is the ultimate dessert choice for a kids' party, and here's why!

First, it's interactive and fun. Kids get to be their own dessert architects, choosing their favourite frozen yogurt flavours and piling on a delightful array of toppings. It's a hands-on experience that sparks creativity and excitement.

Second, it's customizable. With a variety of yogurt flavours and toppings, everyone can create their dream dessert. From colourful sprinkles to fresh fruits, there's something for every palate, even the pickiest eaters.

Third, it's a healthier option. Frozen yogurt offers a lower-fat alternative to traditional ice cream, and kids won't even notice the difference because it's so delicious.

Now all you need is a creamy scoopable frozen yogurt and we have the perfect recipe! (You will need an ice cream maker for this recipe - and we highly recommend having one in your arsenal as an entertainer!)

Ingredients:

3 3/4 cups full-fat plain yogurt

1 cup sugar

1/4 teaspoon kosher salt

How-To:

Whisk yogurt, sugar, and salt together in a mixing bowl until sugar has completely dissolved. Chill in an ice bath or refrigerate until yogurt registers at least 45°F on an instant-read thermometer (i.e. thoroughly chilled—this is roughly fridge temperature).

Churn yogurt in your ice cream machine according to the manufacturer's instructions. Scoop and eat like soft serve, or transfer the ice cream to an airtight container and chill in the freezer for at least 4 to 5 hours before serving.

The last step is to set up whatever toppings you want and let the little ones do the rest!

Be sure to check us out on Instagram @sebandsheila!⁣

Grilled Pepper and Eggplant Caprese Sandwiches

We can't forget about the parents at a kids’ party, and to satisfy their more adult cravings we've created these Grilled Pepper and Eggplant Caprese Sandwiches. 🥪🍆⁣

-⁣

INGREDIENTS⁣

1 small eggplant - sliced into 1/4 inch rounds⁣

1-2 medium red peppers⁣

1 log of Fresh Mozzarella cheese - sliced thin⁣

2 medium tomatoes - sliced thin⁣

Ciabattatta bread (either buns or baguette to slice into portions)⁣

Pesto Sauce⁣

Leafy greens⁣

Fresh basil leaves⁣

Extra virgin olive oil⁣

INSTRUCTIONS⁣

- Preheat the gas grill to medium-high heat.⁣

- Drizzle some oil over peppers and eggplant and grill for 3-5 minutes per side, until charred.⁣

- Optional: Grill bread, cut side down for 1 minute, to warm it up.⁣

- To assemble the sandwich: Smear the inside of each bread slice with pesto, place 2-3 slices of eggplant on the bottom, Add 1-2 slices pepper, and 2-3 slices of Fresh mozzarella. Top with fresh basil and the top slice of bread.⁣

- Cut as desired, and serve⁣

Remember, running around after little ones always works up an appetite so don't forget about your fellow parents who might be attending!⁣

⁣Be sure to check us out on Instagram @sebandsheila!⁣

Peanut Butter and Jelly Fruit Lollipops

Peanut Butter and Jelly Fruit Lollipops are an easy way to brighten up the menu. It is a contemporary take on traditional recipes that are sure to have every child excited about dinner time. Check to make sure there are no peanut allergies before preparing the lollipops. 🍞🍓⁣

Note; Always check for peanut allergies before crafting these delightful treats, but luckily, there are lots of simple swaps you can make. For example, try using sunflower seed butter instead of peanut butter, coconut yogurt instead of dairy, or gluten-free pizza dough and wraps.

-⁣

yield: serves 6–8; prep time: 20 minutes + 1 hour to chill

Ingredients⁣

2 cups strawberry jam

1½ cups smooth peanut butter

6 slices soft white or whole wheat sandwich bread

12–16 (10-inch-long) bamboo skewers

1 pint large blueberries

1 pint blackberries

½ quarts of strawberry stems removed ⁣

1 cup red and green grapes

Dry rice, for serving

Method⁣

- In a large mixing bowl, mix together the jam and peanut butter until well combined.⁣

- Cut the crusts off each slice of bread. Using a rolling pin, roll each slice of bread to ¼-inch thick.⁣

- Spread the jam and peanut butter mixture on each slice of bread in an even layer. Roll the slice of bread into a tight log. Wrap in plastic wrap and refrigerate for 1 hour.⁣

- Remove the plastic wrap and cut each log into 4 pinwheels, each about 1 inch thick.⁣

- Gently insert a skewer lengthwise through a pinwheel, then place a blueberry, blackberry, strawberry, or grape on the skewer. Continue to add pinwheels and fruit, alternating types, but be sure to leave 1-2 inches of room at the end of the skewer. Repeat with the remaining skewers.⁣

- When you're ready to serve, place some dry rice in a glass vase. Place the skewers in the vase, with the empty ends down, so that the rice doesn't stick to the lollipops.⁣

Remember to always inquire about allergies before you host, and watch those smiles light up as kids dive into this whimsical creation. It would be a dining experience that's both fun and delicious! 🌟🍇⁣

Be sure to check us out on Instagram @sebandsheila!⁣

Homemade Pizza Pockets

Homemade pizza pockets are a fun DIY project that your kids can help you make. The simplest version of this recipe requires only pizza dough, sauce, and shredded cheese, but it can accommodate toppings too.🍕

Imagine the joy of crafting mouthwatering pockets of deliciousness, filled with sauce, cheese, and a medley of toppings that suit your taste buds to perfection!

And here’s the best part: you can stash these pockets of delight in your freezer, ready to transform any spontaneous play date into a culinary fiesta. 🥳


yield: serves 6–8 • prep time: 30 minutes + 45 minutes to rest • cook time: 25 minutes

Ingredients

2 sheets of frozen puff pastry

Pizza sauce

Slices of pepperoni

Shredded mozzarella

1 egg for wash

Fresh basil

Method

Remove the pastry dough from the freezer and let it sit at room temperature for 45 minutes. Preheat the oven to 350°. Line a baking sheet with parchment paper.

Cut the dough into four equal-sized pieces. Place the slices on the prepared baking sheet. You may need to bake the pockets in batches.

Place 1 Tbsp of sauce, mozzarella, and pepperoni slices (in that order) in the center of 4 of the dough slices. Be careful not to overfill them.

Fold the slices diagonally and use a fork to firmly push down the edges to seal the pockets shut. Use a small knife to slash three lines onto the pastry.

Next, brush each dough slice with the egg wash and put them in the preheated oven.

Bake until the pizza pocket tops are golden and the dough is cooked through, 25 minutes. Serve immediately with extra pizza sauce on the side.

So gather your ingredients, gather your family, and let’s embark on a pizza-making adventure that’s sure to bring smiles to faces and fullness to tummies! 🤗🍕