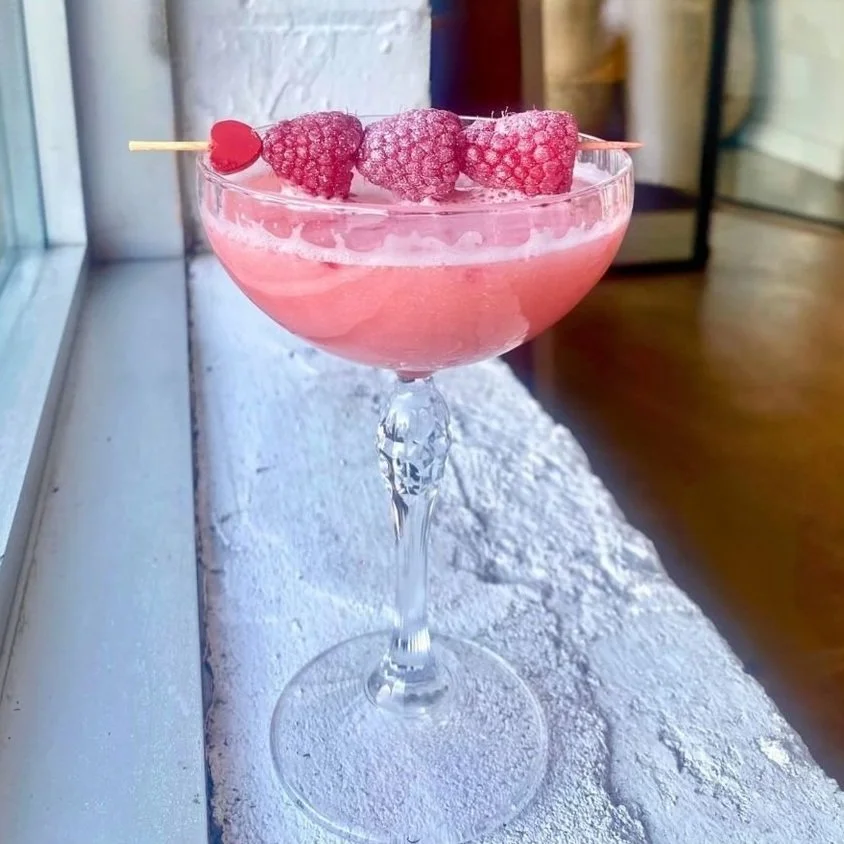
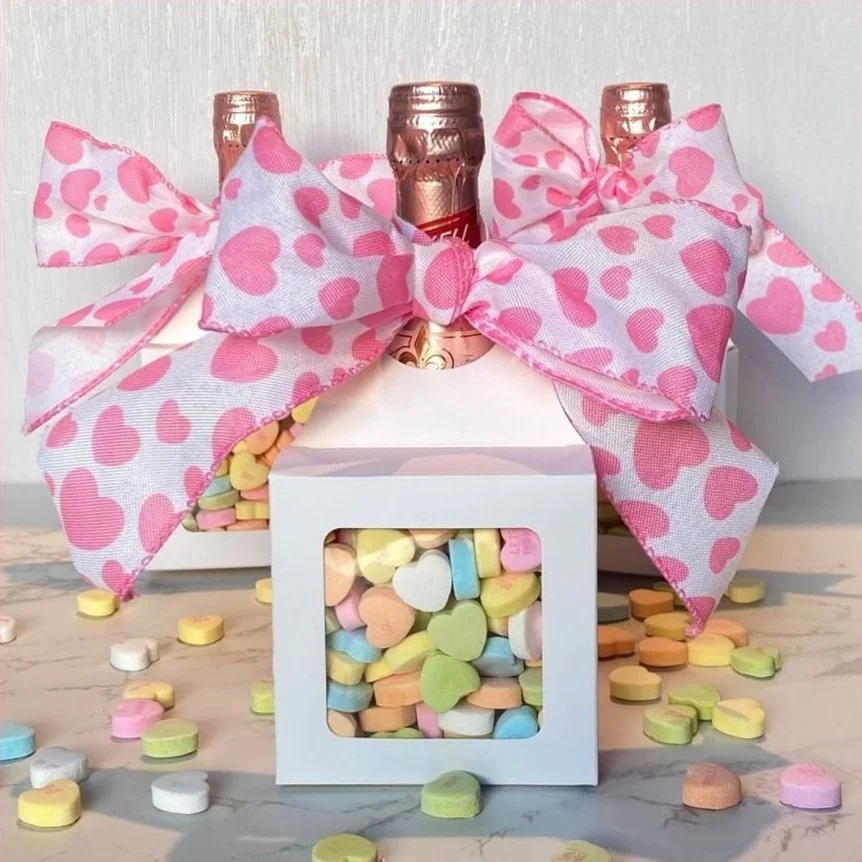
The idea for the drinks section of this party is to have a kid-friendly option that can also work for adults. For this reason, we suggest making a Shirley Temple Party Punch for your guests to self-serve and enjoy. 🍹✨
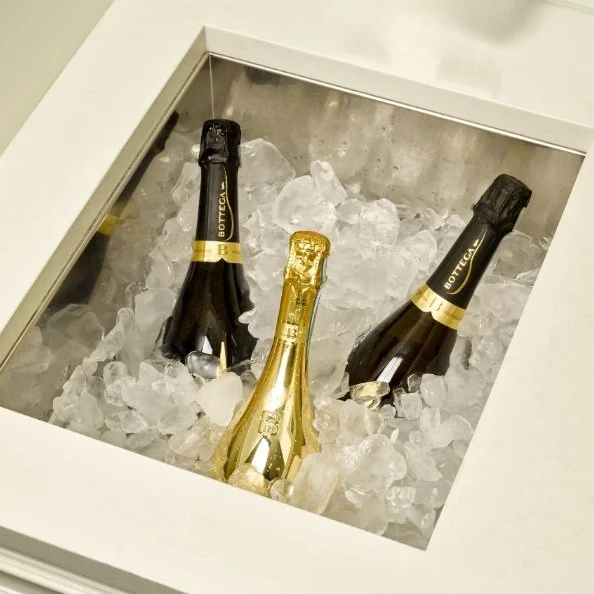
We also like to put out flavoured sparkling water. Any sparkling water works, but we recommend sugar-free options like La Croix, San Pellegrino Essenza, or Bubly. You should put the bottles in an ice bucket on the bar about 30 minutes before you expect your guests, so they’re chilled and ready to drink.
Have a few different types of alcohol or wine available to mix with the kids’ drinks to create a cocktail. Vodka, prosecco, and white wine all mix exceptionally well with the non-alcoholic beverages mentioned above. Keep the alcoholic add-ons in an ice bucket so they stay chilled throughout the party. 😉
-
yield: serves 6–8; prep time: 15 minutes; cook time: 10 minutes
Ingredients
1-ounce grenadine
small ice cubes
4 ounces orange, chilled
4 ounces ginger ale, chilled
Sliced oranges, for garnish
Instructions
Pour the ice over the Grenadine in a glass.
Top with orange juice and ginger ale.
Stir gently to combine.
Garnish with a slice of orange, and enjoy!
And with an array of choices to quench your thirst, we’ve got the party drinks covered, from young to young-at-heart! Cheers to a sparkling soiree! 🎈🥳
Homemade Chicken Fingers Recipe
As you know, our menu for a kids' meal is designed for children under the age of 10 and focuses entirely on informal dishes that can be eaten in any order, so there's no need for traditional appetizers and entrées. You can bring everything to the table at once or in waves and let the kids treat it like a buffet.
Sticking with the idea of fan favourites, we prefer to serve what appears to be a popular favourite with kids of all ages and palates: handmade chicken fingers! We prefer to serve these in steel pails with plum dip or ketchup on the side, and even the pickiest eaters will smile when they see them arrive. You may make your own homemade chicken fingers using our recipe but there are also some fantastic, healthy store-bought chicken fingers that work just as well.
Few children will have the appetite to eat every item on the table, so you can include or omit certain dishes based on what your kids like and how many kids you're hosting. If you make a bit extra, don't worry, as adults tend to steal the odd grilled cheese or chicken finger when nobody's looking. 😉
-
yield: serves 6–8; prep time: 25 minutes; cook time: 30 minutes
Ingredients
4 boneless, skinless chicken breasts
1 cup plain breadcrumbs
1½ tsp kosher salt
1 tsp black pepper
1 tsp sweet paprika
2 large eggs
Plum sauce and/or ketchup, for serving
Method
- Preheat the oven to 375°F. Line a large baking sheet with parchment paper. Place a wire rack on top of the baking sheet and coat it with cooking spray.
- Cut each chicken breast into finger-sized strips. You should get 4 or 5 strips from each breast.
- In a shallow dish, combine the breadcrumbs, salt, pepper, and paprika.
- In a second shallow dish, whisk the eggs. Set the eggs beside the breadcrumbs. Working with 1 strip at a time, dip the chicken into the eggs and then toss in the breadcrumbs. Pat gently to ensure the breadcrumbs adhere to the chicken, then place on the wire rack.
- Once all the chicken has been breaded and placed on the wire rack, spray the top of the chicken with cooking spray. Bake with the sprayed side down for 15 minutes, then flip over each strip, and bake until golden brown, 10-15 minutes, ensuring that the internal temperature is 165°F.
- Remove the chicken fingers from the oven and season to taste with salt and pepper. Serve warm with plum sauce or ketchup-or both!-on the side.
Whether you whip up your own batch using our easy recipe or opt for healthy store-bought alternatives, this treat is the centrepiece of a delightful buffet-style spread. So tag someone who's always on the lookout for nutritious and delicious choices for their little ones! 🙌
DIY Kids Table Setting
Since the focus of this chapter is entertaining with kids, we will be setting the table for kids and kids only.
We all know kids can get restless while sitting at the table, so when entertaining kids, it's especially important to have lots of activities to keep them busy. A super easy table-friendly activity is to make your party memorable by providing the kids with a keepsake they can decorate themselves and take home. We like to suggest a mason jar filled with crayons, small crafts, and toys, along with a colouring book, notebook, or bedroom door knob sign they can personalize. This is also the perfect opportunity to get your own little one involved in entertaining with shopping and helping to fill the jars for their guests.
In addition to the table setting DIY, a fun trick that also simplifies your cleanup is setting the table with craft paper instead of a tablecloth. Not only will this help you prepare for the inevitable spills that come with hosting little ones, but it also provides the added benefit that, with the addition of some coloured crayons, the kids can scribble to their heart’s content before, or as, they eat!
And just like that, you have a kid-friendly table that should keep them entertained through lunch so the parents can enjoy themselves too!
Fun with Kids
While most of our delightful concepts now revolve around entertaining adults, we cherish the memories of our children's younger days, when hosting playdates with their friends was a significant part of our lives. And what better time to revisit those nostalgic moments than during a summer month when your kids are around more than ever!
Throughout the years, we have never hesitated to include our boys in our entertaining endeavours, finding joy in playful ways to engage them from a young age. While the primary focus of a playdate is the kids, there's no reason why the adults can't have some fun too.
Nowadays, parents are more committed than ever to instilling healthy eating habits in their children. While I fully support this effort, trying to sneak vegetables into cupcakes or swapping ground beef for ground cauliflower in a burger might not be the best approach. Instead, consider how you can add a healthier twist to foods kids already love by making minor adjustments to recipes and ingredient choices. A concept we will definitely cover in the days to come.
As the saying goes, kids will be kids, and entertaining a younger audience is all about embracing imperfection and going with the flow. Having raised our boys ourselves, we know this is easier said than done, but some of our fondest memories involve a backyard or kitchen filled with kids. It may have been chaotic for a couple of hours, but it was nothing a few glasses (or bottles) of wine couldn't remedy! We take pride in passing on our love of entertaining to our boys, who now find themselves hosting their friends more often than most young adults.
We're excited to dive into this entertaining category with you, so be sure to stay tuned all month!
Lemon Squares
Now that the wine-tasting party is nearing its end, it is time to share this sweet treat hack to round out the experience. You can easily elevate any dessert with edible flowers to give it a whole new level of elegance and charm! 🍋
First, let’s talk about simplicity. All you need is your dessert of choice (we went with lemon squares) and a light placement of edible flowers; it instantly adds a touch of whimsy and natural beauty. It’s like bringing the essence of a blooming garden to your plate! A delightful treat for the eyes and taste buds alike! 🌸✨
Ready to sprinkle some floral magic onto your desserts? Tag your fellow dessert lover and spread the word about this delightful edible flower transformation!
Be sure to check us out on Instagram @sebandsheila!
Herbed Blackberry and Cheese Cracker Appetizers
Although a grazing table will be the primary food source, you should be sure to provide your guests with at least one smaller appetizer. You’ll be drinking lots of wine and it will be nice to have a bit of substance. 🍷
These herbed blackberry and cheese cracker appetizers are elegant and go perfectly with wine. It complements the wide array of wines that await your guests at the tasting party. With each bite, the burst of juicy blackberries enhances the wine's fruitiness, while the velvety cheese provides the perfect balance. 🧀🤌🏼
The beauty of this dish lies not only in its flavours but also in its simplicity. And the best part? It's so easy to make! Check out the recipe below. ⬇️
INGREDIENTS
15–20 Herb or wheat-flavored crackers
15–20 small chunks of Kaltbach cheese
1 Pint of blackberries
2 Tablespoons of honey + more for drizzling
1/2 Teaspoon of cinnamon
2 Teaspoons of minced rosemary + more for topping
INSTRUCTIONS
- Line a serving board or platter with crackers and top with a cheese wedge. Set aside.
- In a small saucepan combine blackberries, honey, cinnamon, and rosemary. Turn the heat on medium-low and smash 1/2 of the blackberries until just broken up and the juices have released. Heat for 5-6 minutes or until bubbly and juices have thickened. Let stand five minutes and then top 1 teaspoon of blackberry onto each cheese/cracker.
- Top each cracker with a small sprig of rosemary, drizzle with extra honey and serve right away.
Try this at your next wine-tasting party, and be sure to tag us in your recreations!
Wine Tasting DIY Name Cards
You know we love creating unique DIY projects, and now that the table has been set, we have the perfect idea! 💡 Our latest DIY project is here to elevate your hosting game. These DIY Wine Name Cards add a personal touch to any wine-tasting soirée.
Picture this: Your guests arrive at the wine-tasting party, and they’re greeted with a beautifully set table. They find their seats, and they’re in for a delightful surprise with their very own personalized wine identifier! 😍🍷
We know for a fact that instead of classic, plain paper name cards, this would be a creative and playful touch that will make your wine-tasting experience even more memorable. With just a few materials—wine corks, red wine, and a wine glass—you’ll be crafting wine name cards that are as unique as your guests.
This simple yet oh-so-fun DIY will make you the ultimate host or hostess! Your friends will be wowed by the attention to detail and personalization you’ve put into each card. Tag a fellow wine-lover and let them know about this creative project! 🤌🏼🍷
Be sure to check us out on Instagram @sebandsheila!
Olive-oil Bread Dip
Dip, Sip, and Savour while you enjoy this Italian restaurant-style olive oil bread dip. It is guaranteed, tested and trusted to impress your guests at your next soriee.🫒
This Italian restaurant-style bread dip is a true showstopper. It is made with extra virgin olive oil, fragrant fresh herbs, zesty lemon juice, garlic, salt and pepper. And the best part is, it’s incredibly easy to make! So, even if you’re not a culinary maestro, you’ll be serving up a gourmet delight that will have your guests singing your praises!
So, if you’re ready to elevate your wine-tasting party to the next level, get ready to impress with this Italian gem. It’s the perfect companion to a glass of wine, a joy to share with friends, and an experience that will make your event truly unforgettable. 🥂🌟
-
Ingredients
• 1 tbsp Basil, fresh
• 3 cloves Garlic
• 1 tsp Oregano, fresh
• 1/4 tsp Rosemary, fresh
• 1/2 tsp Thyme, fresh
• 1/2 tsp Lemon juice, freshly squeezed
• Salt & pepper
• 1 cup Olive oil, extra virgin
Instructions
- Place all the spices/herbs in a bowl. Pour in the olive oil. Give it a mix.
- Add in the garlic and lemon juice. Give it a stir and serve with crusty bread.
Tag your fellow foodies and let them know about the feast that awaits at the wine-tasting party! 🎉
The Wine-tasting Party Amazon Essentials
Hey there, wine enthusiasts! 🥂
This month, we've been talking about throwing a wine-tasting party. We have handpicked an Amazon Storefront idea list, "The Wine Tasting Party Essentials" for everything you may need to create a soirée that will leave your guests in awe. 🤩🍇
From artisanal wine glasses that enhance the aromas to elegant wine decanters that elevate your vino to the next level, we've got you covered!
Ready to unlock the fun? Head over to our Amazon Storefront through this LINK and explore our idea list. You'll find everything you need to host a wine-tasting party that will be the talk of the town! 🍾 ✨
Be sure to check us out on Instagram @sebandsheila!
Grazing Table at a Wine-tasting Party
The mood has been set and your guests are seated; it is time to indulge in wine and mouthwatering grazing delights of cheeses, crackers, bread and an array of delectable accompaniments. It's a feast for the senses! 🍇🧀
A grazing table will be the primary food source. Your guests will be dining from the board throughout your party. You will need to assemble your grazing board with abundant colours and textures and layer your items artfully at different heights to create interest.
Start by slicing and arranging your cheese first, then fill the spaces around them. You can also fold charcuterie meats in creative ways to add texture and use pistachios and other nuts to fill the gaps. Creating a focal point will also add to the aesthetic.😉
You and your guests will delve into an array of mouthwatering delights, from succulent grapes to tangy marinated olives. Each bite is a delightful surprise. You should let your palate explore the exquisite combination of different flavours as you create a perfect grazing experience for your guests. 🍷😋
As you sip on your favourite wines, savour these wonderful moments. Let us know in the comments what your favourite grazing food and wine pairing is.🥂✨
Wine Tasting Placemats
Take a seat and let the wine adventures begin! Today we will be sharing our favourite way to make your at-home wine tasting feel like the real deal!🍷
Before guests arrive, you’ll want to set aside some time to prepare your space. Building an experience around the wine tasting offers all kinds of advantages over your gathering. It provides focus — something all of your guests can talk about from the moment they arrive. Think of it as a built-in icebreaker.
In a typical wine-tasting party, each guest requires a scorecard placemat with a pencil, a water glass, a napkin, and a small plate for bread and cheese or other food. So to ensure a stress-free party, we've designed a wine-tasting placemat - available for download HERE!
Now, grab your glass, snap a pic with your tasting placemat, and share these wine-tasting moments with friends and family! 🥂
Choosing and Buying Wine
Hey there, wine lovers! We are here to spill the secrets to choosing and buying the perfect wines for your epic wine-tasting party!
We can all agree that the art of wine selection is a skillful process of choosing and acquiring wines that best suit your taste preferences, occasion, and food pairings. It is a continuous journey of exploration, education, and enjoyment, making this the fun part of the night. So let us guide you through this step! 🍷✨
1️⃣ Choosing a theme and region can help curate a selection of wines that spans the spectrum of crisp whites, velvety reds, elegant rosés, and perhaps a sparkling surprise is your best bet for making the evening feel cohesive.
2️⃣ We strongly recommend being the sole buyer of wine for your party, rather than leaving it up to your guests. If you go this route, you should make it clear in your invitation that you will be selecting the wines, and that there will be plenty to go around.
3️⃣ Unveil the secrets of each wine by researching tasting notes, wine ratings, and winemaking techniques. Remember, a little knowledge can enhance the tasting experience!
4️⃣ Also, the quantity of wine to buy depends solely on how many guests you're entertaining so set a budget that suits you and your guests' needs. We've found that featuring five to seven wines per party is just enough for small groups.
What other tips do you have for choosing and buying wines? Let us know in the comments below and let's inspire one another to create an unforgettable wine experience. Cheers! 🥂🍇
Hosting a Wine Tasting Party
Join us as we take you on a month-long adventure to Seb & Sheila's Wine Wonderland to unlock the tips for hosting the best wine-tasting party this summer! ☀️🍷
Get ready to sip, swirl, and savour your way through an unforgettable wine-tasting experience that will make this summer soirée the talk of the town!
We will be sharing the secrets to hosting a wine-tasting party, creating the perfect ambiance, setting up a stunning wine display, and curating an impressive selection of vintages that will make every sip a moment to cherish. So, dust off that stemware, call on your wine-loving friends, and let's embark on a vinous journey like no other! 🍇🍶
Ready to raise the bar at your next wine-tasting party? Tag your wine-loving pals who are always up for a good time and raise a glass to a summer filled with laughter, great company, and the finest wines. Cheers! 🥂
Seb's Famous BBQ Bananas with Ice Cream Recipe
We assume you and your guests will be relatively full at this point in your meal, we still like to offer dessert.
One of our favourites is Seb's Famous BBQ Bananas with Ice Cream. It's quick to put together on the grill and a delicious way to end the meal. 🍨🔥
Once these luscious bananas are grilled to caramelized perfection, they are served with a generous scoop of velvety ice cream, creating a symphony of flavors that will make your taste buds dance with joy. The contrast between the warm, smoky bananas and the cool, creamy ice cream is simply divine!
yield: 6; prep time: 10 minutes; cook time: 10 minutes
Ingredients
6 ripe bananas
6 tsp brown sugar
1½ tsp vanilla extract
1-pint vanilla ice cream, for serving
Method
- Preheat the barbecue to high.
- Using a paring knife, slice along the skin of each banana.
- Stop 1 inch from the stem and be sure to cut through only the skin, not the flesh. Gently pull back the skins of the banana to create a "boat."
- Cover the grill with a piece of aluminum foil about 12 inches long.
- Place the bananas on the foil, close the lid of the barbecue, and cook until the bananas have slightly softened about 3 minutes.
- Open the lid and sprinkle ½ tsp of sugar and ⅛ tsp of vanilla evenly inside the cut of each banana. Close the lid and cook for 2 minutes.
- Open the lid, add another ½ tsp of sugar and ⅛ tsp of vanilla to each banana, and cook with the lid closed until the interior of the bananas has softened, about 2 minutes.
- Remove the bananas from the grill and serve warm with vanilla ice cream.
Be sure to check us out on Instagram @sebandsheila and👇 let us know in the comments below if you're ready to take your dessert game to the next level with Seb's Famous BBQ Bananas. Happy indulging! 🍌🔥🍨
Smoked Sausage and Red Rice Skillet Recipe
Get ready to spice up your dinner routine with this delicious Smoked Sausage and Red Rice Skillet! 🍛🔥
The smoky sausage infuses the rice with its rich flavours, creating a harmonious blend that is simply irresistible. Each forkful is a delicious explosion of savoury goodness that will keep you coming back for more. 💥🍴
So, gather your family and friends around the table and let this Smoked Sausage and Red Rice Skillet be the star of your dinner party. It's a meal that brings people together, ignites conversations and creates unforgettable memories. 🥳✨
Yield: Serves 4
Ingredients
Meat
1 (12-ounce) package of Beef sausage, smoked
Produce
1 tbsp. Cilantro
1 tbsp. Flat-leaf parsley
2 cloves Garlic
1 Red bell pepper
1 White onion
1 Yellow bell pepper Canned goods
1 cup Chicken broth or stock
3 oz. Tomato paste
Pasta and grains
4 cups Rice, cooked Baking and spices
1 Black pepper
1 tsp. Paprika
1 Salt oils and vinegar
1 Avocado or olive oil
Steps
Place a large cast-iron skillet or heavy-bottom braising/Dutch oven-style pan over medium-high to high heat; once the skillet or pan becomes hot, drizzle in about 1 tablespoon of oil, and once that shimmers, add in the sliced sausage and leave it undisturbed for a couple of moments in order for it to sear up on that first side.
Then, stir the sausage so that it can brown on the other sides for a few moments, and with a slotted spoon, remove it from the pan and set aside.
Add into the skillet or pan the sliced onion, along with the sliced red and yellow bell peppers, and allow those to char and become golden for about 3–4 minutes; then, add in the garlic and a couple of pinches of salt and pepper, and stir to incorporate.
Once the garlic becomes aromatic, remove everything from the pan and set it aside with the sausage.
Reduce the heat to low and drizzle in a little more oil, about a tablespoon or so; add in the tomato paste and about ½ cup of the chicken broth/stock and stir or whisk to blend, allowing it to cook for about 15-30 seconds just to cook out the raw flavour of the tomato paste and soften it a little bit.
Add the cooked rice and sprinkle over the paprika, and stir so that it gets well-coated in the tomato “broth”.
Add the sausage, charred onions, peppers, and the remaining ½ cup of broth/stock to the skillet, and stir to combine everything well.
Finish by stirring in the chopped cilantro and parsley, and then check to see if any additional salt and pepper are needed (you can even add some red pepper flakes if you like it spicy), and serve.
Pimm’s Punch Recipe
Since our backyard barbecues often start in the afternoon and go late into the evening, we like to offer non-alcoholic versions of our cocktails to give guests a break.🍹
On the bar, we like to serve a classic Pimm’s Punch in a large punch bowl. Though the choice of garnish is up to you, we recommend sticking to the basics of cucumbers, strawberries, and oranges with a touch of mint to give it a refreshing taste.😋
Try this cocktail at your next backyard party and we promise you, this Pimm’s Punch will be the star of the show. ✨ So shake things up, stir up the conversation, and raise your glass to unforgettable moments shared with loved ones.
-
Ingredients
1 oz Pimme Fabout
1 cup lemon-lime soda (such as Sprite)
English cucumber, sliced
Sliced strawberries
Orange, sliced
Mint leaves
Method
Fill a glass with ice. Add all the ingredients and gently stir.
Cheers to a summer filled with laughter, joy, and the perfect blend of flavours! 🥂🍹
The Ultimate BBQ Party Guide: Do's and Don'ts
🔥 The Ultimate BBQ Party Guide: Do's and Don'ts! 🔥
👍 DO's:
1️⃣ DO get your grill game on! Master the art of perfectly seared meats and tantalizing veggies.
2️⃣ DO create a BBQ playlist that'll have everyone boppin' and groovin' while the food sizzles.
3️⃣ DO explore bold and exciting flavours by marinating your meats and veggies in mouthwatering sauces and rubs.
4️⃣ DO embrace the potluck spirit! Encourage guests to bring their favourite sides and desserts to share.
5️⃣ DO set up a self-serve drink station with refreshing lemonades, homemade iced teas, cocktails and ice-cold brews.
❌ DON'Ts:
1️⃣ DON'T forget to preheat your grill and clean the grates for the perfect sear.
2️⃣ DON'T leave the grill unattended. Keep an eye on your food!
3️⃣ DON'T skimp on quality ingredients. Choose the juiciest meats, freshest veggies, and tastiest spices.
4️⃣ DON'T play with fire (literally!). Keep a fire extinguisher nearby, just in case.
5️⃣ DON'T forget the sunscreen! Protect yourself and your guests from those sneaky sunburns.
So, fire up those grills, gather your friends and family, and let the BBQ party unfold! Remember, the most important thing is to have fun and enjoy the company of your guests. Share your favourite BBQ do's and don'ts in the comments below, and Happy BBQing!
The BBQ Party Amazon Essentials
Calling all grill masters and backyard BBQ enthusiasts! 🌭🍔🍗 😍
This month, we've been talking about throwing the best BBQ party, and this thoughtfully curated list brings together everything you need to create your sizzling summer soirée. Get ready to take your BBQ game to the next level.🔥
From high-quality grilling tools to mouthwatering marinades and sauces, our Amazon storefront has you covered. We've included all the must-have accessories like fun aprons, funky drinkware, and outdoor games to keep everyone entertained while the meat sizzles.
But let's not forget the pièce de résistance: our secret weapon for BBQ success. It's nothing other than the laughter and unforgettable memories shared with friends and family.
So get ready to fire up the grill, share a good laugh, and indulge in the joy of mouthwatering food and great company. Shop directly through the LINK! 🛒🔗
Feta + Chili Corn Recipe
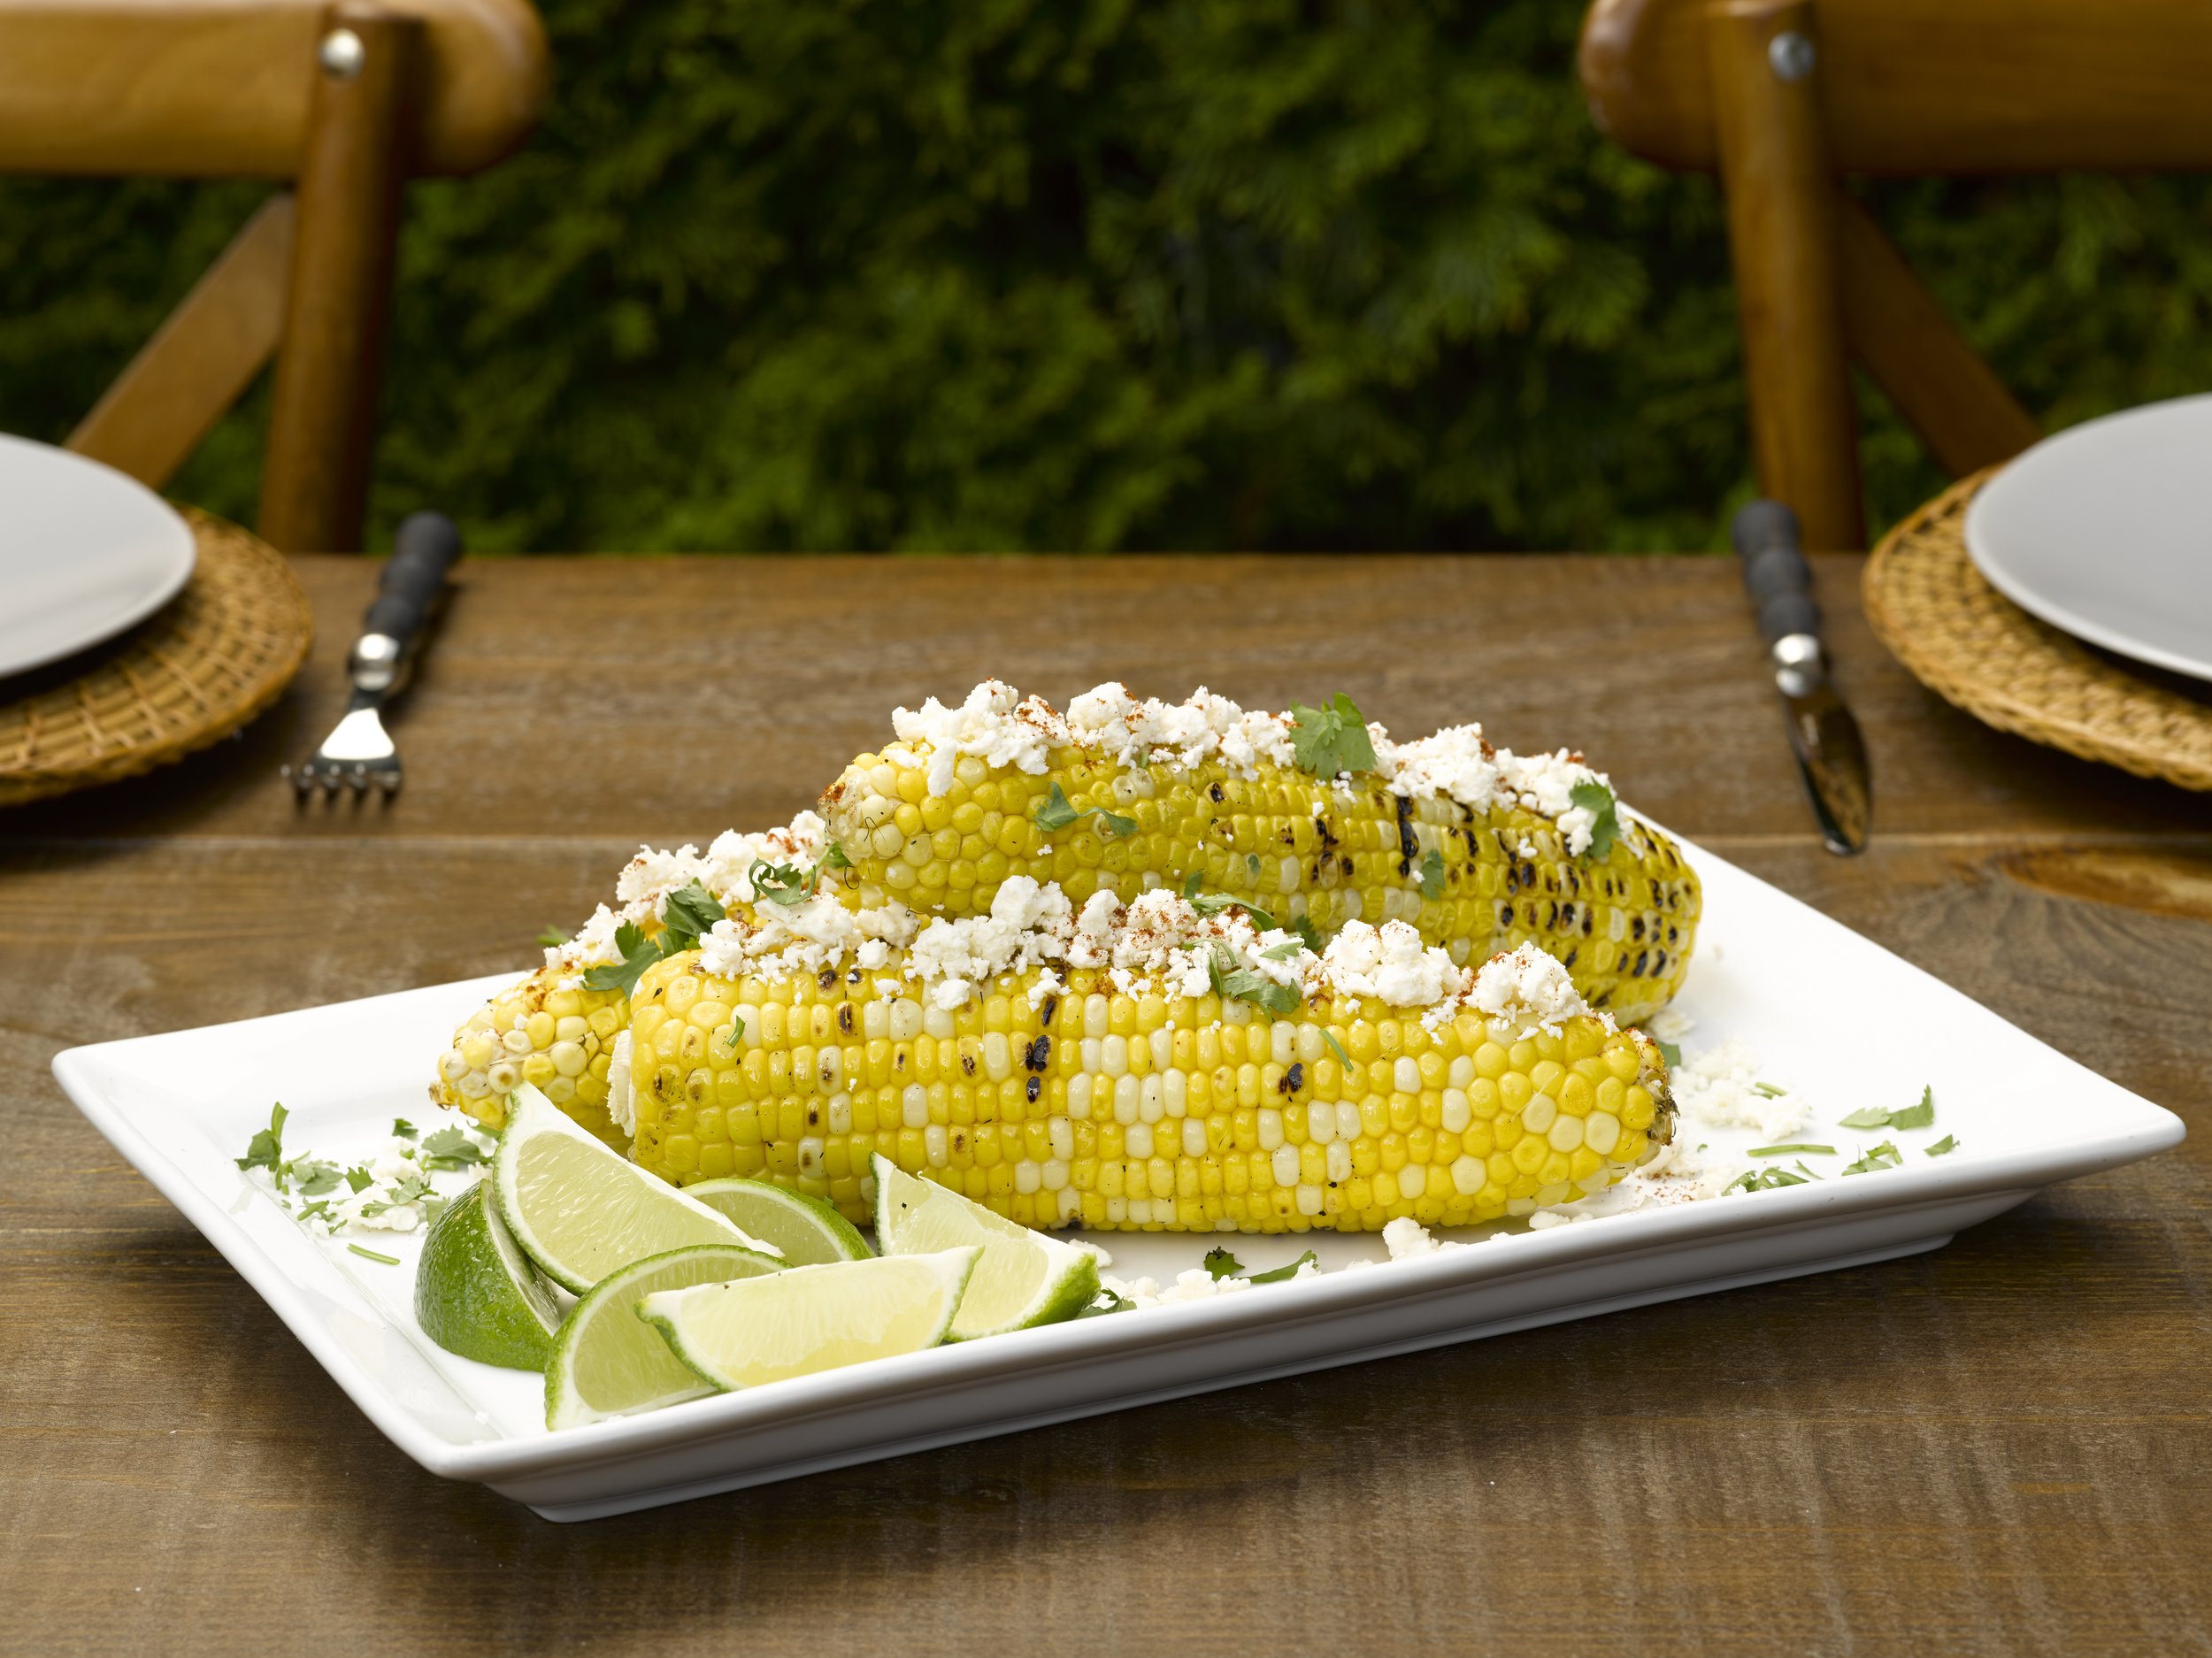
Prepare for a flavour explosion at your next BBQ party with this Feta + Chili Corn sensation! 🌽🔥🧀
This flavour-packed delight will take your backyard cookout to new heights of deliciousness. Imagine sinking your teeth into juicy, smoky corn kernels coated in creamy feta cheese and zinged up with a tantalizing kick of chilli. It's a match made in BBQ heaven!😋🍖
Once your guests have arrived and shared laughter and good vibes, it's time to chow down on this irresistible treat and prepare for an eruption of merriment as the night skies are filled with the aromatic smell of grilled meat. Trust us, this Feta + Chili Corn has a magical ability to turn any gathering into a belly-aching, smile-inducing affair. It's like a flavour party in your mouth, with everyone invited! 🤩
Now that you've got your guests in a good mood, all there's left to do is get the party started! 💃🏼🎶
-
yield: serves 6-8 • prep time: 15 minutes + 10 minutes to chill • cook time: 30 minutes
Ingredients
6 corn cobs
¼ cup olive oil
Sea salt and black pepper
6 Tbsp butter, melted
6 oz crumbled feta
3 garlic cloves, minced
2 tsp chilli powder
1 cup cilantro, coarsely chopped
2 limes, cut into wedges
Method
- Fill a large stockpot two-thirds full with salted water and bring to a boil over high heat. Prepare an ice bath.
- Peel the corn and trim off the ends. Boil the corn for 12 minutes, then immediately transfer it to the ice bath for 10 minutes to stop the cooking process. Break each cob in half, so you end up with 12 cobs.
- Preheat the grill to medium-high. Brush each corn cob with the oil and season lightly with salt and pepper.
- Grill until grill marks appear, rotating as needed, about 15 minutes total.
- Remove from the grill and place on a serving platter.
- Drizzle the melted butter over the corn and garnish each cob with feta, garlic, chilli powder, and cilantro. Serve with lime wedges on the side.
A BBQ Party Table Setting
Backyard barbecues are all about simplicity, so for this meal, we go with less is more and stick to a rustic setting—no fancy tablecloth here. If your backyard permits, nestle the table directly in the grass to really dine in the garden.😋🍴
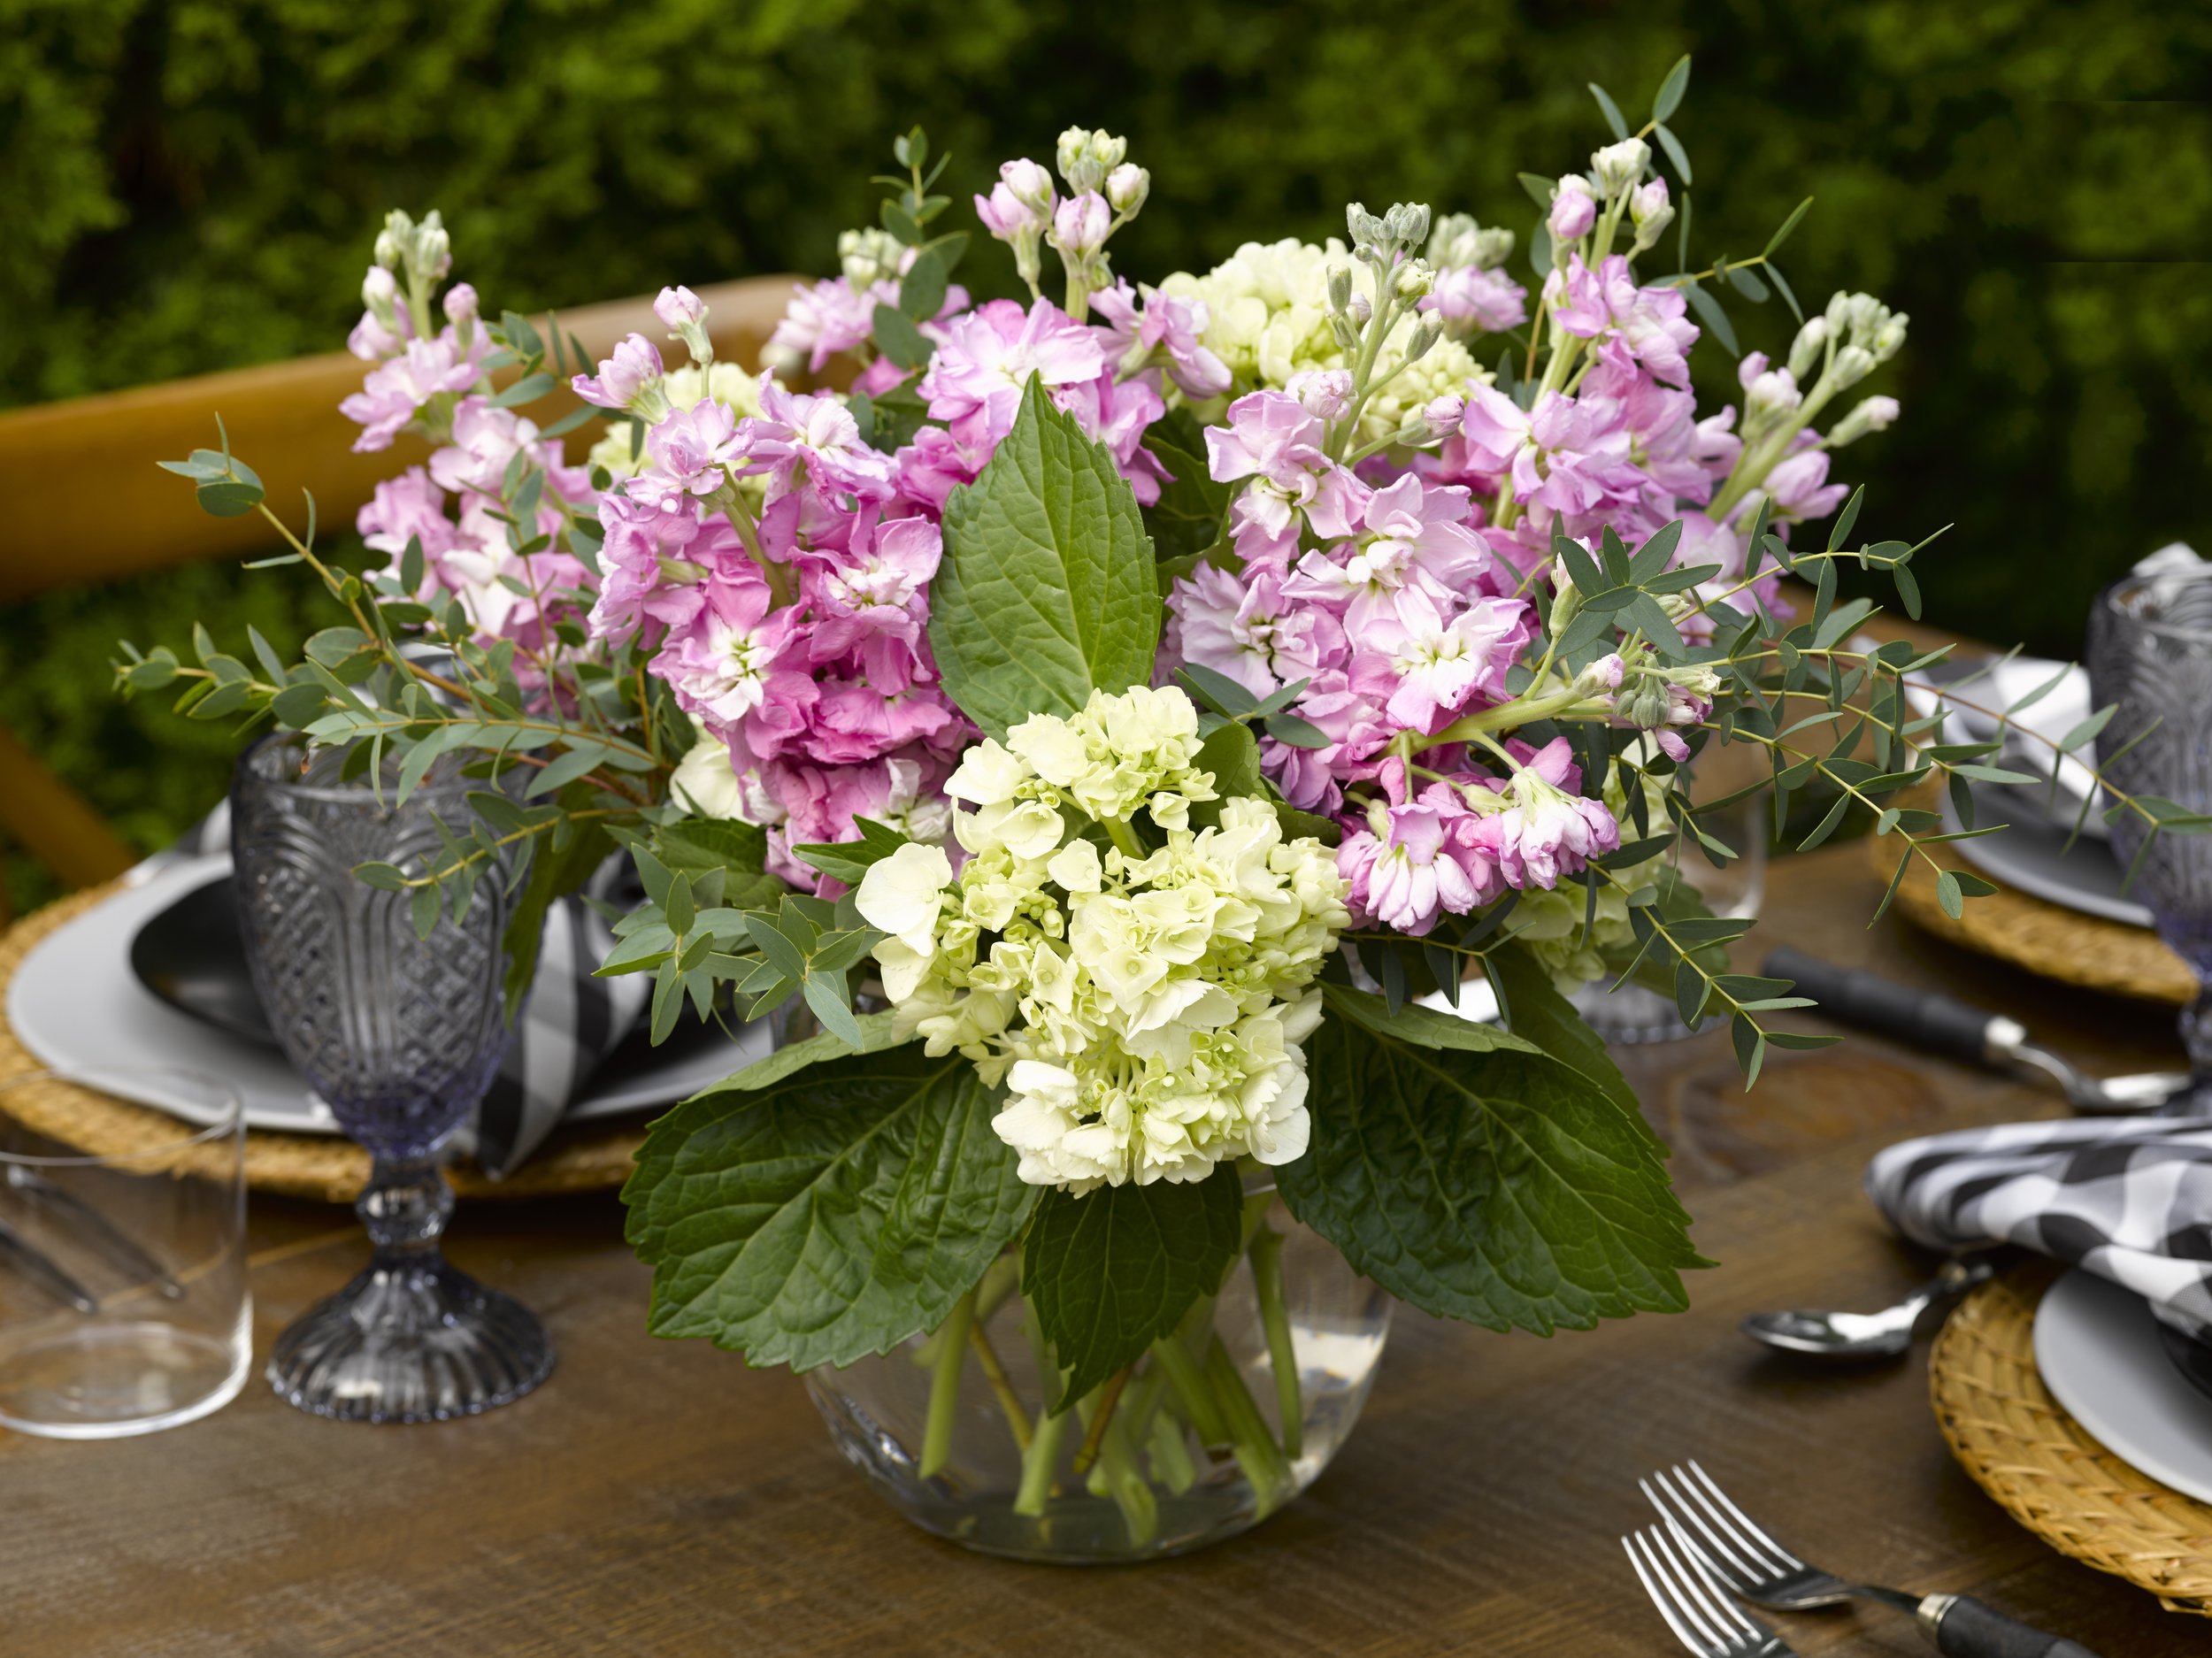
Since you're surrounded by the outdoors, you can either use small potted plants for your table décor or, if you're leaning more toward standard florals, use colours that bridge the gap between the table and your garden. We use large mason jars for our florals since they're easy to move around if we need extra room on the table when the food arrives. If you don't have a rustic wooden table, try incorporating rattan chargers into your table setting. They're an inexpensive way to add décor to your table. 💐
The evening may begin with a few cocktails and appetizers as guests arrive. We suggest seating your guests a bit earlier and serving everything else family-style right at the table. 🍽️
Ready to turn your backyard into a BBQ paradise? Stay tuned as we continue on this month-long adventure of how to host the best BBQ this season!🔥🍖☀️


