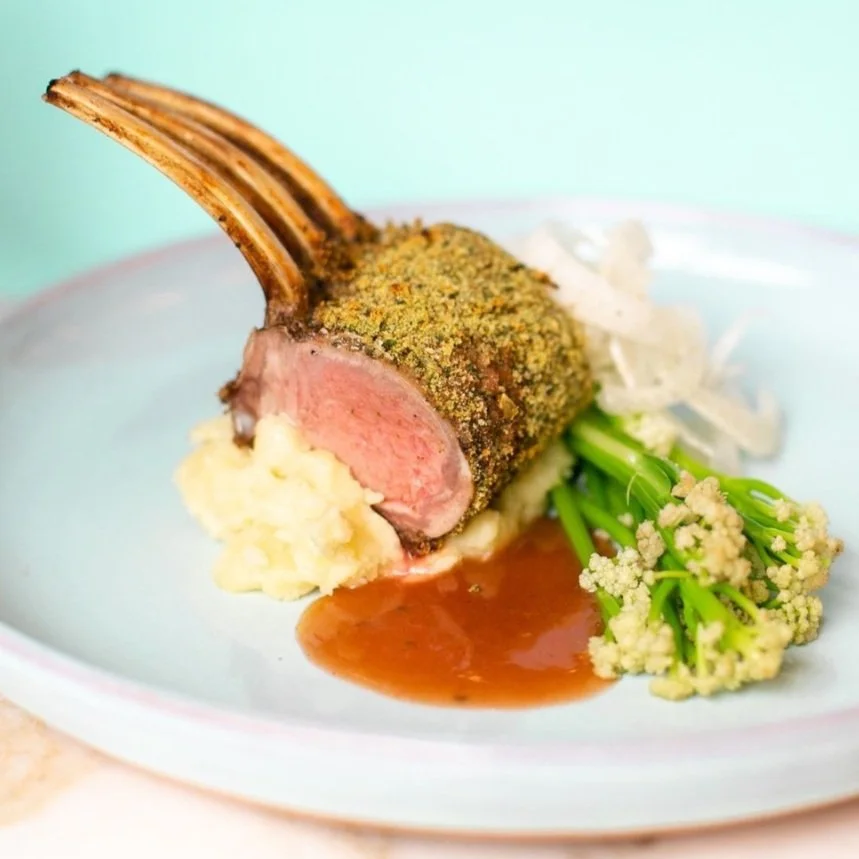
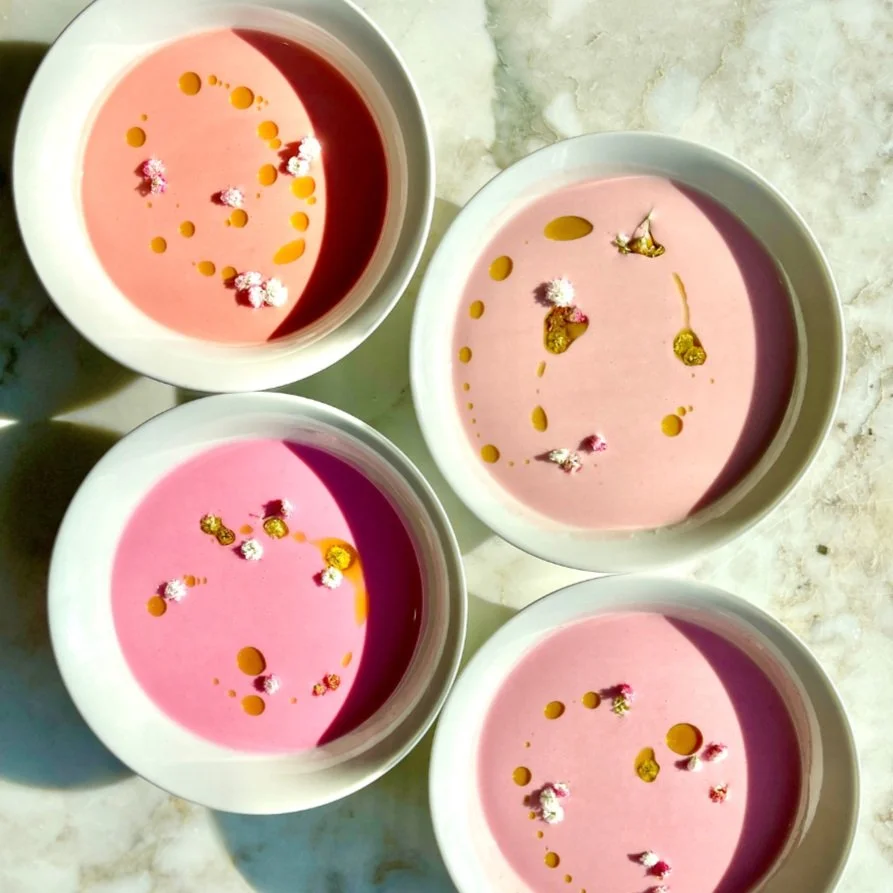
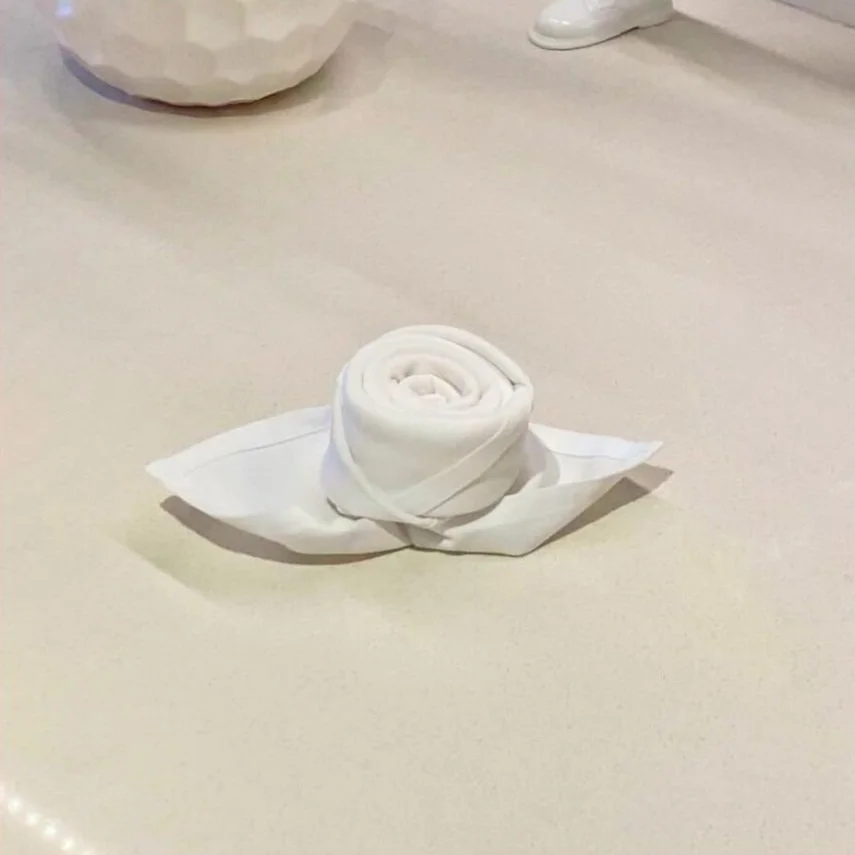
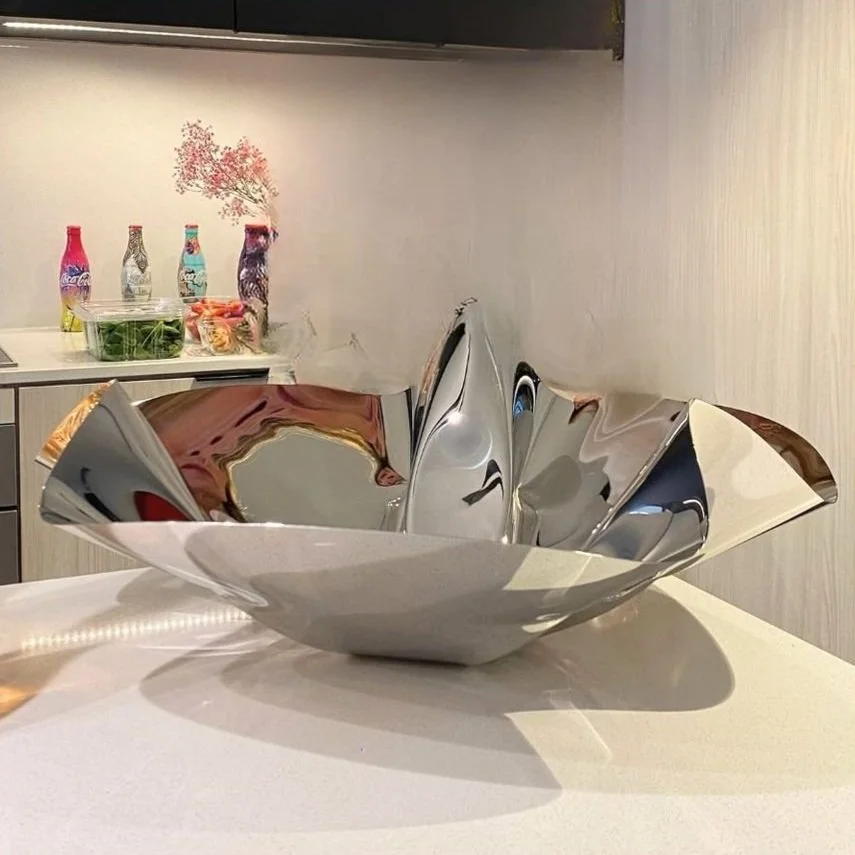
Let us introduce you to the pocket napkin fold! If you're not already familiar, this is definitely one you'll want to save down and keep in your bag of tricks!
We call it the tripple threat of napkin folds since it's 1. chic & elegant 2. super easy and 3. highly functional.
So grab your napkins and follow along!!
Classic Patatas Bravas
You really can't have a tapas night with patatas bravas!!
This staple in Spanish cuisine is always hit - because who doesn't love REALLY good potatoes?? Think crispy & crunchy outside, with soft buttery insides, topped with garlic aoli and a spicy bravas sauce - drool much!
Ingredients (serves 6-8):
4 lbs Yukon Gold potatoes, peeled & cut (bite sized pieces)
2 tbsp salt + extra to taste
1/2 tsp baking soda
5 tbsp extra-virgin olive oil
3 large cloves garlic, minced
Fresh parsley leaves for garnish, minced
Aoli:
1/2 cup mayonnaise
2 clove garlic
3/4 tbsp lemon juice
1/4 tsp salt
2 tsp olive oil
Bravas Sauce:
2 tbsp olive oil
1 6oz can tomato paste
4 garlic cloves minced
1/2 sweet onion diced
2 tsp smoked paprika
1/4 tsp cayenne pepper
2 to 3 dashes hot sauce
1 1/2 cups water
salt to taste
How -To:
1. Place peeled and cut potatoes in a bowl with cold water for 30 mins. Preheat oven to 450F.
2. Bring water to a boil in a large pot. Add 2 tbsp of salt, baking soda, and potatoes. Bring back to a boil before reducing the heat to a simmer. Let simmer for about 10 mins.
3. In a large bowl combine olive oil, garlic, and extra salt.
4. Drain potatoes, let sit for 1 min in strainer, then add to bowl with olive oil mixture. Toss potatoes until evenly coated.
5. Transfer potatoes to baking sheet, being sure to space them out evenly.
6. Place potatoes in the oven for 20 minutes without moving them.
7. Remove and carefully flip or toss them onto their other side. Place them back in the oven for an additional 20 mins.
8. Remove the now beautiful golden brown potatoes from the oven.
For the aoli, simply mix the ingredients together in a small bowl. For the bravas:
Heat olive oil in a pan over medium heat. Add onion and sauté until golden. Add garlic and stir until fragrant. Add tomato paste, water, salt, paprika, cayenne pepper and hot sauce, stir to combine and bring to a simmer. Simmer on low for 20 minutes, stirring occasionally. Let it cool slightly before serving.
You can either serve them on a large dish family style, or like traditional tapas, serve them on individual small plates! Both ways are equally delicious!
Create the Perfect Host Gift Basket
Our final tip of the month is for those guests who want to really go the extra mile in showing appreciation with a thoughtful gift for the hosts!
And we're talking than the usual bottle of wine.
In our books, this is always a must! Friends or family members who open their properties to guests for an entire weekend are the true heroes of summer, and deserve to be treated as such!
The key to the perfect host gift basket is in the personalization. It's likely that you know the cottage owners on a personal level - so show it! This can be some beautiful tea towels you know they never can have enough of, or their favourite coffee packed with a new mug for their collection.
If your not sure where to start, or need to some filler items, basics like a good bottle of wine, local honey, and artisanal marshmallows are typical cottage staples!
And a real wow factor is keeping the entire host family in mind. For example, if they've got a four legged friend, throw in a new chew toy; or if they've got little ones, something kid friendly!
The best part about this, like any gift, is that it's totally adjustable to any budget - because in the end, it's always the thought that counts!!
Mango Coconut Popsicles
Popsicles have to be one of summers most quintessential treats - but too often we forget how easy they are to make ourselves!!
Popsicles have to be one of summers most quintessiential treats - but too often we forget how easy they are to make ourselves!!
These Mango Coconut Popsicles are sure to cool you down on any one of these hazy hot days we've been having. They're super easy, all you need to have is some form of popsicle molds!
Ingredients:
3 cups frozen mangos
1 can full-fat coconut milk
1 tablespoon honey (optional but we definitely recommend!)
½ cup unsweetened coconut flakes
Squeeze of lemon
How-to:
1. Add mangoes to a blender or food processor. Blend until crumbly.
2. Add coconut milk and maple syrup (if using), blending until smooth. Scrape down the sides of the blender as needed. Add coconut and pulse a few times, until well mixed.
3. Pour this mixture into a popsicle mold. Make sure to leave about ¼” of space at the top of the mold to allow the popsicles to expand in the freezer. Insert popsicle sticks into the mold, or follow instructions for your mold.
4. Freeze for minimum 6-8 hours - overnight is best!
5. Remove from freezer. If needed, allow to thaw for a few minutes. Run popsicle mold under a bit of lukewarm water to help them loosen.
This is a great one to bring up north as a guest, and surprise your hosts with what's sure to be their new favourite frozen dessert!
Chicken & Orzo Salad with Zingy Basil Vinaigrette
The best part of this recipe is its versatility. Easy to make enough to serve a crowd or a smaller crew, can be served warm or chilled, and it’s a very flexible recipe based on the vegetables you have on hand! Not to mention, you can even prep it a day early if you're a guest wanting to bring a meal up or a host trying to get something off the to do list!
Ingredients (for 2, multiply based on number of people you're serving)
2 boneless skinless chicken breasts
1 medium zucchini
1/2 bag of fresh or frozen peas
1 package of orzo
1 cup arugula
Chicken rub:
1/2 Italian blend
1/4 teaspoon garlic powder
1/4 teaspoon cumin
1/4 teaspoon brow sugar
Salt and pepper to taste
Basil Vinaigrette:
1 lemon
1/4 cup chopped fresh basil
1 tsp honey
3/4 cup olive oil
1/4 cup white wine vinegar
1 shallot - minced
Salt & pepper to taste
How-to:
1. In a small boil, combine all vinaigrette ingredients and whisk until well combined. Set in the fridge until serving.
2. Bring water to a boil in a medium pot, cook orzo as directed on the packaging. Once cooked, strain and set aside.
3. For the chicken, there's no strict rules here. Feel free to cook however you prefer. We typically drizzle with olive oil, rub with a combination of garlic + Italian herbs + cumin + brown sugar +salt + pepper, and then throw them on the BBQ (approx 6 mins per side, med high heat). Once done, remove from heat and set aside.
4. Prep your chosen veggies by lightly steaming them - we still want a bit of that fresh crunch to them!
5. Last but not least, put it all together & serve!
And there you go, an easy recipe bursting with fresh flavours sure to turn into a weekend favourite!
Check out our Reels for a mini tutorial!!
DIY Floating Noodle Cooler
Who doesn't love a party trick!?
Here is a super simple DIY that is sure to impress either guests or hosts during your weekend away - the Noodle Cooler!!
There's nothing we love more than sipping a cold drink floating on a hot summers day, and with this little hack, you won't even have to get out for a refill!
What you'll need;
1 pool noodle
Exacto knife
1 large rectangle Tupperware or bucket (plastic)
Paracord or rope (at-least 1.5 - 2 meters)
Beer & coolers of choice!
Step 1:
Cut your noodle into 4 pieces, size dependent on measurements of your bucket. Likely two longer pieces, and two shorter pieces.
Step 2:
Thread the rope through the noodle holes, in the correct order (longer, shorter, longer, shorter), and tie together.
Step 3:
Fit your plastic bucket inside the pool noodle rectangle. Tighting if necessary. Leave extra rope in case you want to tie to a dock, or side of the pool!
Step 4:
Fill with your ice and beverages, and get to floating!
Let us know in the comments below if you've ever given this one a try!!
Top 3 Tips to Being the PERFECT Cottage Guest
Have you been fortunate enough to get invited up to a cottage this summer? If you answered yes, then pay attention - because just like a dinner party, or event, there is such thing as a 'bad guest' and a 'great guest'.
As practiced cottage guests ourselves, here are our top 3 tips that could help put you at the top of the "invite back" list.
1. Offer to make at least one meal
Yes, your friend or family member has invited you to spend the weekend with them, but you can’t expect your host to cook you breakfast, lunch and dinner every single day. Offer to make your signature recipe, or bring gears for a breakfast bar. Whatever it is, the host will be grateful to get one meal off of their long to-do list. Pro tip: if you're up first, don't be afraid to get a pot of coffee on, before everybody else wakes up!
2. Bring your own booze
If your cottage weekends are anything like ours - there is plenty of rosé involved - and nobody likes a moocher. Bare minimum, cover what you plan on drinking, but why not really impress your hosts by bringing up the ingredients for your favourite cocktail! When in doubt, sangria ingredients are always a hit! Check out our last post for the perfect rosé sangria!!
3. Help clean up
Now we know this one sounds like a no-brainer, but too often guests hit the road leaving the owners to do tidying. We like to always strip our sheets and offer to give the bathroom we used a wipe down. Offering to sweep is a great option since it's typically an easy task - but goes a long way! It's also nice to offer to take any left over food back with you, like the barely opened jars of pasta sauce, or the half-eaten package of burgers. Otherwise fridges end up with scraps of food that the host ends up tossing. Pro tip: if you do have to rush off on the Sunday, offering to take away a bag of garbage or recycling on your way out is an easy way to get some browny points with the hosts.
Essentially, the perfect cottage guest is the person who is "no trouble" and pulls their weight in the chores department.
Any cottage owners out there have any tips for guests of their own?? Share in the comments below!
Rosé Sangria
For Canadians, there really is nothing better than sitting on a dock, in the sun, sipping on an ice cold bevie!
So, for this month's drink, we of course had to make it lakeside friendly. So this time, it's really all about the serving method - rather than the actual drink.
Ingredients:
1 bottle rosé wine
1 cup white cranberry juice juice
1/2 cup lemonade
3 oz. Cointreau
3 oz. citrus vodka
2 oz. honey simple syrup
2 small lemons, cut into 1/2-inch slices
1/2 pint strawberries, sliced
1 pint raspberries
2 peaches, cut into 1/2-inch slices
3/4 cup soda water
And lots of ice of course!!
Tip for rosé: Although when we drink rosé on it's own, we go for one very dry and light in colour, but when it comes to a sangria - we like something a little sweeter and darker in shade! We find it really brings more of the fruity flavours together, and of course turns it into a gorgeous shade of pink!
Now this is just one of many options for your new drink dispenser, so we want to challenge you to get creative all summer long! Be sure to tag us in your batched cocktails with the hashtag #SSMadeMeDoIt !!
Lemon Salmon Skewers
Easy cottage recipe that isn't burgers & hot dogs? We've got you covered!
Easy cottage recipe that isn't burgers & hot dogs? We've got you covered!
Our Lemon Salmon Skewers are just as easy, but about 100x more sophisticated than your average lake side lunch. Don't get us wrong, we love a classic burger, but when you have guests - sometimes it's worth stepping it up a notch.
For this recipe, it's all in the prep work - which you can easily do prior to leaving home on the Friday, making the day of as simple as throwing them in a pan or on the grill!
Ingredients (for 8):
2 lb salmon cut into 1-inch cubes
8 lemons cut into slices
1/3 cup unsalted butter, melted
1/2 tsp salt (or to taste)
1 tsp dried oregano
1 tsp pepper
3 large cloves of garlic, minced or grated
Freshly chopped parsley for garnish
How to:
1. If you are using wooden skewers, soak skewers in water for 15 minutes prior to cooking.
2. Cut salmon into 1inch cubes, and cut lemons into 1/4 inch slides. Begin assembling your skewers by alternating cubes of salmon and lemon slices. Repeat until all salmon is used.
3. In a small mixing bowl, combine: melted butter, minced garlic, salt, pepper, and oregano. Using a basting brush, begin coating the skewers with your mixture.
4. Depending on your plan for service, you can either pop these straight into a pan or on the grill - or, when your marinade for salmon is not acid based (like this one) you can marinate the fish for up to 24 hours in the refrigerator. So feel free to prep these the day befor or in the am!
5. Bring your grill or pan to a medium-high heat. Add skewers to the grill or grill pan, once hot. Cook for approximately 1 to 2 minutes per side, until salmon reaches medium-rare.
Serve with a delicious grainy mustard, tsaziki, extra lemon, or all of the above!
Be sure to let us know if you try this one out!!
Strawberries Dipped in Toasted Marshmallow
You've heard of chocolate covered strawberries - but what about strawberries dipped in melted marshmallow & toasted!?
Fair warning - this is going to be your new favourite cottage treat! It's got the fluffy sweetness from the marshmallow, firey toasty flavour, and the freshness from the berries - the total package!!
Not to mention - incredibly easy & fun to make with friends and family.
All you need is:
Marshmallow fluff
Fresh strawberries
Skewer sticks
An open flame
How to:
1. Give your strawberries a good wash, then pat dry.
2. Take your skewer sticks and stick the strawberries on (be sure not to go all the way through the berry). Set aside
2. Scoop your marshmallow fluff into a micorwave save bowl, and microwave for 15-20 seconds. Remove from microwave and stir for a silky smooth texture.
3. Take your skewered strawberries, and begin dipping them into the marshmallow, coating them evenly. We recommend doing this next to the open flame, so you can go straight to toasting. Repeat until all strawberries are dipped & toasted.
Depending on your guests or set up, you can either set the finished starberries on a plate lined with parchment, or simply enjoy straight away!
Be sure to check out our Reel for an easy how to tutorial!!
Strawberry Mille-Feuille
Of course, this month's dessert recipe is a French classic, the Mille-feuille. While this dish does require a bit more effort than the average, it makes up for it in looks & taste. We like to keep it classic with the filling, using fresh strawberries & vanilla cream.
Ingredients (for 6):
Pastry
1 package of frozen puff pastry (2 sheets of pastry)
Cream
4 egg yolks
2/3 cup sugar
1/4 cup cornstarch
2 tsp vanilla extract
2 cup milk
1 pack strawberries
How-to:
Cream
1. Whisk the yolks and sugar together in a microwave safe mixing bowl until well combined/pale in colour.
2. Sift in cornstarch and whisk well. Add the fresh vanilla or extract, and milk. Whisk until well combined.
3. Loosely cover the bowl with plastic wrap and microwave for approx 4 minutes, stirring halfway. After remaining 2 minutes, remove plastic & stir. It should have thickened, and with stirring, turned to a smooth pudding like texture.
4. Cover again with a plastic wrap & chill for minimum 30 minutes.
Pastry
1. Remove pastry from freezer to thaw in the fridge. Separate & place each sheet on a plate, cover with plastic wrap and defrost in the refrigerator for about 4 hours.
2. Preheat oven to 200 (or as directed on your package)
3. Once puff pastry is thawed, cut each sheet into three strips.
4. Transfer pastry strips to parchment lined baking sheets.
5. Brush the top side of the pastry with egg wash & sprinkle with sugar. Bake for 15-20 minutes until the pastry is puffed and golden brown. Pro tip - when you remove from oven, have parchment paper & extra baking sheets ready. Lay the parchment down on top of the pastry, then the extra pan. This flattens the pastry while it cools.
6. Once cooled, cut each pastry strip into thirds.
Assembly
1. Lay a piece of the now cooked pastry on serving dish and pipe with some of the custard filling on top. Arrange sliced strawberries and then another piece of pastry on top. Repeat x2.
2. Repeat step 1 until all 6 Mille Feuilles are complete!
For garnish, we like to add a bit of crushed pistacchio or a bit of fresh mint!
Orange Leaf Namecards
You guys know we couldn't let a month go by without a little DIY project!
These orange leaf namecards are simple to execute, and do a fantastic job in that sometimes needed pop of colour to the tablesetting. Citrus fruits are practically synonymous with summertime, so why not incorporate them into the table decor! Namecards are one of the easiest ways to elevate your guests experience, really making them feel as though time and effort went into the aesthetic you've created.
For this, all you will need is:
Fresh oranges (halved), as many as you need for guests attending
Green leaves, available at any florist
White gel marker, to inscribe guests names
And if you really want to go the extra mile, coupes to hold the oranges on the plates.
You can of course simply place the orange halves directly on the plate as well!
Be sure to tag us in your creations if you give this one a try!!
Cucumber Martini
What's a luncheon without a refreshing cocktail?
You guys knew this post was coming! This month's cocktail is the thirst quenching Cucumber Martini!
We love martinis because they are super simple to make, while still giving that edge of elegance - which perfectly meshes with the laid back & chic French vibe we're going for!!
Ingredients:
2 slices cucumber (for the shaker), plus 2 more for garnish - thin/lengthwise
2 oz vodka
1/2 oz dry white vermouth
1/3 oz St Germain
Squeeze of fresh lemon (1/4 lemon), slice a couple wedges for garnish
How-to:
1. Add the cucumber slices to a cocktail shaker and gently muddle them to release the juice/flavour.
2. Add ice, vodka, vermouth, squeeze of lemon, and St Germain to shaker. Give it a good shake until eveyrthing is well combined/nice and cold.
3. Before straining into martini glass, add your thin sliced cucumber around the inside of the glass and a bit of crushed ice. Strain the drink into the glass. Garnish with lemon.
PRO TIP: Put your martini glasses into your freezer for at least 20 minutes before making - adding an extra crispness to the refreshing flavours!
Let us know in the comments below what your favourite martini flavour is!!
Spicy Linguine al Vongole
Another day, another recipe - and this one is an all time classic: Spicy Linguine al Vongole! 🌶
Also known as linguine with clams, and can be prepared either “in bianco” (white clam sauce) or “in rosso” (red clam sauce). Our favourite method is the bianco, with a hint of heat!
It’s been a staple during all of our summers spent in the South of France, and so we couldn't help share the deliciousness with your guys! And what's so great about this dish is that it serves up the wow - without a tone of effort!
Ingredients (for 4):
280g linguine (approx 3/4 of a standard box of noodles)
1.5 - 2 lbs. fressh Manila or Littleneck clams
5 tablespoons (approx 1/3 stick butter) unsalted butter, melted
1 tablespoons olive oil
7 cloves garlic, minced
2 teaspoons red pepper flakes
1/2 cup white wine (we like to use a nice Sauvignon Blanc or dry Pinot Grigio. You don’t have to go crazy on the price point, but choose a wine that you’d be happy to drink.)
2 tablespoons chopped Italian parsley leaves
Salt & pepper to taste
Lemon wedges, for serving
How-to:
1. Before cooking, it’s important to clean fresh clams thoroughly so that sand doesn’t find its way into your pasta.
2. In a large pot, bring water to boil. Cook the linguine until al dente (per the package instructions). Drain the linguine and set aside. Reserve 1/4 cup of the pasta water.
3. On high heat and add the butter and olive oil to a pan or skillet. Add the garlic and saute until they turn a golden brown. Add the red pepper flakes, stirring a few times before adding the clams.
4. Add clams and toss a few times. Add the white wine, salt and pepper. Cover the skillet with its cover and cook the clams for about 1-2 minutes (until the shells are all open)
5. Add the cooked linguine and pasta water into the skillet. Stir to combine well. Add the parsley, mix well. Turn off heat and serve immediately. Squeeze some lemon juice on the pasta before serving. *Of course, if you are not one for spice - simply omit the red pepper flakes*
Et voila! A beautiful pasta dish to serve at your al fresco luncheon - bon appetit!
Melon Prosciutto Caprese Salad
A casual al fresco luncheon is all about lighter, less complicated recipes. But of course, we love to add a touch of flare to the easiest recipes!
Today we've got a spin on the classic caprese salad, with our Melon Prosciutto Caprese Salad! Fresh melon, burrata, prosciutto, and conveniently served in individual glasses? Yes, please😍
Ingredients (for 6)
Whole fresh melons, we went with cantaloupe and honeydew - but you could definitely throw a watermelon into the mix as well
2 Burrata cheese bundles, you could also do fresh mozzarella but we just love the added creaminess of the burrata
Prosciutto
1 pack Fresh basil, chopped
1 pack Fresh mint, chopped
Vinaigrette:
1 small shallot, minced
1/2 cup olive oil
1/3 cup white wine vinegar
1 tablespoons honey
Sal & pepper to taste
How-To:
1. Begin by making your vinaigrette. Combine minced shallots, olive oil, white wine vinegar, and honey in a small bowl and whisk with a fork until well combined. Add salt & pepper to taste. Set aside.
2. Cut your melons in half, scoop out the seeds. Using a melon baller, begin scooping out balls. If your melon baller has two different size options, use both interchangeably to create different sizes for each melon. Based on your chosen serving method, scoop enough melon accordingly. For example, we used these small tumbler glasses with about 10 balls, and filled 6 glasses.
3. As best you can (don't worry, this step is supposed to be messy) cut your burrata in rounds to place at the bottom of the glasses.
4. Once you have added the cheese, add you first layer of melon - about 4 balls.
5. Next layer should be the proscuitto, delicately lay it on top of the melon. Follow with another layer of melon. This should bring you to the top of the glass if you chose a low ball like us, if you have more space you can continue layering.
6, Top with your chopped mint and basil. You can use a whole leaf of either herb as a garnish as well.
7. Lastly, carefully drizzle each of your creations with your vinaigrette - we would recommend maybe 1/2-1 tablespoons worth to start as it's always easier to add more later!
Be sure to check out our reels for a mini tutorial!!
Popcorn Party Favors
It's the end of the month, which means the end of our Backyard BBQ Party - but we want to send you home with something!
Party favors can be an easy & fun way to say thank you to your guests for coming and being apart of a special day or event. Really - they are the grown up versions of loot bags, and who doesn't love a loot bag!?
These DIY popcorn favors are sure to put smiles on faces even as they are leaving the festivities - not to mention it is SUPER easy.
All you need is:
Popcorn kernels
Small jars or containers of choice
Kraft or Parchment paper Ribbon (if it matches your decor even better!)
Small tags you can customize with your message
Let us know if you'll be giving this DIY a try in the comments below!
Build The Perfect Cheeseburger
Hey guys - Seb here!
Since the cheeseburger is my all time favourite food, and you can't really have a BBQ without burgers; today I'm going to walk you through how I build my perfect burger!!
Since the cheeseburger is my all time favourite food, and you can't really have a BBQ without burgers; today I'm going to walk you through how I build my perfect burger!!
Now I know burger toppings are personal, and everyone has their preferences, but these steps are really a guide of how to layer condiments to create the best finished product - so let's get started!
1: As any experienced burger builder will know, it's important lay out all your condiments - that way you don’t get halfway through your burger and realize you forgot pickles!!
2: Take your bun (toasted is my preference) and lay down your base sauce, I usually go from ketchup here.
3: Add your lettuce by folding it in half and laying it on the ketchup. The fold makes sure you don't have too much of it spilling out of the but, and the ketchup acts as a glue to keep it in place.
4. Next you add your second sauce, which is mayo for me. This layer will act as the glue for the burger patty.
5. Place your burger patty on next, ideally with cheese already melted on top (I'm French, so of course I have two types of cheese 🤩).
6. Then you can add the rest of your 'dry' ingredients. For me thats bacon, tomato, onion, and of course - a pickle.
7. Lastly, if you like it saucy, this is where you can slather your top half of the bun with another sauce of choice. I'm a bit of a purist when it comes to my burgers, so I leave it as is, and secure with a skewer stick.
And there you have it - the perfect burger. If it doesn't resemble a small tower, you're doing it wrong 😉
Watch my tutorial video here!
Classic French Potato Salad
No BBQ spread is complete without a potato salad, but here at the Centner house, we of course have to put the French spin on it!
Our Classic French Potato Salad recipe is so simple, but a stunning finished product.The flavours are inspired by the classic French salad Niçoise, but stripped to the skin & bones of the ingredients. In place of the mayo we've got two types of dijon mustard, a bounty of fresh herbs, and just the right amount of je ne sais pas, that leaves you with a brighter flavour profile ready to be devoured.
Ingredients (feeds 5-6):
3 lbs small potatoes (gold, red-skinned or a mix)
1 cup French beans, chopped approx
1 inch in length
1 1/2 tsp salt
5 tbsp extra virgin olive oil (reserve one for drizzle)
2 1/2 tbsp red wine vinegar
2 tbsp dijon mustard
2 1/2 tbsp grainy dijon mustard
1 tsp freshly ground black pepper
1/2 cup fresh dill, coarsely chopped
1/4 cup fresh parsley, coarsely chopped 2 shallot, peeled and diced
10-12 cornichons, diced
2 tbsp cornichon juice
Juice from 1/3 large lemon
How-to:
1. Cut potatos in half. Place them in a large pot, submerge in water, and add pinch of salt. Bring water to a boil, once boiling bring heat down to remain at a simmer. Allow potatos to cook until it is easy to stick with a fork (usually 15-20 mins). In the final minute of cooking, add you chopped green beans. Remove pot from heat and straing contents. Rinse potatoes and beans in cold water to stop them from over cooking.
2. In a small bowl, combine olive oil, red wine vinegar, salt, and pepper. Whisk with fork until well combined. Add the remaining dressing ingredients, stir until well combined. Add more salt & pepper to taste as needed.
3. Transfer potatos and beans to large serving bowl, drizzel with remaining olive oil. Pour dressing over the potato and bean mixter, stir until everything is evenly coated in the dressing. Serve immediately, or it will last nicely in the fridge if you prefer to prep in the morning. And as the French say, voila!
Check out our reels for a quick tutorial video!
Our Top 5 Lawn Games to Play at Your Next BBQ
Would a backyard BBQ really be complete without lawn games!?
Whether it's an adults only gathering, or an all ages event - games are ALWAYS a good idea.
Today we’ve rounded up the best outdoor games, as praised by guests over the years (and there has been many!).
Ring Toss - this is such an easy DIY, it's a no brainer to have on your roster! All you need are beer bottles, spray paint, and rings (which can be made from a bit of rope + tape). A crate or box is useful, but not necessary.
Bocce - also known as Italian lawn bowling. You can find an array of sets on Amazon within any price range. Not to mention they usually come in a carrying case - if you happen to be the one attending a backyard gathering and are looking to bring the fun with you.
Bobbing for donuts - definitely the easiest to achieve on this list! All you need are donuts and string! This one is both fun to play and watch, there's just something hilarious about people eating with no hands 😂
Lawn Yatzee - taking a classic and making it giant sized. This is another that can be DIY'd but also available as sets for sale online. Etsy usually has some great options!
Last but not least, Giant Jenga - another classic made XXXL. Same as above, super easy to DIY but plenty of sets available online for those less DIY innclined!
Which is your favourite lawn game? Let us know in the comments below!
Rustic Elegant Floral Centrepiece
As we said at the beginning of the month, a backyard BBQ is usually a more casual/laid back setting - but that definitely doesn't mean we're skipping out on decor!
To bring a pop of colour into the table, we're using florals of course - but done in a way that adds to the elegant rustic vibe we're going for.
We picked up a couple of these wooden crates from Michael’s , played a little game of tetris with tupperware containers, filled them with water, and finally started arranging!
Since the tablecloth is neutral, we chose pinks and magentas to offset the clean lines of the black & white gingham. Any brightly coloured arrangements will have the same effect, we would recommend steering clear of whites and nudes only because they will end up getting lost in the pattern of the gingham.
And that's really it when it comes to the tablescape, simple enough to stay in line with the casual vibe - but elegant enough to elevate the overall atmosphere!
Would you go for the pinks or another colour combination? Let us know in the comments below!


