PRE-ORDER BUNDLE + CONTEST

🎉PRE-ORDER BUNDLE + CONTEST 🎉 ⁣
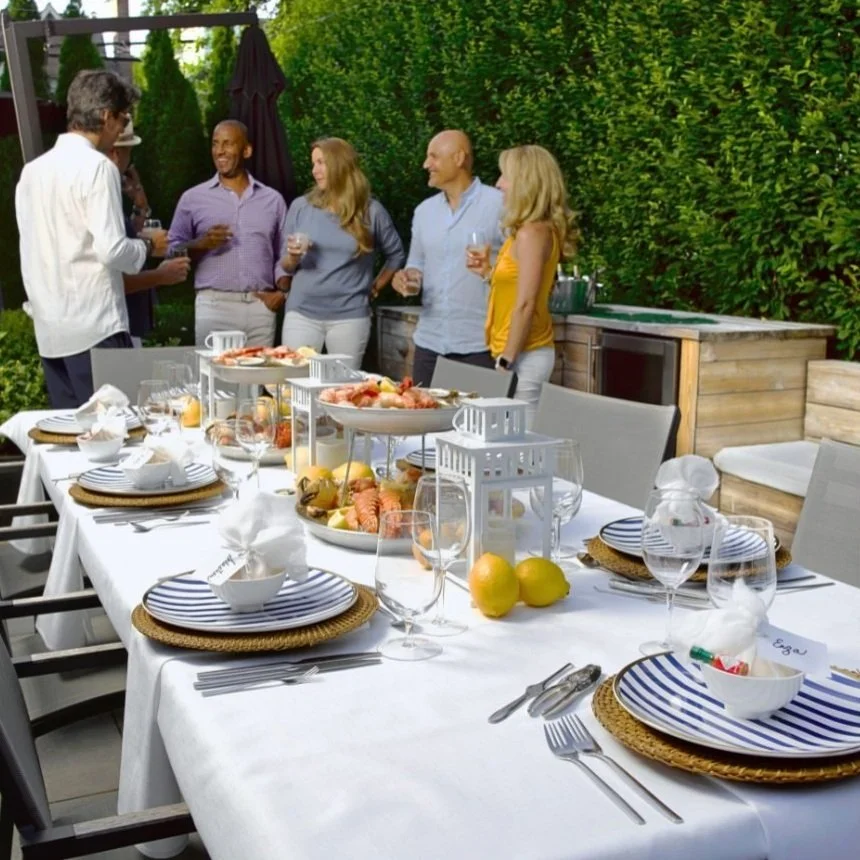
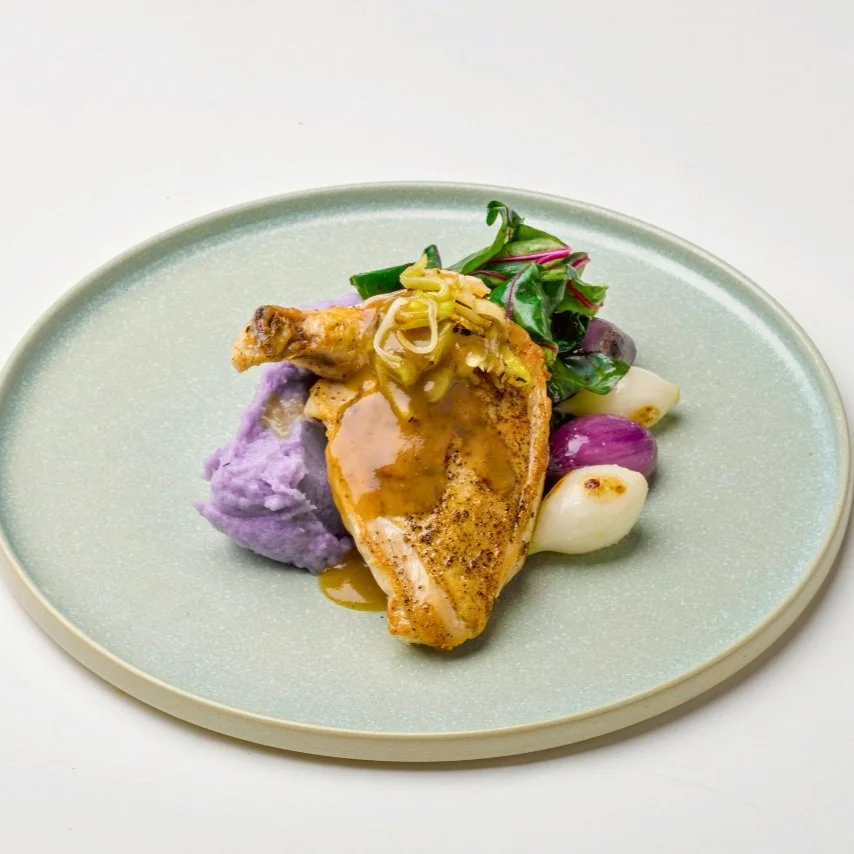
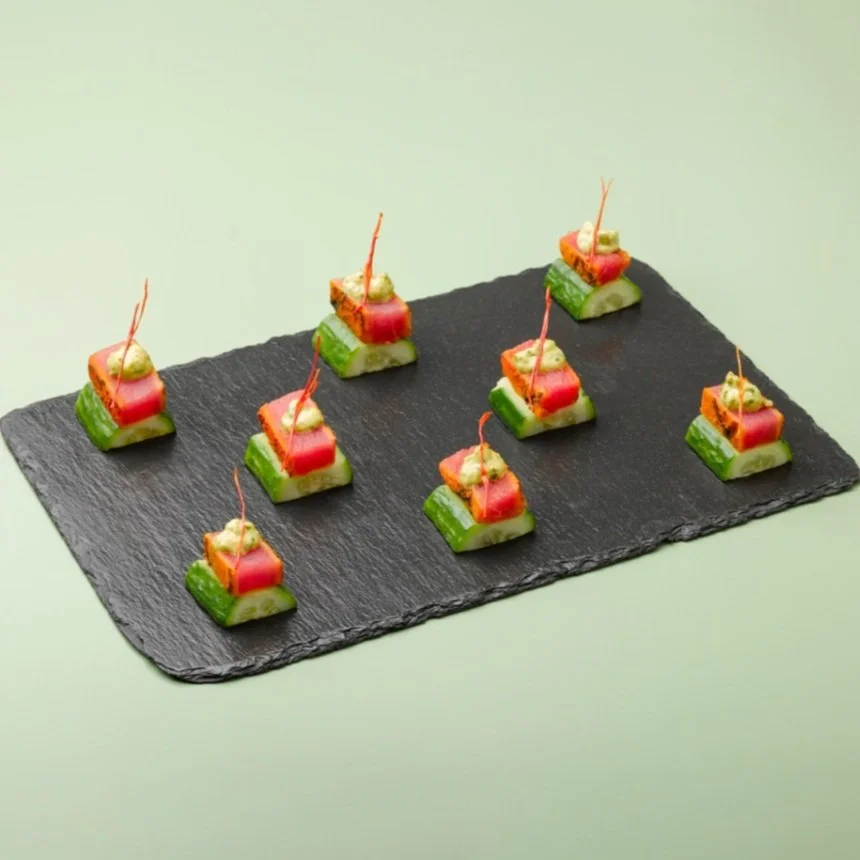
We’re so excited from all the positive feedback we’ve been getting since the cover reveal. As an early thank you, from now until Sept 13th, anyone who pre-orders a copy of the book will get a Early Access Summer Bundle filled with fun summer hosting tips and early access to five delicious recipes from the book that’ll tide you over through the summer (swipe through this post for a tiny preview).⁣

But wait... there’s more! We’re giving away one ultimate Entertaining Essentials Pantry Box, a prize pack filled with Eatertainment merch and some of @sebandsheila 's favourite pantry items to help you host your next great party!!⁣

Click the link in our bio for more details on how to enter the contest and how to claim your bundle. ⁣

Good luck and happy entertaining!⁣

London Fog Madeleines

Our tea tray wouldn't be complete without these London Fog Madeleines!⁣
Delicious Earl Grey flavour combined with a dash of aromatic vanilla, wrapped together in a hand held sponge cake? Wha's not to love?⁣

Ingredients:⁣
For the Madeleines⁣
⅔ cup + 2 tbsp granulated sugar⁣
2 eggs + 1 yolk room temperature⁣
1 tsp vanilla⁣
¾ tsp baking powder⁣
1 cup + 2 tbsp all purpose flour⁣
2 Earl Grey tea bags⁣
¼ tsp salt⁣
½ cup + 1 tbsp unsalted butter⁣
2 tbsp heavy cream⁣

For the Icing⁣
2 cups sifted powder sugar⁣
3-4 tablespoon water⁣
1 teaspoon vanilla extract⁣
1-2 drops purple food coloring⁣

How-To:⁣
Melt unsalted butter and set it aside to cool slightly.⁣
Add granulated sugar, 2 room temperature eggs and 1 egg yolk to a large bowl. Beat the eggs and sugar on high with an electric mixer for 5-8 minutes, or until the mixture is pale yellow and shiny. ⁣
Next add in the vanilla and mix until combined.⁣
Cut open 3 Earl Grey tea bags and add the tea leaves to a food processor. Grind the tea to ensure no large leaves are left.⁣
In a small bowl sift together all purpose flour, baking powder, salt and the tea leaves.⁣
Slowly add the dry ingredients to the egg/sugar mixture and fold in until everything is combined.⁣
Next pour in the cooled but still liquid butter and heavy cream, and fold in just until combined. Don't over mix.⁣
Cover the bowl with plastic wrap and chill in the fridge for 1 hour.⁣
Preheat the oven to 350. Transfer the batter to a piping bag. Grease madeleine mold with butter. Pipe about 1- 1 ½ tbsp of batter into each mold.⁣
Bake the madeleines for 12-14 minutes until they have domed.⁣
Remove them from the oven and let them cool in their pan for a few minutes, then transfer them to a cooling rack to completely cool.⁣
While they cool make the icing by combining the sifted powdered sugar and water. The icing should be thick, but if it is still really dry with the 4 tbsp of water, add a little more a tsp at a time.⁣
Then add in vanilla and food colouring to your preference.⁣
After they have cooled, dip each madeleine into the icing and transfer to parchment paper to let the icing set and harden. Once the icing has hardened, serve and enjoy!⁣

High Tea Party

This month we’re diving into a classic English tradition that is all about a midday indulgence - High Tea!⁣

While throwing an afternoon tea party may not be something you have thought about since your younger years, it is certainly a great excuse to gather with friends and family - while enjoying the finer things in life! What's great about this theme is that it can be as complex, or simple as you like! As those who have been following along will know, we like to keep things easy and manageable - which will be our exact approach, call it Seb & Sheila's 'How-To High Tea'!⁣

Like any age old tradition, there are do's and don'ts. Not necessarily rules, but guidelines. So today we're sharing are top tips when hosting a tea party!⁣

Top 5 Do's:⁣

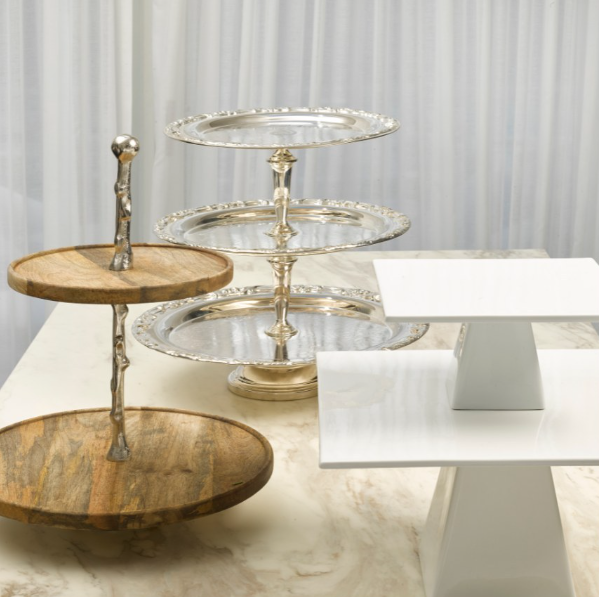
1. Use a 3-layered tiered tray. This item makes all the difference in bringing the feel of a real tea party to the table - and the most beautiful way to display your delicate finger foods. Speaking of food, there is also a proper way to layer you confections on the various levels: Top Tier: sweets, Middle Tier: scones, breads, pastries, and Bottom Tier: savoury bites and tea sandwiches.⁣

2. Eat from top to bottom. First course will be the savoury bites and tea sandwiches, next the scones, and finally the sweets.⁣

3. Serve scones with clotted cream and strawberry jam.⁣

4. Opt for loose tea over tea bags. The flavours become more pronounced, and the experience is simply more elegant.⁣

5. Offer “real” tea and properly brew it: English Breakfast, Earl Grey, Lady Grey, etc. Steep the tea for the approprate length of time. No one wants watered down flavour!⁣

Now that you have the basics down, the rest is up to you! As you can probably imagine, there are a ton of etiquette do's and don'ts as well, but like always - we also want to keep entertaining fun! So if a guest lifts their pinky, or stirs their tea the wrong way, that's fine in our books. ⁣

We can't wait to share more recipes, DIYs, and even steeped cocktail with you this month - so be sure to follow along!!⁣

Floral Decor Hack

Today's decor hack we actually adopted from the event industry!⁣

Sometimes you don't want to clutter your dining table with decor for a sit down meal - it can crowd views of guests, or if you're planning to bring serving platters to the table - you need all the space you can get!⁣

So after seeing decor expanded to chairs at countless events - we thought why not try it at home!! ⁣

All you need are some small flower arrangements, wire to fasten the bouquets, and twine for the final touch! ⁣

Summer Cherry Galette

Take full advantage of cherry season with our easy Summer Cherry Galette !!⁣

Ingredients:

Crust (enough for 2 galettes, freeze half for another day):⁣
4 cups sifted all-purpose flour⁣
1 tbsp sugar⁣
1 tsp salt⁣
1 large egg lightly beaten⁣
1 tsp white vinegar⁣
1/2 cup ice cold water⁣
3 sticks cold unsalted butter cut into pieces⁣
raw sugar for sprinkling⁣
egg wash: 1 egg + a few drops of water beaten together⁣

Filling:⁣
3 cups cherries, pitted & rinsed⁣
1/2 cup brown sugar⁣
1/4 cup tapioca flour⁣
2 tbsp lemon juice⁣
Zest from 1 lemon⁣

How-To:⁣

1. Add the flour, sugar and salt to a food processor - pulse just until combined. Add the cold butter pieces into the food processor and pulse until small coarse crumbs remain. ⁣
2. In a small bowl, whisk mix together the egg, vinegar and water. Sprinkle mixture over the flour and pulse again until the dough comes together.⁣
3. Remove the dough and since this is enough for 2 galette crusts, separate it into 2 sections. Wrap both in plastic wrap and refrigerate the dough for 30 minutes. After 30 minutes preheat the oven to 400, and pop one of the dough balls in the freezer for later use.⁣
4. Toss the pitted cherries with sugar, tapioca starch, and lemon juice.⁣
5. Generously flour a clean flat surface and coat your rolling pin with flour and roll the dough out into a circle about 14-inches in diameter. ⁣
6. Line a baking sheet with parchment paper and transfer the circle of dough onto the parchment.⁣
7. Place the cherry filling in the center of the crust, leaving a border about 3-inches wide around the edges. Carefully fold up the edges of the dough to hold in the cherry filling. It's supposed to look rustic, so don't worry about making it perfect.⁣
8. Make your egg wash and brush the top of the crust with the egg wash and sprinkle with raw sugar.⁣
9. Bake until the crust is golden brown and the fruit is bubbling, about 40 minutes. Let cool for at least 20 minutes before slicing and eating.⁣

Serve with vanilla ice cream or whipped cream!!⁣

Hot Honey Chicken Wings

Hot honey is the latest and greatest thing in the food space right now, so we thought we'd put the trend to use with Hot Honey Chicken Wings!⁣

Perfectly sweet, spicy, and totally addictive - a great addition to any summer spread!⁣

Ingredients:⁣

2.5 lbs chicken wings⁣
2 tablespoons olive oil⁣
1 tsp⁣
1 tsp pepper⁣
1 tsp of paprika⁣
Pinch of cayenne pepper⁣
1/2 cup of honey⁣
2/3 tbsp chilli flakes⁣
2 tsp Franks Red Hot Sauce⁣
2 tsp apple cider vinegar ⁣

How-To:⁣

1. Preheat the oven to 400. Line a sheet pan with foil, then place a metal rack on the pan.⁣
2. Pat the wings dry with paper towel, then coat with the salt, pepper, paprika, and cayenne on both sides. Place them on the rack, making sure they are not touching. Bake for 25 minutes, then pull them out. Use tongs to turn them over, then put them back in the oven and bake until golden brown and cooked through, an additional 20 minutes.⁣
3. Meanwhile, add the honey, chilli flakes, Franks Red Hot Sauce, and vinegar to a small pot over low heat. Just heat it through, you do not want this to be boiling. Continue to cook on low until reduced and slightly thickened, about 20 minutes.⁣
4. Remove the wings from the oven and turn the oven to broil. One by one, dunk the wings in the sauce. Place them all back on the rack and broil for about 3 minutes to caramelize.⁣

Enjoy and remember to lay out some extra napkins!⁣

Homemade Ice Cream Sandwiches


Today we're showing you how easy it is to make your own Homemade Ice Cream Sandwiches so you can stock your freezer with tasty treats all summer long!⁣

Creamy ice cream sandwiched between crunchy graham crackers, and then dipped in chocolate!? What's no to love!!⁣

Fun, easy, and totally customizable to your favourite ice cream flavour!⁣

Ingredients:⁣

Ice cream of choice (we like to go for @chapmansicecream boxed variety since it makes getting those perfect square shapes SUPER easy)⁣
Graham crackers, halved into square pieces⁣
Dark chocolate, melted⁣

How-To:⁣

1. Slice your ice cream into about 1 inch thick slices (if you're using the boxed variety like us). ⁣
2. Using a graham cracker, measure out a square of ice cream and slice accordingly. Add second graham cracker to create the sandwich. Set aside.⁣
3. Repeat until you've made 6-8 (or more if you like). Let set in freezer.⁣
4. While the sandwiches are setting, melt your chocolate. In a pinch, we do 15 second intervals in the microwave until nice and smooth.⁣
5. Dip one end of the ice cream sandwich in the chocolate, and place upright on a tray to get those gorgeous chocolate drips down the sides. Repeat until all sandwiches are dipped.⁣
5. Place them back in the freezer until ready to serve! ⁣

Check out our latest Reel for a mini tutorial!⁣
Happy Ice Cream day everyone!!⁣

Mimosa Pops

Have your booze & eat it too! Mimosa Pops are a game changer when if comes to the perfect cocktail for this hot summer heat - and not to mention totally adorable!!⁣

You can never go wrong with the classic combination of fresh fruit juice & bubbly, and this interpretation is bound to keep you and guests cool all summer season!⁣

And our favourite part? All you need are two ingredients - popsicles & Prosecco! ⁣

Grab any popsicle at your local market but we like any "real fruit juice", limited artificial flavour varieties. As for the wine, we tend to go for a dryer option on the bubbly side, since the popsicles will gadually add that natural sweetness. ⁣

From there it's up to the guests preference! As the popsicle melts, more 'juice' is added to the mimosa. They can take it out and enjoy the cool treat any time they like!⁣

Be sure to tag us in your creations, we know you'll be trying this one!!⁣

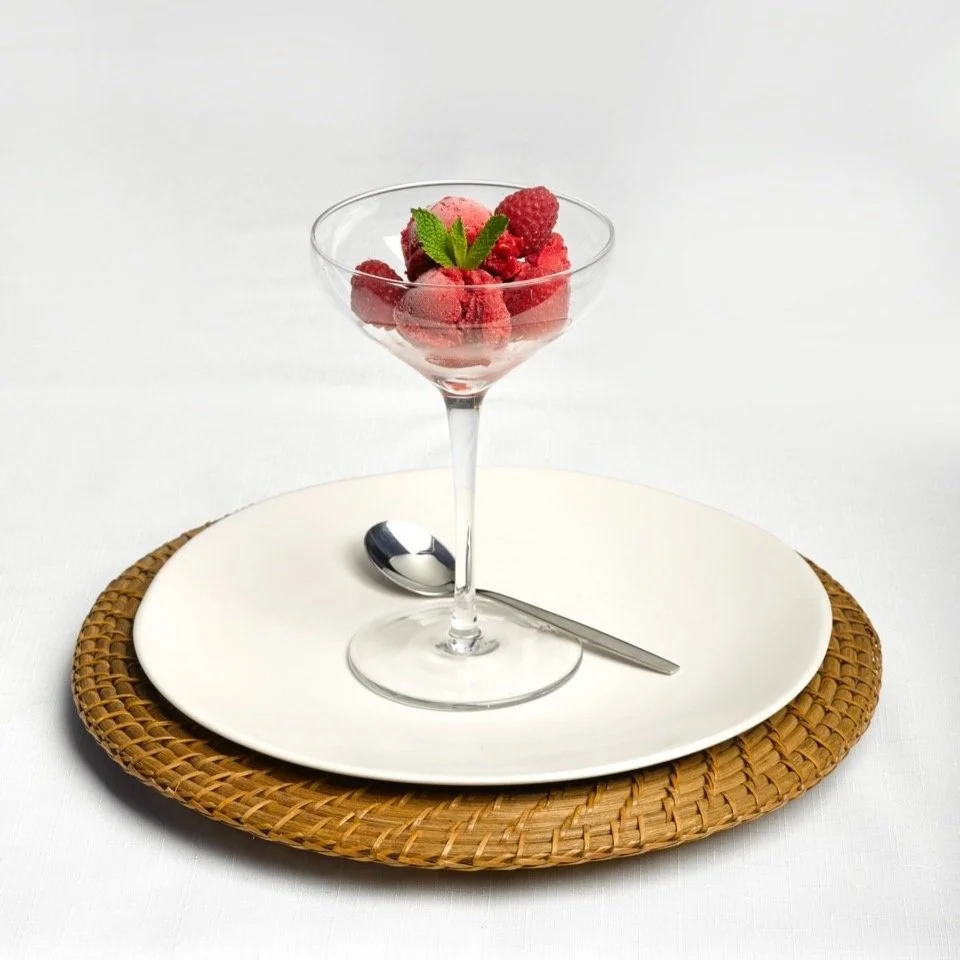
Sorbetto di Limone

Ice cream is easily one of the most delicious desserts ever created, but when it comes to serving it at a party, hosts are met with a variety of logistical issues. ⁣
Mostly, it comes down to getting it to your guest, before it starts melting. A challenge that is especially difficult during the hot summer season!⁣

Well, we may have found the perfect hack for one of our favourite frozen treats - Sorbetto di Limone, served in a frozen lemon cup! Essentially serving it in it's own mini cooler! Not to mention - it's absolutely adorable!!⁣

Ingredients:⁣
6 large lemons⁣
Lemon sorbet⁣
Fresh mint leaves⁣

How-To:⁣
1. Cut off the top quarter of lemons, then cut a very thin slice from the bottom to make a flat base. Keep the tops and discard bottoms.⁣
2. Stand up a cut lemon and, using a paring knife, cut around the inner edge of the peel, so you cut the flesh away from the peel. Switch to a spoon and use the incision as a guide to scoop out all the flesh from the inside of the lemon, leaving behind a lemon "cup." (TIP: save the lemon flesh to make a batch of fresh lemonade!)⁣
3. Freeze the lemon cups until ready to serve.⁣
4. When ready to serve, scoop the sorbet into the frozen lemon cups and top with lemon tops & mint. Serve immediately.⁣

TIP: you can prep everything the day before, and simply add the tops + mint when you're ready to serve!⁣

We know you'll want to save this one down - it is definitely going to be the treat of summer!⁣

Creative DIY Floral Decor

Looking for a more creative way to incorporate florals into your decor? Try this!⁣

Adding florals to a place setting is nothing new by any means, but finding a practical use for them is an added bonus. Hydrangeas are such a great floral to use for an easy name card holder, since they are so full & sturdy. ⁣

All you need for this simple DIY are your name cards, and enough hydrangea blooms for each place setting.⁣

Crispy Prosciutto with Spiced Goat Cheese & Fig

If you're a sweet & salty lover, you'll definitely want to save this one down!⁣

Our Crispy Prosciutto with Spiced Goat Cheese & Fig is sure to satisfy every time! Not to mention, they're crazy easy to make, despite how intricate they look!⁣

Ingredients:⁣

12 large prosciutto slices⁣
12 tsp soft spiced goat cheese⁣
Fig jam⁣
3 small fresh figs, sliced⁣ into quarters
Fresh thyme for garnish⁣

How-To:⁣

Preheat oven to 400 ⁣
Create 'rounds' of prosciutto on 2 large baking sheets⁣
Place a second piece of parchment over top of the prosciutto rounds, and use a second baking sheet to press down and make them flat.⁣
Bake prosciutto until crisp and nicely browned, 12 to 15 minutes⁣
Dry prosciutto crisps on paper towels and let cool for 15 minutes⁣
Once dry and cool, transfer prosciutto crisps to a serving dish⁣
Top each crisp with 1 teaspoon goat cheese, some fig jam to taste, and fig slices. Sprinkle with thyme and serve.⁣

Check out our REEL for a mini tutorial!⁣

Summer in Italy Florals

When you think of summer in Italy - chances are images of the Amalfi Coast come to mind.⁣

And what better aesthetic to work into your Italian Luncheon than this!! We first stumbled across this decor style on @Pinterest and it was love at fist sight! ⁣

What really got our attention was the use of lemons as decor items themselves. The yellow hues really pop, and seem to transport you directly to the Italian coast! ⁣
This style is so versatile, too. Anything from a summer bridal shower to a backyard birthday bash, the possibilities are endless!⁣

Here we've shared some of the different ways we've seen this summery citrus used to create an unforgettable statement piece for any table.⁣

1. Table garland + cake stand to created levels. This is a great option for those not needing table space for food service! ⁣
2. Lemons in place of florals. This one is perfect for those working on a budget. Lemons are generally inexpensive (and something you can still use post party), and simple greenery is always more economical than purhcasing a ton of florals.⁣
3. Large mason jars + sliced lemon + florals. These are wonderful option for smaller tables or adding decor accents around the party space!⁣

Be sure to tag us in your cirtus creations - we can't way to see what you guys come up with!⁣

Italian Chicken Piccata

It’s time for this month’s main event!⁣

The classic Italian Chicken Piccata dish is exquisite and super easy to prepare. ⁣
'Piccata' actually refers to the lemon sauce, which is definitely the star of this meal! It really pops without being too acidic; it is simply delicious. Serve it with your favourite pasta noodles, or on a bed of greens!⁣


Ingredients (for 4):⁣
4 chicken breasts pounded to about ½ inch thick⁣
½ cup flour⁣
1 lemon zested⁣
1 lemon, sliced for garnish⁣
2 tablespoons olive oil more as needed⁣
Salt & pepper to taste⁣

Sauce⁣
¼ cup butter⁣
1 ½ tablespoons flour⁣
1 cup chicken broth⁣
½ large lemon juiced ⁣
½ cup dry white wine⁣
4 tablespoons capers drained⁣
3 tablespoons fresh parsley chopped⁣

How-To:⁣
1. Combine the flour, lemon zest, salt and pepper. Dredge the chicken in flour mixture⁣
2. Heat olive oil over medium high heat and cook all chicken about 4-5 minutes per side. Remove from pan and place in a dish to keep warm.⁣
3. Using the same pan (to capture all those flavours), melt butter and add flour to create a roux. Cook 1-2 mints and whisk until smooth.⁣
4. Gradually whisk in the chicken broth until smooth.⁣
5. Add lemon juice, white wine and capers. Simmer 3 minutes, stirring occasionally. ⁣
6. Add chicken back to pan and simmer 2-3 minutes. Stir in parsley and serve over your desired side dish!⁣

Such a simple dish - be sure to save it down for future reference!⁣

Stacked Beet Salad with Lemon Beet Vinaigrette

Starting our recipes of the month with a starter: Stacked Beet Salad with Lemon Beet Vinaigrette!⁣

This is such a gorgeous way to serve your next beet salad, and it incorporates some classic flavour combinations guests are sure to love!⁣

Ingredients (serves 4):⁣
one bunch of red beets, stems & leaves removed (about 3), boiled⁣
one bunch of gold beets, stems & leaves removed (about 3), boiled⁣
3 ounces of baby arugula⁣
2 tablespoons olive oil⁣
Juice from one lemon⁣
1 tbps white wine vinegar ⁣
1/2 tbsp honey⁣
1/2 cup chopped walnuts⁣
1 cup crumbled goat cheese⁣
Salt and pepper to taste⁣

How to:⁣
1. Boil your beets well in advance to ensure they have cooled by the time we are assembling the salads, this can be as early as the day before. An average size beet will need about 30 minutes to cook through. Save about 1/4 cup of the water before draining to use in dressing.⁣
2. Prep dressing: add olive oil, lemon juice, white wine vinegar, honey, and beet water to a cup or small bowl and whisk together. Add salt and pepper to taste.⁣
3. Slice your now cooked beets into thin disks, we try to do about 1/2 a centimetre.⁣
4. Assemble: on each plate, add a pinch of arugula as the base, stack your first beet disk, then some goat cheese and more arugula, and repeat. You should finisht with 4-5 beet layers. Top with more goat cheese, walnuts, and your dressing. Serve immediately!⁣

Be sure to tag us in your creations - someones got to give this a try!!⁣

Personal Sized Piñata

Personal sized Piñatas for party favours? Yes please!! 🍬

⁣If this isn't the ultimate takeaway for guests attending your Mexican fiesta, we don't know what is. While they take a little time and effort - they really are easier to make than you think!⁣

Materials:⁣
Thick stock paper⁣
Construction paper⁣
Various colours of tissue paper⁣
Tape⁣
Scossors⁣
Liquid glue⁣
Small paint brush⁣
Candy of choice (small enough to fit inside)⁣

How to:⁣
1. Trace and cut out 2 of your chosen shape from the thick stock paper - we went witht the classic donkey.⁣
2. Cut 2cm strips from the construction paper, 2-3 inches long will work, you will end up cutting them further once you start taping together.⁣
3. Tape the two cut out shapes together, using the construction paper strips to make it a 3D shape. Make sure to add in your candy before seeling the whole thing!⁣
4. Cut 2cm strips of your tissue paper, then cut 1cm 'fringe' into those same strips. ⁣
5. Add glue to a small bowl, and begin gluing strips of tissue paper onto 3D shape in desired pattern/colour order. Remember to only add glue to the side of the tissue without the fringe cut, so you end up with that fluffy piñata effect.⁣

Fresh Fruit Parfait Bowls

Looking for a dessert to feed your sweet tooth, without the sugar overload? ⁣
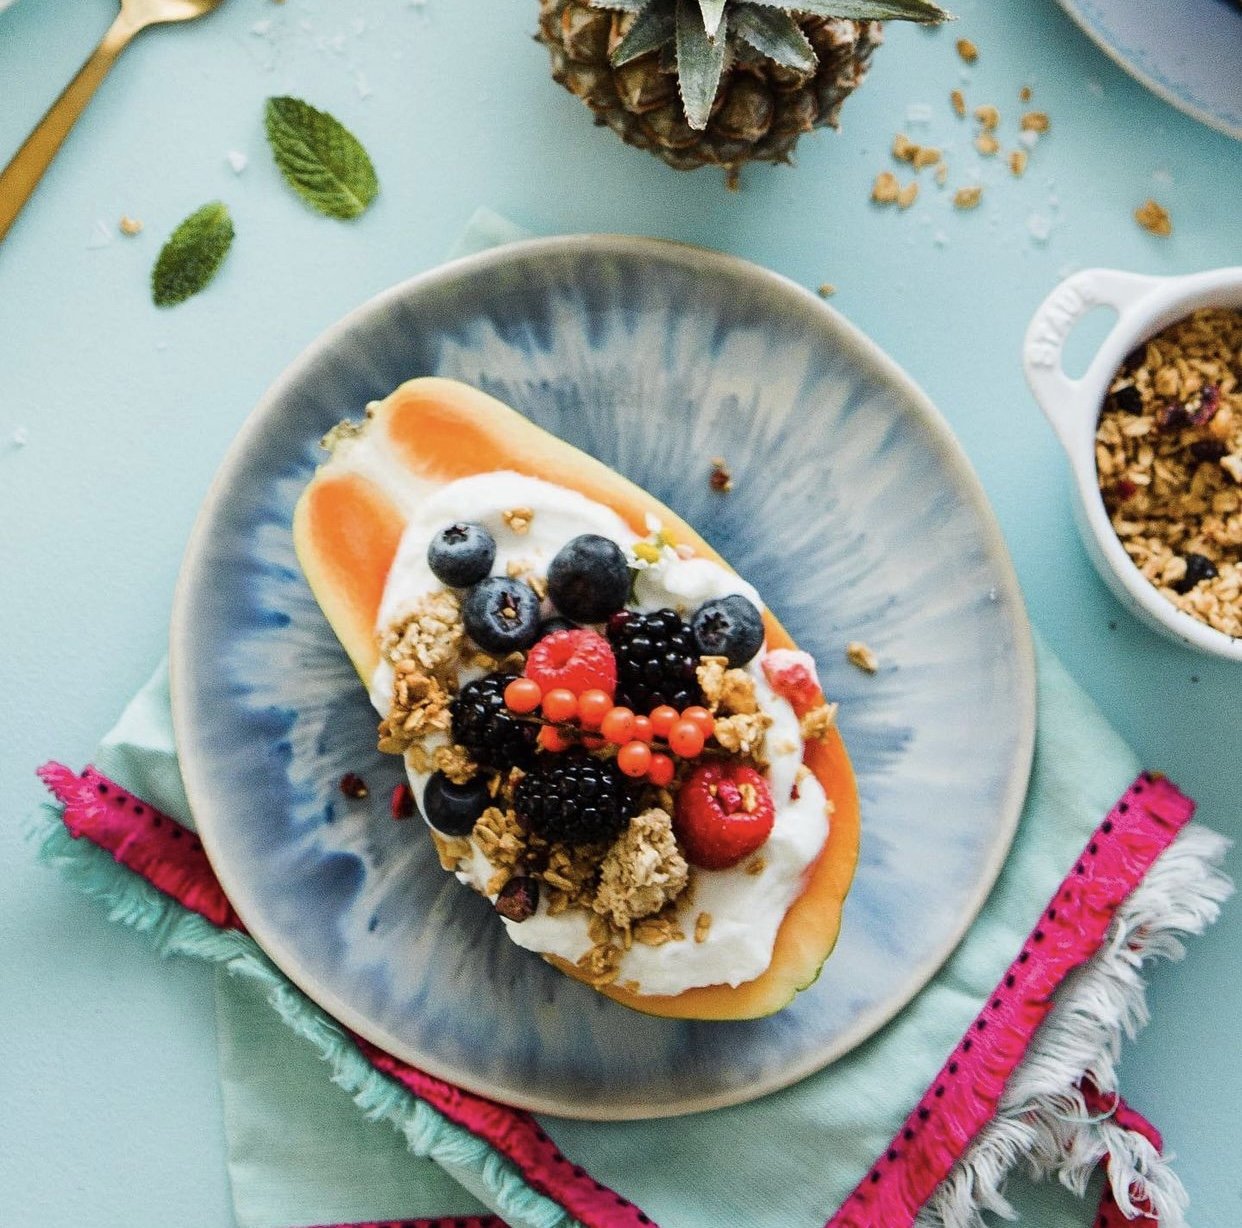
Fresh Fruit Parfait Bowls are exactly what you need! They are such a fresh final course and presented in a way that are almost too pretty to eat!⁣

Ingredients (for 8):⁣
4 fruits to use as bowls (papaya, cantaloupe, small watermelon, etc.), cut in half and hollowed out enough to fill/use as bowl⁣
6 cups of vanilla greek yogurt (3/4 cup per bowl)⁣
2 1/2 cups of granola of your choice (1/3 cup per bowl)⁣
2 1/2 cups of mixed berries (1/3 cup per bowl)⁣
Honey to drizzle⁣

How-To:⁣
1. Begin by prepping your fruit bowls, setting each half on a plate.⁣
2. Add yogurt to each bowl, and top with granola and berries. Add a final drizzle of honey for a touch more sweetness!⁣
3. Serve and enjoy immediately!⁣

This is definitely one of our easiest dessert recipes - but with all the wow factor!⁣

DIY Jalapeño Name Cards

Today's DIY is two things every host loves in a decor item - simple & effective!⁣

As you guys well know, we often say how the final touch to a well executed tablescape is a creative name card - or in this case, name jalapeño!⁣

We love adding an unexpected element to the table, and something that will enhance our guests' experience. ⁣

All we have done here is taken a small paint pen, and written directly onto the jalapeño pepper! So so easy!!⁣

This is also a very versatile tip, since you can turn just about anything into a name card once you have a paint pen!⁣

Let us know if you've ever used this trick in the comments below!⁣