If you like the idea of tacos, but you're not in the mood for those typical Mexican flavours, keep reading!
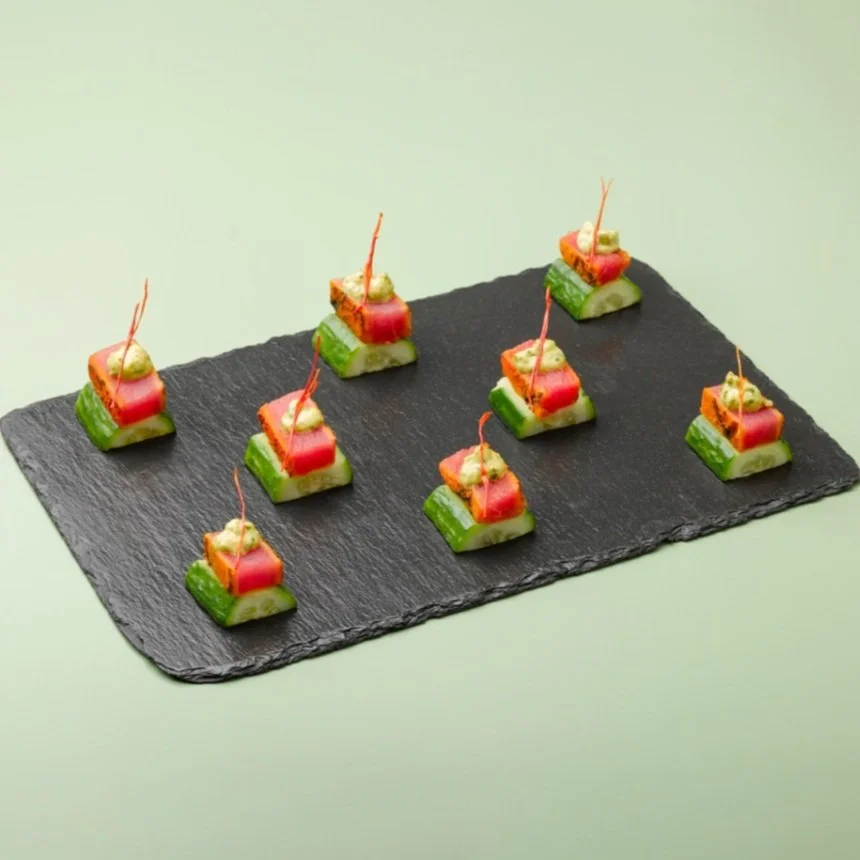
Inspired by one of @Eatertainment 's textbook canapés, let us introduce you to the Salmon Poké Taco!
They take a little more time than most Taco Tuesdays, but we'er certain that the reaction you get from guests will make up for it.
Ingredients
24 wonton wrappers
Canola oil , for frying
1 lb sushi-grade salmon
2 tsp fresh ginger, peeled and grated
1 Tbsp toasted sesame oil
3 tsp rice vinegar
2 tbsp soy sauce
3 tsp sriracha
1 1/2 stalks green onion, finely chopped
2 tsp sesame seeds
Boston lettuce, 24 pieces cut to wonton size
Red caviar to top (optional)
How-To
Wonton Shells:
Pour canola oil to a depth of 3 to 4 inches into a deep, heavy saucepan and heat to 350°F.
Using a taco shell, take about an 8 inch piece of aluminium foils and push it gently into the taco shell until you've gotten a mold of the interior of the shell.
Use circular wonton skins, or just trim some square ones if those are easier to find. Now drape the wonton on the bottom of the taco shell to shape it into a little taco.
Hold it in place with a pair of tongs, and submurge in hot oil DO NOT LET GO. These shells will cook in a matter of seconds, so keep a good eye on them.
In about ten seconds, lift it out, and with a fork pull the wonton off the foil and back into the oil for another few seconds.
Remove with the tongs gently, and set aside on paper towel. Repeat until all shells are done. TIP: this is a step you can do the day before event or dinner, to save time day of!
Filling:
Remove the salmon skin and chop into small bite-sized pieces.
Place salmon + all filling ingredients (not caviar or lettuce) into a medium mixing bowl, and stir well untill everything is combined.
Assemble:
Begin by placing a leaf of lettuce in each of your taco shells as a base (creating a barrier so that salmon mixture doesn't make the shells soggy). Next, fill with your salmon mixture, and top with your red caviar.
Serve immediately!
Classic Grilled Mexican Street Corn
Classic Grilled Mexican Street Corn is sure to make it onto your list of go-to side dishes this summer - whether it's a full on Mexican theme or not.
That's because it's both delicious and easier to make at home than you think!! For parties, we like to break the corn in halves and skewer them for easy guest access!
Ingredients:
6 to 8 medium ears sweet corn, husks removed, halved and skewered (remember if you're using wooden skewers to soak them in water before grilling)
1/2 cup crema (see our sauce post for recipe)
1/2 cup chopped cilantro
2 tsp finely grated lime zest, from 1 lime
3 tbsp lime juice, from 1 lime
1/2 tsp ground chipotle
2/3 cup Mexican cotija cheese, crumbled
Lime wedges, to serve
How-To:
1. Heat a gas or charcoal grill to 400F. Clean the grates once it has heated. While heating, prep your crema!
2. Place the husked, halved, and skewered corn directly onto grill grates. Grill the corn for about 3 minutes, undisturbed, or until kernels begin to turn golden brown and look charred. Turn over and repeat. When all sides are evenly browned, remove from the grill.
3. Top the corn with sauce, cilantro, lime, and cheese. Using a brush, coat each ear of corn with the crema mixture. Sprinkle with crumbled cojita cheese. Sprinkle with chipotle pepper. Serve immediately with extra lime wedges!
If you have yet to reserrect your BBQ froms last season - let this recipe be the reason to do it this weekend!
Happy grilling season everyone!!
Top 4 Taco Sauce Must Haves
Building the perfect taco is a very personal experience - everyone has their methods and prefered fillings!
Setting up the ultimate taco bar is as simple as putting together crowd favorite ingredients. Delicious tacos require a variety of options and toppings and a great taco bar is no exception. Other than shredding cheese, chopping lettuce, and prepping your proteins - the sauces are an important step in pulling a taco station together.
So today we're sharing our Top 4 Taco Sauce Must Haves. Hitting all the flavour notes with spicy, tangy, and creamy - these will definitely be the final touch to your spread and your guests' tacos!
The best part about these sauces - they are all so easy to make!! All you need are the ingredients for each, and a food processor!
Slide through for recipes and save down for all future fiestas!
Tablecloth Hack
Happy May everyone!
With Cinco de Mayo right around the corner - we've got tacos on the brain!! But, instead of letting the fiesta festivities end so early, we're making the whole month dedicated to creating a dinner party El Mexicano style! Everything from sauce recipes you NEED at your taco station, to a showstopping DIY centrepiece! 🌮 🌸
Let's start with the tablescape. This is a theme you can really explore bright, vibrant colours with; think fuscia pink, tangerine orange, canary yellow, etc. One of the easiest ways to incorporate a big burst of colour to your tablescape is a tablescloth. We absolutely love the way @camillestyles put a twist on the typical - instead of one tablescloth covering the entirety of the table, they've used various colours and patterns and created highlights for the table settings 😍
This is an especially great trick if you want your table to still be apart of the decor. Not to mention it also removes the need for chargers or placemats!
You'll definitely want to save this #HostingHack down for future use!!
Blood Orange Side Car
Sweet, tangy, and bitter - say hello to the Blood Orange Side Car 🍊
A great way to elevate any cocktail is to incorporate a unique or exotic element - and here the blood orange does just that! While a regular orange would look great, the swap of the blood orange creates both a visual effect and flavour profile that's not as familiar - and definitely more exciting!
Ingredients:
1 1/2 ounce dark rum
1/2 ounce orange liqueur
1/2 ounce fresh squeezed blood orange juice
1/4 ounce lime juice
How-To:
Fill a cocktail shaker with ice and all ingredients in shaker.
Shake well and strain into glasses of choice - we love a coupe fo this one.
Garnish with a slice of blood orange, and rind twirl. If you want some added sweetness, sugar the rim of your glass before pouring.
Pro Tip: Keep your glasses in the freezer before mixing, makes for an extra cold finish!
Cheers!
Spring Green salad with Creamy Garlic Hummus Dressing
It's time to brighten up this cloudy day with a fresh recipe!
Our Spring Green salad with Creamy Garlic Hummus dressing is packed with flavour, and the dressing alone is sure to become a fridge staple.
Salad:
2 pounds fingerling potatoes, scrubbed and cut into 1 – 1 ½-inch chunks
1 1/2 teaspoons fine sea or kosher salt
8 ounces asparagus, trimmed
1 cup thinly sliced cucumber
1 cup marinated artichoke hearts
¼ cup snipped chives
black pepper & salt to taste
Pea sprouts for garnish
Capers for garnish
Dressing:
1 cup packed basil leaves
1/3 cup packed pea sprouts
4 garlic cloves, put through a press or minced
1/2 teaspoon fine sea or kosher salt
2/4 cup good-quality mayonnaise
1/4 cup hummus of choice
Juice from 1 lemon (more if needed to taste)
1 tbsp honey
How To:
1. Add potatoes to large pot and cover with about 2 inches of water. Add salt, and place over high heat. Bring to a boil, then cook until the potatoes are tender but still holding a shape, 8-12 minutes. Drain potatoes from hot water, and put them in ice water bath to come to room temp.
2. In a large pan, add asparagus and about 1cm of water. Bring to a boil, turn off heat, and cover. You want them cooked but still crunchy. Once cooked, put them in ice water bath to come to room temp.
3. Dressing: In a food processor, combine the herbs, garlic, 1/2 teaspoon salt, hummus, honey, and mayonnaise, and blend until just smooth. Blend in the lemon juice. Taste, adding more lemon or salt if you feel the dressing needs it.
4. Check out our Reel for the assembly process!
Carrot Centrepiece
Last minute Easter centrepiece alert!! - As seen on The Marilyn Denis Show!
So easy, and you might already have everything you need right at home!
🥕 💐
WATCH HERE
Mini Key Lime Pies
Time for a cute dessert for tomorrows festivities!
These Mini Key Lime Pies are just as delicious as they are cute. Plus, the brite green and blue accents are perfect for any spring tablescape!
We used Tender Flake for our mini crusts, a perfect option if you're in a pinch. But if you prefer to bake your own crust, go for it!
For the filling:
Two 14-oz cans sweetened condensed milk
1 cup plain Greek yogurt
1 tablespoon lime zest
¾ cup fresh lime juice (if you can find key limes, even better!)
For the topping:
1 cup cold heavy cream
2 tablespoons powdered sugar
1 teaspoon grated lime zest
Edible florals for garnish
How to:
Filling:
Pre heat your oven to 350°F.
In a large bowl, whisk together the sweetened condensed milk, yogurt, lime zest, and lime juice. Carefully spoon your mixture into your mini crusts. Bake for 15 minutes, until the filling is almost set; it should still wobble a bit. Let cool at room temperature for 30 minutes, then place in the refrigerator to chill thoroughly, about 3 hours.
Topping:
Using a stand mixer or hand mixer, beat the heavy cream until soft peaks form. Add the powdered sugar and beat until medium peaks form.
Again, carefully top the mini pies with the topping mixture.
Decorate with the lime zest and florals.
Store the pie in the refrigerator until ready to serve!
Check out our Reel for a mini tutorial!
Donut Hole Gift Boxes
Whether you’re hosting an Easter gathering this year and looking for a cute favour idea, or just looking for a sweet Easter treat to pass out to the kids — these Donut Hole Gift Boxes are the perfect Easter DIY! So easy and inexpensive to create, this is one even the kids can get involved with!!
All you need is:
1/2 dozen egg cartons (as many as you need to make for guests)
Paint in pastel hues
Paint brushes
Easter grass
Mini muffin liners
Donut holes (for those fellow Canadians, we think you know where we got ours!)
Ribbon
Fresh florals
Newspaper (to line table)
How to:
Check out our latest Reel for a mini tutorial!
Swedish Sandwich Cake
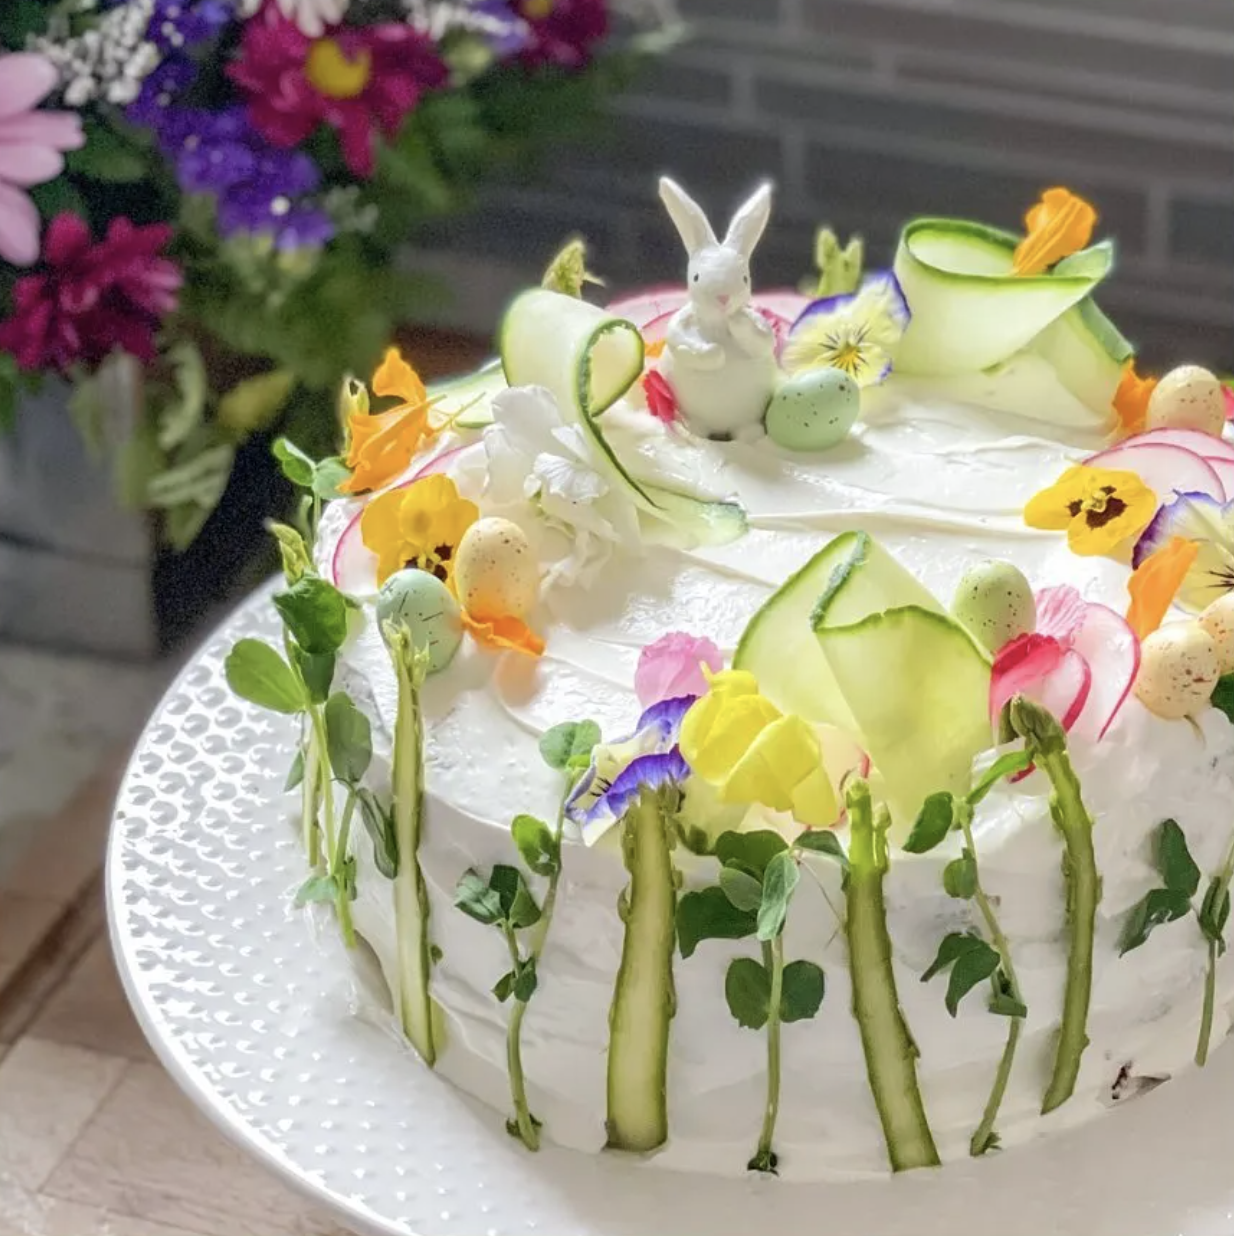
Today is all about the Smörgåstårta or Swedish Sandwich Cake!
At first glance, most think 'wow, what a beautiful cake', but with a closer look you see its savoury secret! Enjoyed year round in Scandinavia, but especially around holidays and gatherings!
Here's how we turned finger sandwiches into an edible masterpiece!
Ingredients:
16 thick slices of wholemeal bread
500g softened cream cheese
1/2 cup 35% whipping cream
1 cucumber, 1/2 thinly sliced 1/2 ribbonned for garnish
100g sliced smoked salmon
1 avocado, mashed
1 tbsp lemon juice
Lemon zest
Asparagus, ribbon, for garnish
Radish, finely sliced and halved, for garnish
Pea sprouts, for garnish
Edible flowers, for garnish
How To:
1. Cut crusts from 16 thick slices of wholemeal bread. Place 4 slices in a square shape. Using a round guide of choice (we used the plate the final product would be served on) trim corners to create a circle. Repeat to make 4 bread circles.
2. Beat softened cream cheese until smooth. Beat in pouring cream.
3. Place your first circle onto your serving plate. Spread cream cheese mixture over bread slices. Top with 1 thinly sliced Lebanese cucumber. Stack with another circle.
4. Spread cream cheese, top with smoked salmon, then another disc.
5. Mash avocado with lemon juice, spread over circle. Grate lemon zest. Stack with final circle.
6. Cover stack with remaining cream cheese mixture.
7. Decorate with peeled asparagus, radish, cucumber, snow pea sprouts, edible flowers and add any touches of easter you might have. Eat on day of making.
Watch our tutorial here!
Bunny Ear Napkin Fold
April is here and so is our Easter content!
With Spring in the air, and one of our favourite holidays right around the corner, we're so excited to share our hosting tips for this months fresh theme. With a bit of few bunny and egg themed diys, fresh recipes to match the weather, and a cocktail you'll be sipping on all month long!
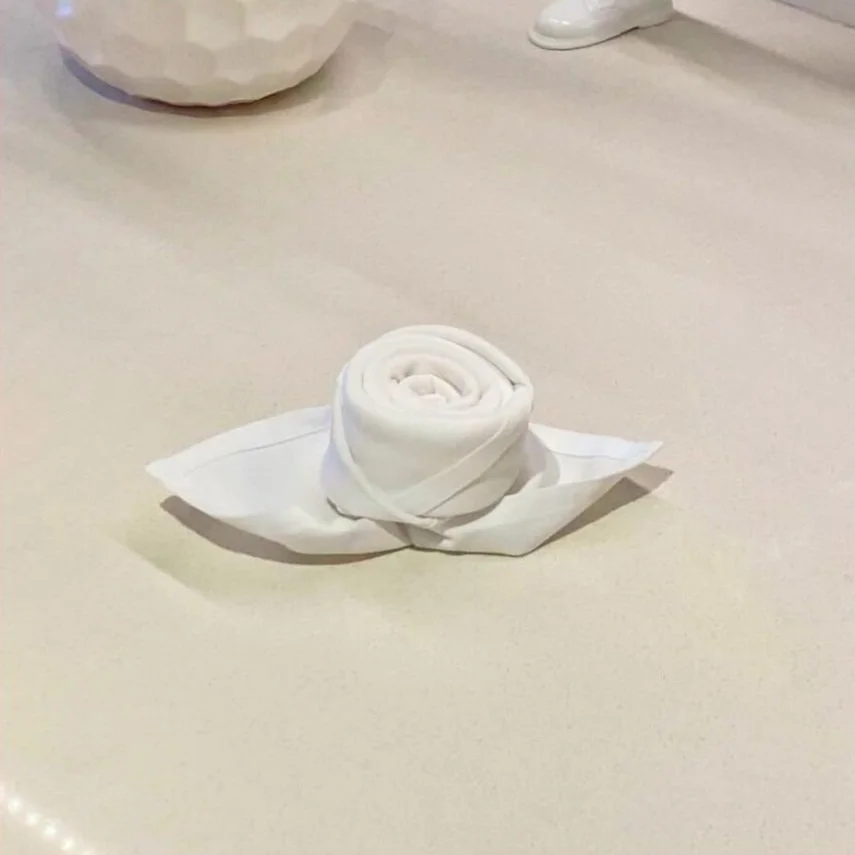
Today we're kicking things off (or should we say hopping things off) with our super easy bunny ear napkin fold. Fancy or intricate napkins folds can be time consuming and frustrating, especially when you're trying to prep a million other things to be ready for your party. So keep it simple! If you know how to roll a napkin, you know how to do these bunny napkins!
All you need is:
Napkin
Egg (hardboiled to avoid messy accidents)
Twine or thin ribbon
Sprig of baby's breath
Sharpee
How To:
1. Lay your napkin out flat.
2. Starting at one corner, lightly roll napkin to other corner on a diagonal. Make sure you're not rolling too tight.
3. Place your egg in the middle, and fold up the napkin around it.
4. Sinch at the top of your egg and tie with twine. Wedge the spring of baby's breath in the twine.
5. Add the name of your guest to egg with sharpee (optional, or could be done prior to folding as well).
And now you have the perfect name 'card' for your easter tablescape! Be sure to tag us in your creations, we expect to see alot of these in a couple weeks!!
The Entertaining Triangle
Today we introduce you to the secret of home entertaining - the Entertaining Triangle. Essentially, just like the well known Kitchen Triangle, it’s setting up a space for efficiency and success.
First, you want to create zones, ie. cocktail station, food areas, and seating. Then, it’s deciding on where each of the zones will go and how they work together is key to creating a fluid and comfortable space that is also efficient.
Here are some of our favourite tips when it comes to setting up for entertaining:
1) Separate the bar from the food to help avoid overcrowding while also encouraging movement and flow.
2) Never set up a bar near the entrance of the home or somewhere that requires guests to walk through the kitchen. Either of these spots will generally cause bottlenecks (excuse the pun) as everyone congregates around the bar.
3) Consider if space is tight, or your group is large, offering batched or pre-made cocktails which can easily be served to guests as they arrive for that extra little ‘chic’ touch.
4) When placing grazing platters or stations make sure to place them somewhere convenient and ideally in
a position where guests can help themselves without leaving the main entertaining area. The idea of putting the smoked salmon platter in the dining room just because there’s room will undoubtedly lead you to move it eventually or, even worse, throw it out at the end of the night when it remains virtually untouched.
While it may sound overwhelming, spending a little time planning out your space, whether physically or just around placement of food and drinks, will improve the flow of your entertaining by leaps and bounds.
Of course, if you have any further questions on this topic, feel free to drop it in the comments!
Mixology 101: Vodka Infusions
Another easy way to take your cocktails to the next level - custom infusions! This does take a bit of pre planning, but the results are so worth it!
These are loved by those guests partial to a classic vodka soda!
Anything from strawberry vanilla, jalapeño lime, or citrus… but today we're sharing our three favourite creations: The Classic Cucumber, The Spiced Pear, and The Refreshing Grapefruit Mint.
Cucumber:
1 large cucumber
750 cups vodka
Remove skin from cucumber and roughly chop. Add to a large glass jar with vodka. Refrigerate for 5-7 days, testing for desired level of cucumber flavour every few days. Strain vodka and store in the refrigerator. Yhttps://www.thespruceeats.com/cucumber-vodka-4080147
Don't skip the peeling or seeding steps; both the peel and seeds have a bitterness to them that will transfer quickly to the vodka and distract from the delicate cucumber flavour that can be extracted and enjoyed.
It can also be stored in the freezer. The infused vodka can be kept for a long time. The alcohol prevents any mold or other bacteria from growing.
Spiced Pear:
1 ripe pear
2 cinnamon sticks
Remove skin from pear and chop into appropriate chunks, making sure all seeds are removed as well.
Add to clean glass container with cinnamon sticks, top with vodka and seal.
Refrigerate for at least 3 days, but up to a week. When happy with the flavour, strain into a measuring cup or glass bowl through a fine mesh sieve. You may need to strain a few times or use a cheesecloth to remove all sediment. Seal in clean jar and store in fridge.
Grapefruit Mint:
Ingredients:
1 ripe Grapefruit, sliced + skin removed
2-3 Sprigs mint
Directions:
Remove skin and as much of the white layer as possible, slice into appropriate chunks.
In an air tight container, combine vodka, mint, and grapefruit slices. Seal the container tightly with a lid. Refrigerate for a minimum of 3 days. Do not let it infuse for more than 1 week. Remove grapefruit and mint, and store in fridge.
All final infusions can also be stored in the freezer. The infused vodka can be kept for a long time. The alcohol prevents any mold or other bacteria from growing.
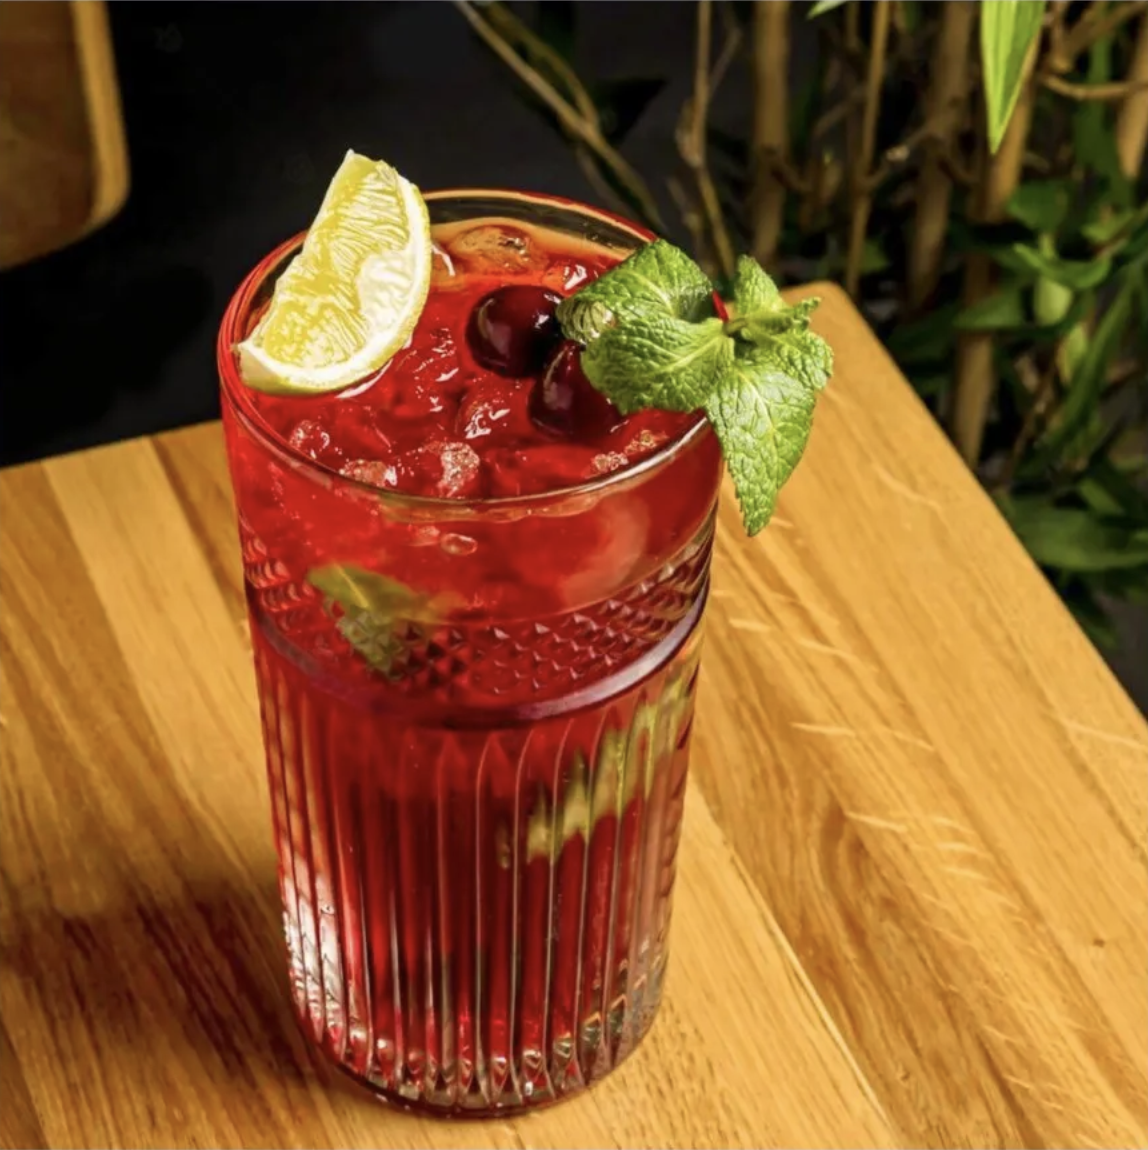
The Perfect Mocktail: Cherry No-jito
This months drink is slightly different than the rest, because it's not so much a cocktail but rather a mocktail!
While of course, the name does generally mean booze will be involved - it’s not fair to assume that all guests will partake. Creating a beverage option special for those guests (who would usually be relegated to water or soda) will make them feel more apart of the festivities.
So without further ado, let us introduce you to the Cherry 'No-jito' 🍒
Ingredients:
5 pcs. frozen cherries, thawed & roughly chopped
1oz Cherry juice
1/4 Lime + slice for garnish
6-8 pcs. Mint leaves + sprig for garnish
1 cup Sparkling water
1/2 oz Honey simple syrup
How-To:
1. Chop the cherries and lime into a glass and honey simple syrup. Muddle.
2. Pro tip: Clap with the mint on your palms to extract the scent from the leaves. Add it to the glass and muddle in gently.
3. Add crushed ice, cherry juice, and finish off with the sparkling water.
4. Garnish as desired and serve.
With just the right amount of sweetness to balance out the tart, the Cherry Nojito is the perfect mocktail for your next occasion!
Mixology 101: Garnishes
Mixology 101: The key to a 'fancy' looking cocktail is stepping your garnish game up a level.
You know that feeling, when you’re at a restaurant and you see a tray of cocktails go with beautiful garnishes go by and think ‘wow - that looks good’, well you can give that feeling to your guests right at home!
Here are 6 east ways to take your garnishes to a whole new level!
1. Make use of that melon baller! Despite the name, you can use this tool with all kinds of fruits, and again adds an eye catching element to any drink.
2. Get creative with cookie cutters! Creating interesting shapes couldn’t be easier with the help of a couple friends from your baking drawer!
3. Have fun with the rim! An often under used element of garnishing is a special rim salt or sugar. It’s such a fantastic way to add texture, colour, or even an added flavour to your cocktail. Take slide 4 and 5 for example: for your next margaritas opt for Tajin instead of basic salt, or for the sweet side use colourful sprinkles for a more playful effect!
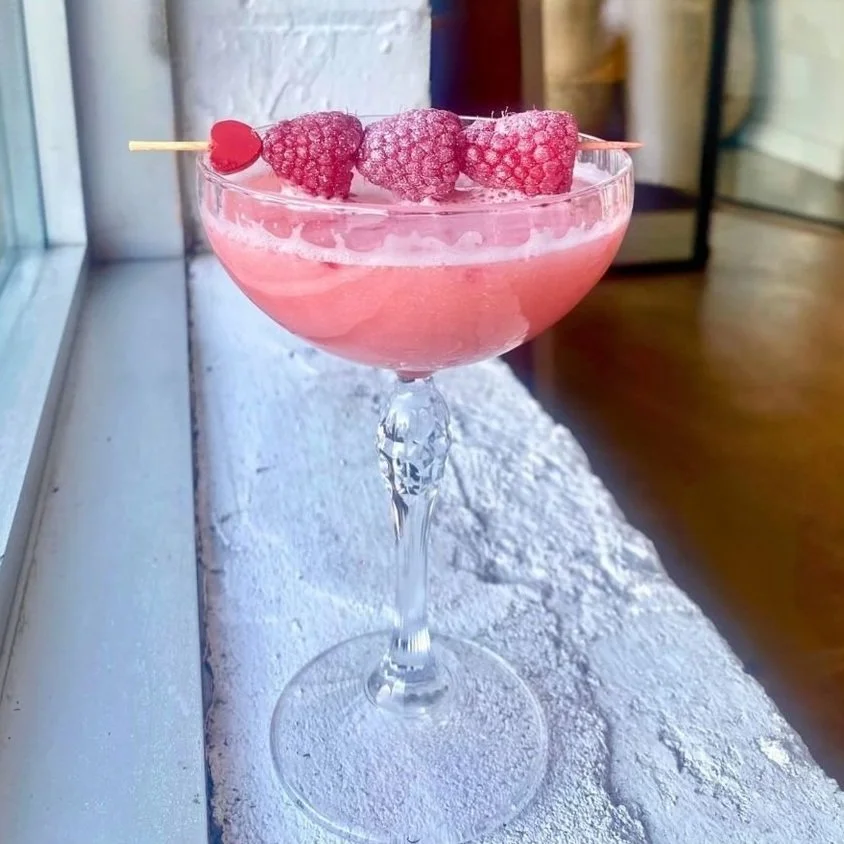
4. Don’t forget about edible florals! See how just a couple floating flowers take that rosé punch from drab to fab!? This might be THE easiest of all our tips, because it almost requires zero prep. Just a matter of finding a local grocer who stocks them.
5. Have fun with ice cubes! This is such an innovative way of infusing drinks with extra flavour, because as they melt whatever is frozen inside reveals itself to the cocktail. Perfect for those guests who opt for vodka sodas or gin and tonics!
6. Lastly - use the ingredient to your advantage. For example, instead of cutting cucumber rounds - use the length and peel ribbons! Or, for something on the tropical side, save a few of those pineapple leaves to have poking out the side.
And there you have it, six incredible ways to switch things up and really wow guests with you ingenuity in the garnish department!
Be sure to tag us in your creations, we know you’ll have fun with these!!
Chocolate Mousse with Strawberry Rosemary Topping 🍓
You know we wouldn't end the month without dessert!
The grand finale of this theme is this 2 Ingredient White Chocolate Mousse with Strawberry Rosemary Topping 🍓
Ingredients:
Mousse
1½ cups heavy cream, cold
1 cup white chocolate chips
Strawberry Rosemary Topping
1 cup sugar
1/2 cup water
4 rosemary sprigs
1 cup shopped strawberries
How-to:
For the topping
Bring the water to a boil. Add sugar, stir to dissolve. Add the rosemary sprigs, let the infusion boil for 60 seconds. Remove pan from heat and let steep for 30 minutes. Remove sprigs, and once cool, add shopped strawberries.
Mousse
1. In a microwave-safe bowl, heat 1/2 cup of the heavy cream for 50 seconds.
2. Add the white chocolate chips to the cream and stir until the chips have melted. This will take 1-2 minutes. Set aside to cool.
3. Pour the remaining 1 cup of heavy cream into a medium bowl mixing bowl. Using a hand-held or stand mixer, beat until soft peaks form. Then switch to whipping the cream until stiff peaks form.
4. Slowly and gently fold in the whipped cream into the white chocolate mixture with a large spatula.
5. Divide the mixture between 4 serving pots of choice. Refrigerate for at least one hour before serving. Top with your Strawberry Rosemary Syrup.
Pomegranate Rosemary Fizz with Fig Heart
This month's all about the Pomegranate Rosemary Fizz with Fig Heart garnish ❣️
A perfect balance of sweetness, herby aromas, and a touch of pucker from the lemon - this cocktail is sure to satisfy anyones taste buds!
Ingredients (for 1):
2 oz pink gin
1 fresh fig
2 oz pomegranate juice
1/2 oz lemon juice
1/2 oz grenadine
Soda water
Sprig of rosemary
lemon slice
How-to:
1. Add pomegranate juice, lemon juice, grenadine, and crushed ice to your glass of choice - give it a quick stir to combine.
2. Top with soda water and garnish with lemon slices, fig slices, and sprig of rosemary.
Mini Flower Bouquets
We often get the question, do you have to give party favours?
And the simple answer is of course not... but we definitely recommend it!
Favours act as a gesture of thanks for guests attendance or a memento of the occasion, and always have them leaving feeling the love from the host!
Next question we always get - but what should I give?
Well that of course depends on the occasion or theme of your event, but there are some simple hacks to pulling together a last minute gift anyone will appreciate - just like this month's!
Fact: everyone loves receiving flowers - so why not make it a party favour!!
These mini flower bouquets are an easy take home for guests, an even easier DIY for you hosts out there, AND double as decor.


All you need is:
Mixture of florals (we like a combination of three different types)
Coloured tissue paper (if it matches your decor even better!)
Rubber bands
Craft paper
Twine
How-to:
1. Trim your florals to the size/length you'd like. Arrange into even, small bunches.
2. Using the rubber bands, secure your mini bouquets. Since we don't want them to dry out, place them into glasses or small vases with water and use them as decor during your party.
3. Prep the tissue and kraft paper by cutting them into appropriate sized squares for wrapping. Also prep the twine by cutting enough strands for each bouquet.
4. As guests depart, simply pluck the pre-arranged bouquets as needed, wrap them up - and voila!
Decor and favours in one? Now that's a DIY worth saving!
Perfectly Pink Pasta with THE best creamy rosé sauce!
Pasta is such a great go-to when entertaining! It's easy to make, and sooo versatile. For our soulmate soirée, we couldn't help but opt for the 'pinkest' variation!
Perfectly Pink Pasta with THE best creamy rosé sauce! Seriously, you want to save this one down, the sauce is a family favourite!!
Ingredients:
3/4 box linguini pasta noodles
1 1/2 tbsp butter
4 garlic cloves, grated or finely chopped
1 and 1/2 cups cream
8 oz can of tomato sauce
2 tsp corn starch
1/4 tsp nutmeg
Salt & Pepper to taste
Chili flakes, parmesan, and fresh basil to top
How-To:
1. Bring water to a boil in a large pot, and add salt. Cook pasta as per boxes instructions until al dente.
2. Meanwhile, in a medium sauce pan, melt butter on medium heat and add garlic. Allow the garlic to infuse the butter, approx 1-2 mins. Pour in the cream and tomato sauce and stir until blended and combined.
3. Sprinkle in the corn starch and whisk so it dissipates into the sauce and break up any clumps. Add nutmeg, salt, and pepper. Stir to combine. Simmer until the pasta is done cooking.
4. To serve, sprinkle with Parmesan, fresh basil leaves, and chili flakes!
Classic & simple, this dish is sure to have guests falling in love!!
The Newly Wed Game S&S Edition
Friday Night = Game Night 💕
We love incorporating a bit of fun into a dinner party, and an easy game is an perfect way to spice things up!
Since this month is all about celebrating love, we've put together a couple favourite - The Newly Wed Game S&S Edition!
The age old game that answers the question "do you really know your spouse?"
You can download the printable sheets HERE
Perfect for your next group game night, or sure to give some laughs if it's just you and your partner hanginng at home!


